

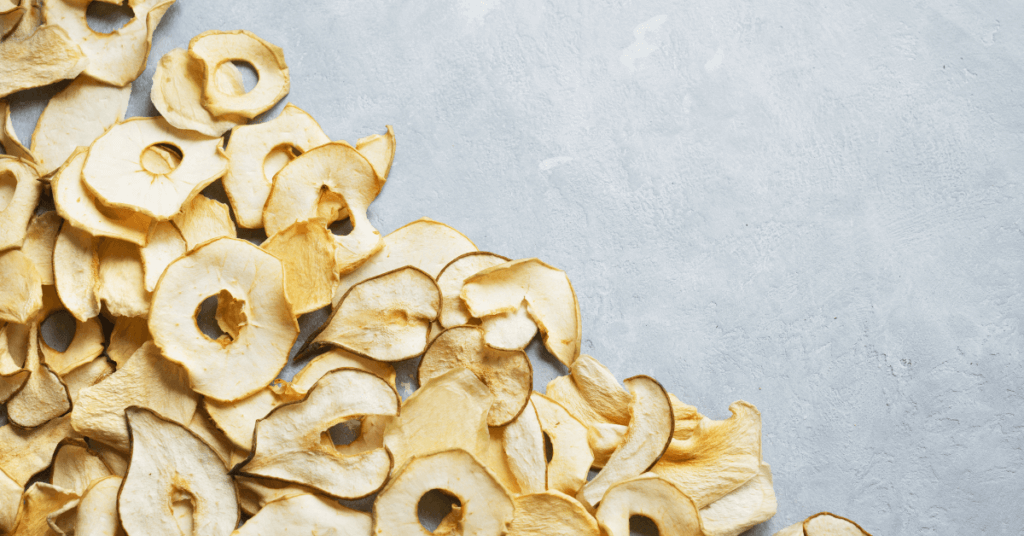
Ever wondered if pears dehydrate well? Absolutely they do!
If you’re using a dehydrator, just set your temperature between 125-135 degrees, and let the pears dehydrate for 7 hours or so.
The key to perfectly dried pears, however, is in the prep.
Dehydrating pears isn’t hard and, although a dehydrator and other tools come in handy, you really don’t need any gadgetry to arrive at a fantastic end product.
If you love dried pear chips but prefer to know exactly what’s in your food, dehydrating pears yourself is the way to go.
I can show you how to dehydrate pears at home to get the type of dried pear chips you enjoy most with ingredients you can trust.
How to Make Dehydrated Pears 3 Ways
You can dry pears in a dehydrator, in the oven, and even in an air fryer.
No matter what method you use to dry fresh pears, you’ll need to do a few things first to get them ready.
First, make sure your pears are ripe—but not too ripe. Once they’re ripe enough to eat, their softness makes cutting them very difficult.
They’ll still be sweet and flavorful if you dehydrate them about 2 days before they’re ripe enough to snack on fresh.
Second, wash the pears in soapy water and rinse well.
Pro Tip: Wait until you’re ready to dehydrate the pears before cleaning them, as they’ll stay fresh longer with their protective coating undisturbed.
Next, you’ll need to slice them, which we’ll go into more detail about below.
Optionally, you can pretreat the slices with a citric acid soak (in lemon or other acidic juice) if you care about browning.
It’s also optional to flavor the slices with spices, honey, or sugar. I recommend apple pie spice with a little coconut sugar.
After they’re sliced, you can use a dehydrator, oven, or air fryer to dry them completely.
Once they come out of the dehydrator, you’ll want to condition them, which is a process that ensures they’re properly dried and won’t get moldy.
You can skip this step if you plan to eat them immediately.
Now let’s dig into the details for each drying method.
Dry Pears in a Dehydrator
Most people interested in drying pears plan to use a dehydrator, so I’ll describe that method first.
As I mentioned above, there are a few different ways to cut pears for dehydrating.
How you cut your pear chips depends on the texture you prefer, the time you have, and whether their appearance matters once they’re dried.
No matter how you slice the pears, uniformity is key to proper pear dehydration. You can accomplish this with careful use of a sharp knife, but a mandolin slicer helps ensure uniformity.
Choose a thickness based on your taste. Thinner chips (1/8”) will, obviously, dry faster and result in a crispier chip.
Slightly thicker chips at ¼” gives them a chewier texture. Some people go as thick as ½” but the drying time for this is much longer, and it’s harder to get them totally dry.
However, for those who like chewy dehydrated pear slices, this may be the way to go.
No matter how thick you slice them, start by cutting away the stem end and bottom of the pear. Then remove any bad spots.
You can cut pears any direction you choose:
- Crosswise results in a beautiful, lacey slice because of the tiny holes left behind when removing the seeds.
- Lengthwise is easier because you can core the pear all at once.
- You can even cut into the pear up to the middle section (similar to sectioning an orange) to avoid coring and seeding altogether, although this will be trickier to keep uniform.
Speaking of coring, if you choose to cut lengthwise and core the pear all at once, it’s a time-saver to have a tool that makes it easier.
Any one of these will be handy to have:
- pear loop tool
- melon baller
- general coring tool
In a pinch, a small, sharp spoon will work. Be sure to remove anything that’s stringy or fibrous while you’re at it.
Once the pears are sliced, lay them out on your dehydrator screen (or these protective sheets) with a bit of space between them for air to circulate freely.
Sprinkle with any spices you desire, then set the dehydrator to 135 degrees Fahrenheit and leave them in for 6-8 hours.
Start checking for doneness at 5 hours. They’re done when they feel leathery to the touch.

Dry Pears Without a Dehydrator Using Your Oven
If you’re not ready to invest in a dehydrator and want to attempt drying pears at home, here’s how you dehydrate pears in the oven:
Follow the steps above, but instead of laying out the slices on the dehydrator rack, use a nonstick baking sheet or a cookie sheet lined with parchment paper.
Turn the oven to 160 degrees Fahrenheit or the lowest setting possible.
After 2 hours, start checking the slices periodically to be sure they’re not burning, especially if they’re thin.
It’s a good idea to flip them at least once since they’re on a solid pan and not a dehydrator screen.
While it’s fine to leave slices in the dehydrator overnight, you shouldn’t do this with the oven as it’s possible to burn them.
If your oven won’t go as low as 160 degrees, crack the door to let some of the heat escape and to encourage air flow.
Dehydrate Pears In Air Fryer
If you have an air fryer, you can probably use it to dehydrate pears. Some air fryers come with a dehydrator feature, so follow the instructions in the manual.
But even if yours doesn’t, as long as it is an oven-type air fryer, you can use the racks to dry out your fruit.
Lay the slices out, as above, and set the air fryer temperature to 130 degrees Fahrenheit.
After 2 hours, switch the racks around.
After 4 hours, total, they should be close to done.
Drying pears in a basket-type air fryer isn’t ideal as there’s just not enough space for proper drying.
How to Store Dried Pears to Last Longer
For pears you plan to store, it’s important to ensure they’re 100% dry before long-term storage.
The proper way to accomplish this is through “conditioning.”
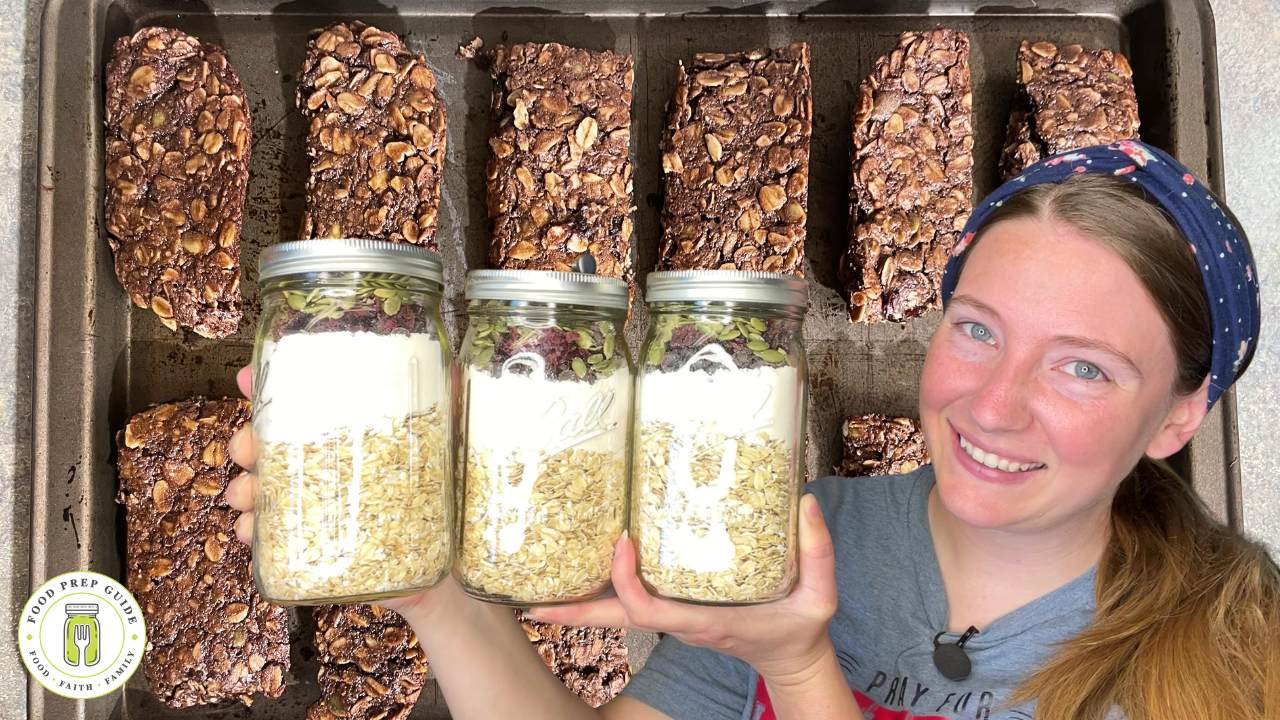
To condition your pear slices for storage, put them in a bag or jar and leave them for 5-7 days.
Shake them gently every other day or so. This evenly distributes any leftover moisture (similar to using a slice of bread to rehydrate brown sugar).
During that time, if any condensation forms on the bag or jar, put them back in the dehydrator.
Alternately, instead of dehydrating for longer, you can store your slices in the refrigerator for up to a week or snack on them right away.
Once they’re totally dry, store in airtight containers in a dark, cool, well-ventilated, dry place such as your pantry or a cabinet away from the stove.
The refrigerator and freezer are also fine, but chances are you have better uses for those primary pieces of kitchen real estate.
Before consuming, check for mold, and toss the entire container if you see any.
Correctly stored in airtight, critter-proof containers, dehydrated pears can last 6-12 months, especially if they’re dried to a crisp. Vacuum-sealed pear chips can last up to 2-3 years!
FREE FOOD STORAGE PLAN!

Does gathering and storing a year’s worth of food for your family seem overwhelming and unachievable?
Make it easy with our step-by-step plan. Subscribe to our weekly newsletter & we’ll send it to you FREE!
In addition to straight up snacking, there are so many ways to use dehydrated pears.
They’re a great emergency source of nutrition and glucose, making them perfect for trail mix or granola.
They’re a bright addition to cereals (hot or cold), curries, soups, yogurt, pies, pancakes, and compotes.
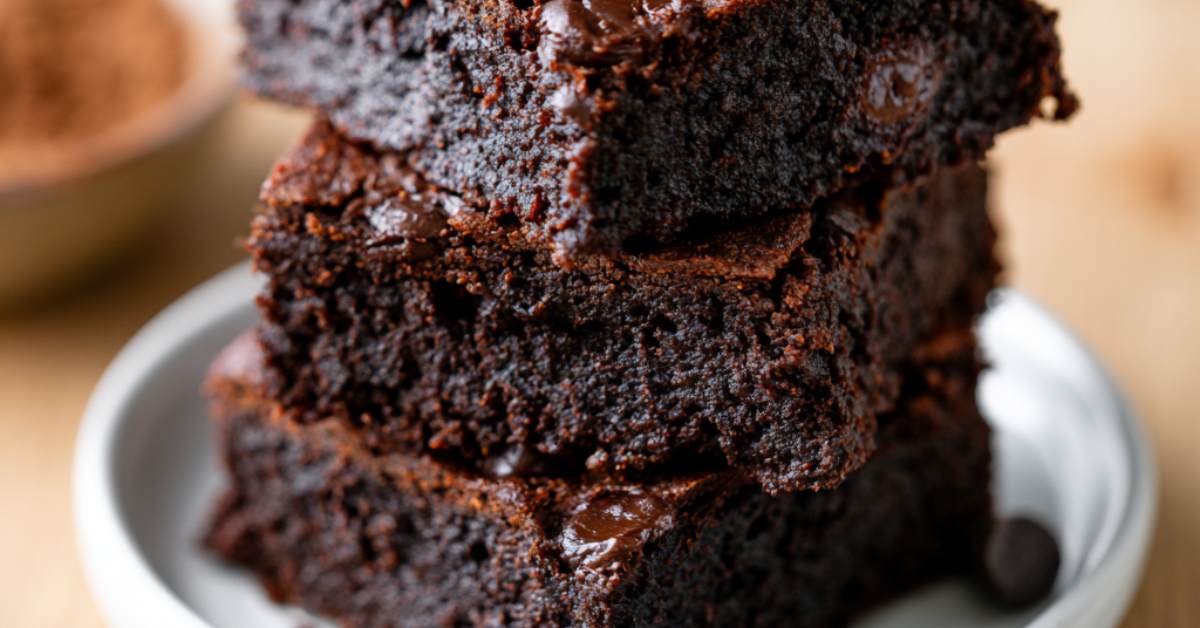
You can top ice cream with them or bake them into muffins, cakes and cookies.
They even make a delectable pizza topping, for those of you who are fans of pineapple pizza.
If you decide to rehydrate them in juice or other beverages, they’re yummy served with a dollop of whipped cream or covered in a sweet sauce.
Despite these amazing possibilities, eaten right out of the jar like candy can’t be beat!
FAQs
Do I need to dehydrate Asian pears differently?
Asian pears dehydrate beautifully and require no additional or different steps. They lend themselves well to the drying process because, unlike other pears, they actually firm up when ripe, making them easier to slice even at their peak sweetness.
How long do I dehydrate pears?
The length of time needed to dry out pears varies based on the method you’ve chosen (oven, dehydrator, or air fryer), as well as the thickness of the slices.
Unless you prefer chewy pear slices, you should dehydrate pears for however long it takes to achieve a crisp or leathery feel with no moist or cool spots.
How long do dehydrated pears last?
Depending on your self-control, they could last only about 2 minutes! But assuming they don’t get eaten directly from the dehydrator, you can store them for 6-12 months.
You can extend this to up to 3 years with a vacuum sealer.
Can you dehydrate overripe pears?
Overripe pears are harder to dehydrate because it’s tough to cut to a consistent thickness. Most pears, other than Asian pears, get soft as they ripen, which is why it’s best to dehydrate them while still unripe.
However, they’ll still be safe to eat—even delicious—if they go into the dehydrator very ripe. Just watch them carefully, and remove thinner slices as they dry out.
Do I need to peel pears before dehydrating?
There’s a debate among hardcore dried pear enthusiasts—okay, so maybe there aren’t actual hardcore pear enthusiasts, but there’s still a debate—to peel or not to peel.
I’m in the “to peel” camp. I find pear peels grainy and unpleasant. Besides, dried pear peels can harden and make the end product less palatable.
However, some don’t mind this and just leave the pear as-is, peel and all. It’s truly up to you whether you peel or not!
Learning how to dehydrate pears is, at times, trial and error to get the exact taste and texture you desire.
Experiment a little to find the thickness you like best and what spices (if any) you want to add before drying.
As long as you make sure you start with quality pears, and they’re completely dry before storing them, you’ll succeed in your quest for delicious dried pears.
Print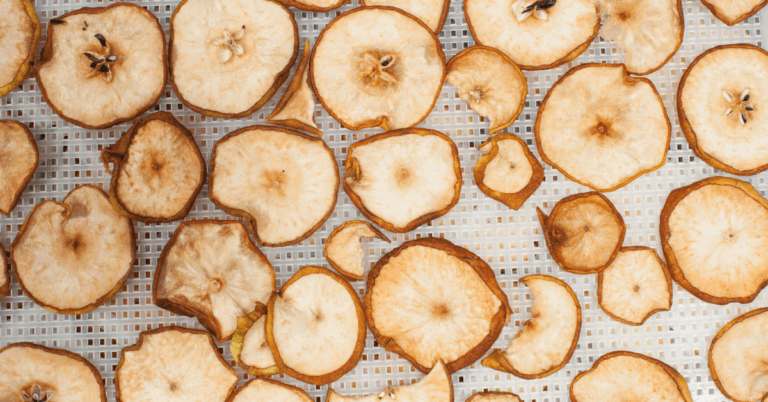
Easy Dehydrated Pear Slices
Preserve your pears the easy way by dehydrating them! Enjoy delicious pear chips for months to come.
- Total Time: 7 hours 10 minutes
Ingredients
- 6 not-quite-ripe pears, washed and rinsed well
- Apple pie spice (1 Tbsp cinnamon, ¼ tsp nutmeg, ¼ tsp allspice)
- 3 Tbsp Sugar
- Optional: Citric acid wash (1/2 C lemon juice, 3 cups water)
Instructions
- Peel, if desired.
- Using a mandolin or sharp knife, cut off the top and bottom of the pear, then uniformly slice pears crosswise ¼ inch thick, removing seeds afterward or as you go.
- If you wish to avoid browning, soak in the citric acid wash for a few minutes and then blot them with a towel to start the drying process.
- Lay out the pear slices on a dehydrator tray or a baking pan lined with parchment, leaving room for airflow around them.
- Sprinkle with the apple pie spice/sugar mixture.
- Put in the dehydrator or oven:
Dehydrator: Set the dehydrator to 135 degrees Fahrenheit for 6-8 hours, checking every 30 minutes from the 6-hour mark on.
Oven: Set the oven to 160 degrees Fahrenheit. After two hours, check on them every 30 minutes to be sure they’re not burning. It’s helpful to flip them over once the tops seem dry.
7. Your pear chips will be done when leathery and dry to the touch. If you leave them too long, they can always be semi-rehydrated with liquids before eating.
8. Cool completely.
9. Enjoy!
- Prep Time: 10 minutes
- Additional Time: 0 hours
- Cook Time: 7 hours


This post is so helpful! I never knew there were multiple ways to dehydrate pears. I’ve only tried using the oven before, but I’m excited to try the air fryer method next. Thanks for sharing such detailed tips!