

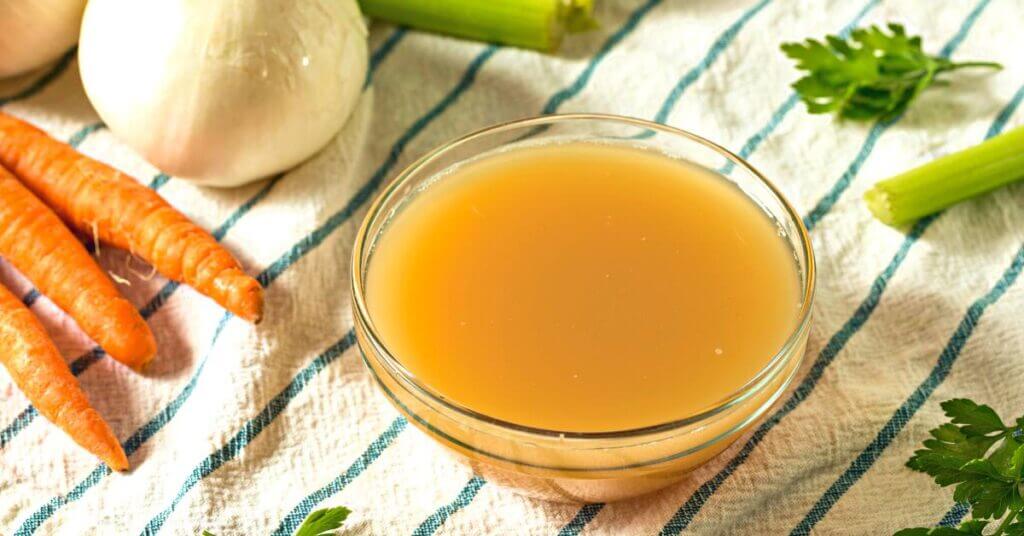
Canning chicken stock is a wonderful way to make your food dollar stretch.
A whole bird—or even a bag of thighs or leg quarters—can provide more than just meat.
You’re already producing liquid stock when you cook chicken, so why not can it up and put it to good use?
We’ll walk you through the process of making and canning chicken. Let’s get started!
The Difference Between Chicken Broth, Stock, and Bone Broth
Have you ever stood in a grocery store soup aisle, staring at cans and cartons of soup base with no idea what to buy? Are all those labels—chicken broth, bone broth, and stock—just different ways of saying the same thing?
No. Bone broth, broth, and stock really are different products. Similar, yes, but not exactly the same.
First, what is bone broth? Bone broth is not usually used a soup base but, rather, as a nutrient-rich hot drink with numerous health benefits. It involves simmering roasted bones by themselves for many, many hours—even days—to release the gelatin and other nutrients (glucosamine, collagen, etc.) from the bones.
Regular broth (usually called simply “broth”) is simmered for much less time than bone broth—typically only a couple of hours. Besides bones and bits of meat, you can also add vegetables to produce a delicious soup base.
Finally, there’s stock. Stock is made with meatless, roasted bones simmered on their own or with vegetables for 4 hours or more. Stock is primarily used as an ingredient in soup and other recipes rather than being enjoyed by itself.
The good news is that all three can usually be substituted interchangeably in recipes. Plus, regardless of whether you make chicken broth, stock, or even bone broth, the canning process is the same.
How to Make Chicken Stock
For this article, we’re going to talk only about chicken stock, but remember that you can also can broth or bone broth the same way, if you choose.
To make chicken stock, you’ll need to first cook the chicken. Next, simmer the cooked bones with the seasonings of your choice either on the stovetop or in a slow cooker.
Cool the resulting liquid and skim the fat from the top. Now you’re ready to begin canning.
Time-Saving Tips for Making Chicken Stock
Make a Two-Day Plan
When it comes to making and canning chicken stock, it’s much easier and less stressful if you divide the process into two days.
Use Day 1 for cooking the chicken and making/cooling the stock. Save canning your homemade chicken stock for the following day.
I like to use a slow cooker for the first step and cook my chicken whole. The slow-cooking method also means I don’t have to babysit the chicken or worry about it burning.
Let Your Crock-Pot Simmer Overnight
Once the chicken is fully cooked and tender enough to debone easily, clean the carcass thoroughly, removing as much meat as possible from the bones and from the liquid in the pot. Reserve the meat for another use.
Return the bones to the pot and add veggies and spices as desired. Simmer this all night.
In the morning of the second day, remove the bones and veggies, skim off any foam, and strain what’s left in the pot through a sieve or cheesecloth. Then cool the resulting liquid completely. I pour my strained stock into half-gallon glass jars and refrigerate for several hours.
Once it’s cooled, skim the hardened fat off the top and discard or save for later.
When you’re ready to can your chicken stock on Day 2, reheat it to a boil and begin the canning process described below.
Collect & Freeze Veggie Scraps Throughout the Month
The best thing about making your own chicken stock (or broth) is that you can add whatever veggies and flavorings you wish. And since you’re straining everything at the end, the veggies you use don’t need to be in a form you’d usually eat.
For example, you can throw in the parts of the vegetable you’d normally toss or compost, such as carrot tops, celery trimmings, parsley stems, and the ends of onions.
If you keep a lidded container or big zipper bag in an easy-to-access part of your freezer, you can just toss in the veggie scraps right from the cutting board each night.
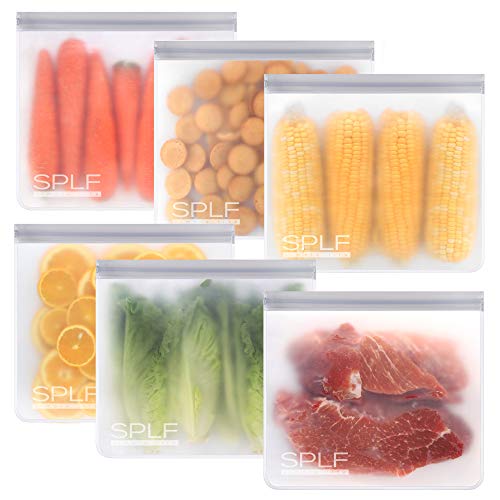
Prices pulled from the Amazon Product Advertising API on:
Product prices and availability are accurate as of the date/time indicated and are subject to change. Any price and availability information displayed on [relevant Amazon Site(s), as applicable] at the time of purchase will apply to the purchase of this product.
When you’re ready to make stock, you’ll have all you need right there for free!
Add Apple Cider Vinegar
A great tip to leach the minerals and nutrients from the bones more easily is to add 1-2 tablespoons of apple cider vinegar to the water before beginning to simmer the bones.
This is especially useful if you want to get the stock done on the stovetop the same day as cooking the chicken, rather than in a slow cooker overnight, because it will speed up the process.
Instructions for Pressure Canning Chicken Stock
As we’ve mentioned in many of our other articles, it’s only safe to water bath can highly acidic foods.
Therefore, if you’re wondering if it’s safe to can chicken stock without a pressure canner, the answer is no. Water bath canning is not a safe method for preserving chicken stock, so you must use a pressure canner.
Whether pressure canning chicken stock or bone broth, the instructions are the same. For details, be sure to check the recipe below.
Once the stock has been defatted, reheat it until it’s boiling. Then fill prepared jars, leaving an inch at the top, and wipe them clean. Add the lids and bands to fingertip tight.
Then process the jars in your pressure canner—20 minutes for pints and 25 minutes for quarts.
(Remember to adjust for your elevation.)
Once your jars are cooled and fully sealed, store them in a cool, dark place.
If canned properly, home canned chicken stock should last a year or longer. That means healthy, nutrient-dense soup base any time you want to make a quick meal—no thawing required!
FREE FOOD STORAGE PLAN!
Does gathering and storing a year’s worth of food for your family seem overwhelming and unachievable?
Make it easy with our step-by-step plan. Subscribe to our weekly newsletter & we’ll send it to you FREE!
Does Canning Chicken Stock Destroy Nutrients?
While canned chicken stock may look slightly different than fresh, the majority of its health benefits remain intact. Some heat-sensitive nutrients may be lost during the canning process, but it is likely minimal.
What About Canning Chicken Stock with Meat or Fat Still In It?
It’s important to remember that you have to skim fat off chicken stock before canning it. Leaving fat in the jar can affect the seal.
If you wish to save the fat, perhaps to use later in place of butter or oil when cooking vegetables, skim it off and freeze it.
Remove as much fat as possible but don’t worry about a few tiny particles here and there.
Canning chicken broth with chunks of meat isn’t recommended for the same reason that it can affect the seal and safety of the end product.
READ NEXT: How to Can Shredded Chicken
Print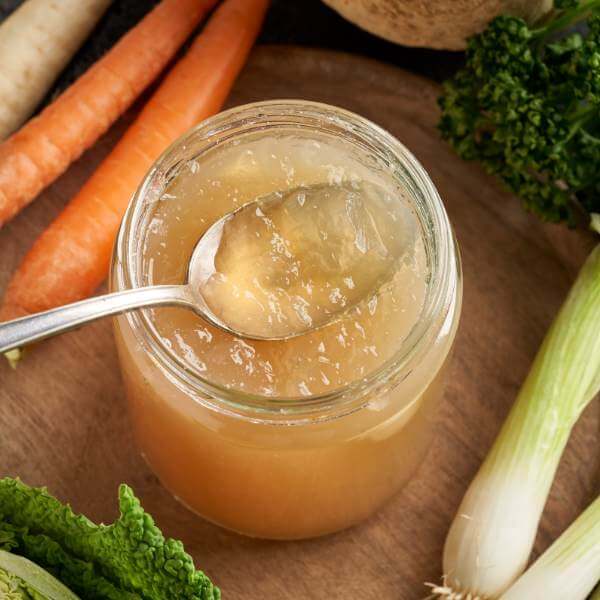
Canned Chicken Stock Recipe
This chicken stock is slow cooked overnight, then canned the next day!
- Total Time: 10 hours 30 minutes
- Yield: 8–10 pints 1x
Ingredients
- Pressure canner
- Clean pint jars with lids and rings
- Large slow cooker
- Stockpot
- Skimmer
- Ladle
- Cheesecloth or sieve
- Clean towel
- Small containers (for cooling more quickly to avoid overheating your fridge)
- Cooked chicken bones (roasted has the best flavor)
- Vegetables (or vegetable trimmings) of your choosing (I like to use onions, celery, and carrots)
- Seasonings – salt, pepper, spices (fresh or dried)
- 1–2 Tbs apple cider vinegar
Instructions
- Add all ingredients to the slow cooker and cover with cold water.
- Slow cook on low for at least 8 hours (all day/overnight is fine).
- Skim any foam from the surface – leaving this on can greatly alter the final taste.
- Strain into small containers in the fridge to cool.
- When fully cooled, skim the fat layer (freeze the fat if desired) and add the stock to the stockpot on the stove.
- Prepare pressure canner and jars per the pressure canner’s manual while bringing stock to a boil.
- Ladle the stock into jars, leaving 1” of headspace.
- Wipe the jars with a clean towel.
- Seal jars (center heated lids over the jars, then add bands to fingertip tight).
- Process jars in your pressure canner at 10 pounds pressure for 20 minutes for pints (adjust according to your altitude).
- Turn off heat and allow canner pressure gauge to return to 0 (zero) pounds pressure.
- Wait 5 more minutes before removing the canner lid. Allow 10 more minutes without the lid before carefully removing jars to cool.
- After 24 hours, check lids for a complete seal.
- Store sealed jars in a cool, dry place for a year or more.
- Prep Time: 10 minutes
- Canning Time: 20 minutes
- Cook Time: 10 hours


I have a huge bowl full of cooked chicken bones and a gallon bag of veggie scraps in the freezer I want to make and can chicken stock but really don’t want to use the slow cooker because of the small size. Can you give guidance on doing this on the stovetop?
Add enough water to cover the bones and simmer for 30-45 minutes – https://nchfp.uga.edu/how/can/preparing-and-canning-poultry-red-meats-and-seafoods/chicken-or-turkey-stock/