Growing your own potatoes can be an enjoyable and rewarding experience, but knowing when to harvest them is crucial for a successful crop.
Thankfully, potato plants offer visual cues to signal that they’re ready to be picked!
One of the key factors in determining when to harvest potatoes is the plant’s foliage. Typically, as the days to maturity pass, the foliage will start to turn yellow, wilt, and eventually die back.
Although the color and health of potato plant foliage play a significant role in determining harvest timing, there are additional aspects to consider….
Identifying Potato Plants Ready for Harvest
Leaves and Foliage
When observing your potato plants for signs of readiness, pay attention to their leaves and stems. After around 10 weeks of growing, the majority of the leaves and stems will wither and die, signaling that it’s time to harvest.
(Some potato varieties take longer to grow than others. We’ll discuss this more below, but we provide greater detail in the guide at that link.)
Another indication that your potatoes are ready to be picked is if the plant’s foliage has turned from green to yellow.
It’s important to differentiate between early and maincrop potatoes, as each type has a specific harvesting time.
Keep an eye on the weather as well, since it can greatly affect the growth and development of your plants.
It is essential to note that this wilting and dieback during the expected harvest time is normal and not a sign of disease or other issues.
Want help start to finish? Get our complete potato growing guide here.
Flower Development
As your potato plants continue to grow, they’ll start to develop flowers. It’s essential to be mindful of these flowers when determining if your potatoes are ready for harvest.
(You’ll want to keep track of when you planted your potatoes, so you can know when to expect flowering.)
Flowering indicates baby potatoes have started growing. If you want “baby” or “new” potatoes, you should harvest 1-2 weeks after flowering.
Once your plants have flowered, and the leaves are turning yellow, you can expect that it’s nearly time to collect your tubers. However, avoid harvesting any green potatoes, as they are not safe to eat.
Here’s a Video Showing the Signs of Potato Readiness in More Detail
Key Harvesting Stages and Timelines
Early Potatoes vs Maincrop Potatoes
When it comes to potato harvesting, there are two primary categories to consider: early potatoes and maincrop potatoes.
-
Early potatoes (also known as new potatoes): These varieties are planted in early spring, are usually planted closer together, and are ready to harvest about 2 weeks after your potato plants flower.
-
Maincrop potatoes: For fully mature potatoes, give the potato plants adequate space, and plan to harvest between 100-130 days, but let the plant signs—not the calendar—dictate when you harvest.
Determining Optimal Harvest Time
One of the features that makes potatoes easy to grow is that they basically tell you when it’s the optimal harvest time. Pay close attention to the following stages:
-
Flowers: A healthy, growing potato plant will produce flowers. This is a good indicator that the tubers are developing underground.
-
Foliage changes: As the potatoes mature, the tops of the plants will shrink in height (down to around 2 feet or 60cm) and lose their bright green color. You may notice patches of yellow-leaved plants in the crop.
-
Leaf drop: Potato plants will eventually turn yellow, and their leaves will fall off. The stems may also blacken and lie on the soil.
It is important to harvest potatoes at the correct time based on their category:
-
For early potatoes, harvest them as soon as the plants start to flower. This usually occurs at the very end of spring.
-
For maincrop potatoes, wait for the foliage to change and the leaves to drop. This typically occurs early- to mid-summer
.
In short, keep an eye on the flowers and foliage to determine when your potatoes are ready to be harvested and enjoyed!
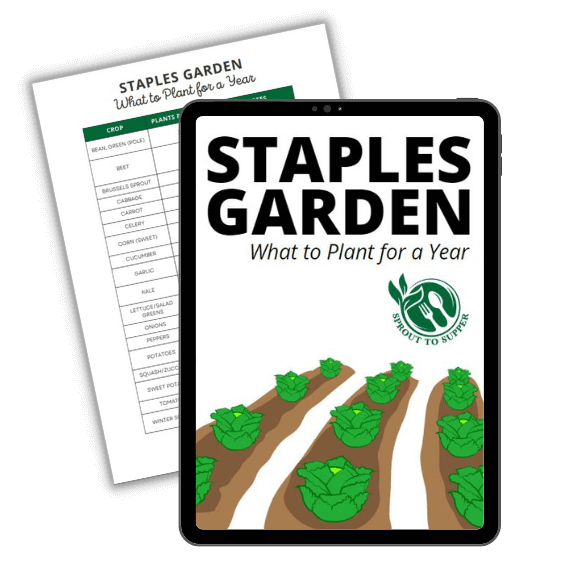
Dream of Filling Your Pantry with Homegrown Staples?
Plan your garden with our FREE PRINTABLE—Staples Garden: What to Plant to Feed Your Family for a Year!
Harvesting Techniques and Tools
Digging Methods
The first step in harvesting your potatoes is to dig them up. A garden fork is the ideal tool for this job, as it will minimize damage to your potatoes and make the process easier. To begin, gently insert the fork into the soil about 6-8 inches away from the base of the plant. Carefully lift the soil and the potatoes should come up with it.
If your soil is heavy or compacted, it may be worth using a technique known as “deep mulch.” This involves simply placing the potato directly on the ground and cover with very thick layer of mulch, like straw. As the plant grows, continue to add more straw until there is no chance of sunlight reaching your potatoes.
Since we live in the south with heavy clay soil, this is how we grow our potatoes! For more info, here’s our guide on the best soil for potatoes.
Container Harvesting
If you have grown your potatoes in containers, the harvesting process will be a bit different. Simply tip the container over onto a tarp or another clean surface, and gently sift through the soil to find the potatoes.
This method is particularly useful for those with limited space, as it allows for a quick and mess-free harvest.
Remember to always handle your potatoes with care during the harvesting process, as they can bruise easily. Taking your time and being gentle will result in a better quality harvest.
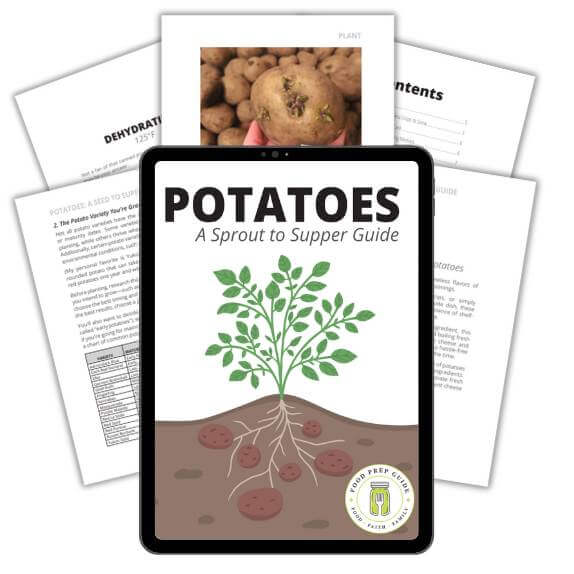
Master Potatoes From Seed to Table
Get growing & preserving faster with no-fluff tutorials for every step from plant to plate!
Potato Varieties and Characteristics
There are many different varieties of potatoes, each with its own unique characteristics.
Just for funsies, let’s discuss a few popular types, focusing on their color, shape, and taste.
Color
Potatoes come in a wide range of colors, including:
- White potatoes: These are the most common potatoes and include varieties like Russet and Kennebec.
- Red potatoes: Examples include the Chieftain and the Red Norland.
- Yellow potatoes: Yukon Gold is a popular variety, along with the Ida Rose. (Yukon Gold is our favorite!)
- Purple potatoes: Purple Majesty and All Blue Potato are popular choices for their striking color.
Shape
Potatoes also vary in shape. Some common types include:
- Round potatoes: These include the Yukon Gold and Red Norland varieties, which are perfect for boiling and roasting.
- Oval potatoes: The Russet potato is a common oval-shaped potato, highly regarded for its versatility and ideal for baking or frying.
- Fingerling potatoes: As their name suggests, these potatoes are long and slender, resembling fingers. Russian Banana and French Fingerling are notable varieties ideal for sautéing and roasting.
Taste
Each variety of potato offers different flavors and textures:
- Waxy potatoes: These types of potatoes hold their shape well when cooked, making them excellent for salads, gratins, and slicing. Varieties, like the Princess Laratte, have a buttery texture and earthy flavor.
- Starchy potatoes: Russet potatoes are the most common starchy potato, and their high starch content makes them ideal for baking, frying, and mashing. They have a light, fluffy texture and mild flavor when cooked.
- All-purpose potatoes: Yukon Gold and Kennebec are versatile potatoes suitable for various cooking methods, with a balanced starch to moisture content. They provide a smooth, creamy texture and full flavor.
Post-Harvest Care and Storage
Curing and Healing
After harvesting potatoes, it is essential to go through the curing process. Curing allows freshly harvested potatoes to heal and prevents damage during storage. To cure potatoes:
- Place them in a dark, well-ventilated area with a temperature of around 50-60°F (10-15°C) and high humidity (85-90%)
- Leave the potatoes for about 10-14 days
- Avoid washing potatoes before curing, as moisture can increase the risk of rot
*Important Note: If you will be preserving your potatoes via canning or dehydrating, you do not need to cure them first. You can simply wash and process. Just don’t wash the potatoes until you are ready to process. 🙂
Best Storage Practices
Once the potatoes have been cured, it’s time to store them. To ensure the best storage conditions and prolong the life of your potatoes, follow these practices:
- Choose a cool, dark place with a temperature of about 40-45°F (4-7°C). Ideal storage areas include a basement, cellar, or insulated garage
- Place the potatoes in a well-ventilated container, such as a wooden box or mesh bag, to prevent humidity build-up
- Keep different varieties of potatoes separate, as some may release gases that can affect the quality of other vegetables
- Store potatoes away from onions, as they release a gas that can accelerate sprouting
Note: Avoid storing potatoes in the fridge, as the cold temperatures can cause the starch in mature potatoes to convert into sugar, changing the taste and texture.
Dealing with Potato Plant Issues
If you determine that your plants aren’t ready to harvest yet, here are some tips to address any issues that may arise.
Diseases
One of the most common diseases affecting potato plants is potato blight. This fungal disease can cause foliage to turn yellow, blacken, and eventually die, making it essential to monitor your plants and take action if you see these symptoms.
To prevent potato blight, ensure proper air circulation, avoid overhead watering, and use disease-resistant potato varieties.
Another issue is solanine production, which happens when potatoes are exposed to sunlight, causing them to turn green and develop a bitter taste.
To avoid solanine, make sure to hill your potato plants (i.e., mound soil or mulch around the stems), keeping the tubers covered and away from direct sunlight.
Pests
As soil temperatures warm up, pests become an even bigger issue. Potato plants, in particular, can be affected by various pests, such as aphids and potato beetles.
Aphids: These tiny insects feed on the plant sap, causing distorted leaves and weak growth. To control aphids, introduce beneficial insects such as ladybugs or use insecticidal soap. Monitor for signs of infestation and act accordingly.
- Prevention tip: Use reflective mulch around your plants to help deter aphids.
Potato beetles: These pests can defoliate plants, leading to reduced yields. Handpick them off the plants, use floating row covers, or apply a targeted organic insecticide containing neem oil or spinosad.
- Prevention tip: Use crop rotation and pest-resistant varieties to minimize the risk of infestations.
By promptly addressing these potential issues with your potato plants, you’ll increase the likelihood of successful harvests and enjoy healthy, delicious baked potatoes straight from your garden.
READ NEXT: Ready to enjoy your harvest? Try this potato soup!