

I’m embarrassed to admit that I avoided rendering lard for years because I thought it was too difficult.
If only I had taken the time to research it sooner. We could’ve been enjoying home-rendered lard for years!
Don’t be like me … take the time to learn how to render lard. (You’re already in the right place to do so!)
It’s easy peasy….
Understanding Lard and Why We Decided to Add It to Our Pantry
Let’s dive right into the heart of home cooking traditions and talk about lard—a gem in our pantries that’s been unjustly maligned over the years.
Unlike hydrogenated oils and other highly processed fats that truly deserve their bad rap for health concerns, lard—especially when rendered at home from a reputable source—is in a league of its own.
We have long wanted a shelf-stable fat that didn’t have the negative properties as the aforementioned oils for our sauteed vegetables and other cooking applications, and lard is our answer.
If you, too, are ready to welcome back this traditional cooking fat that was once a cornerstone of every well-stocked pantry, keep reading.
Choosing the Right Pig Fat for Rendered Lard
First, you should know there are two different forms of pig fat that we can render.
If you want to use lard primarily for baking, leaf lard is what you want. This premium fat, nestled around the kidneys, is prized for its neutral flavor—making it perfect for flaky pastries and pie crusts alike.
Nonetheless, should you find yourself with fat from other parts of the pig, fear not. While this fat carries a more pronounced piggy flavor, it remains a fine choice for cooking.
In fact, we kinda like that piggy taste with our vegetables and just consider it extra seasoning, so we choose to render “regular” fat versus leaf lard.
Preparing Pig Fat for Rendering
Separate the fat from the meat. Begin by cleaning the fat with cold water to remove any remaining blood or debris.
This step ensures a cleaner finished product. Next, use a knife or grinder to chop the fat into small pieces.
The smaller your pieces, the faster the solids will render down into liquid.
If you’re working with a large amount like we were (15+ lbs), a grinder can save you a lot of time.
Step-by-Step Guide to Rendering Lard
After you’ve chopped the fat into little pieces, follow these steps:
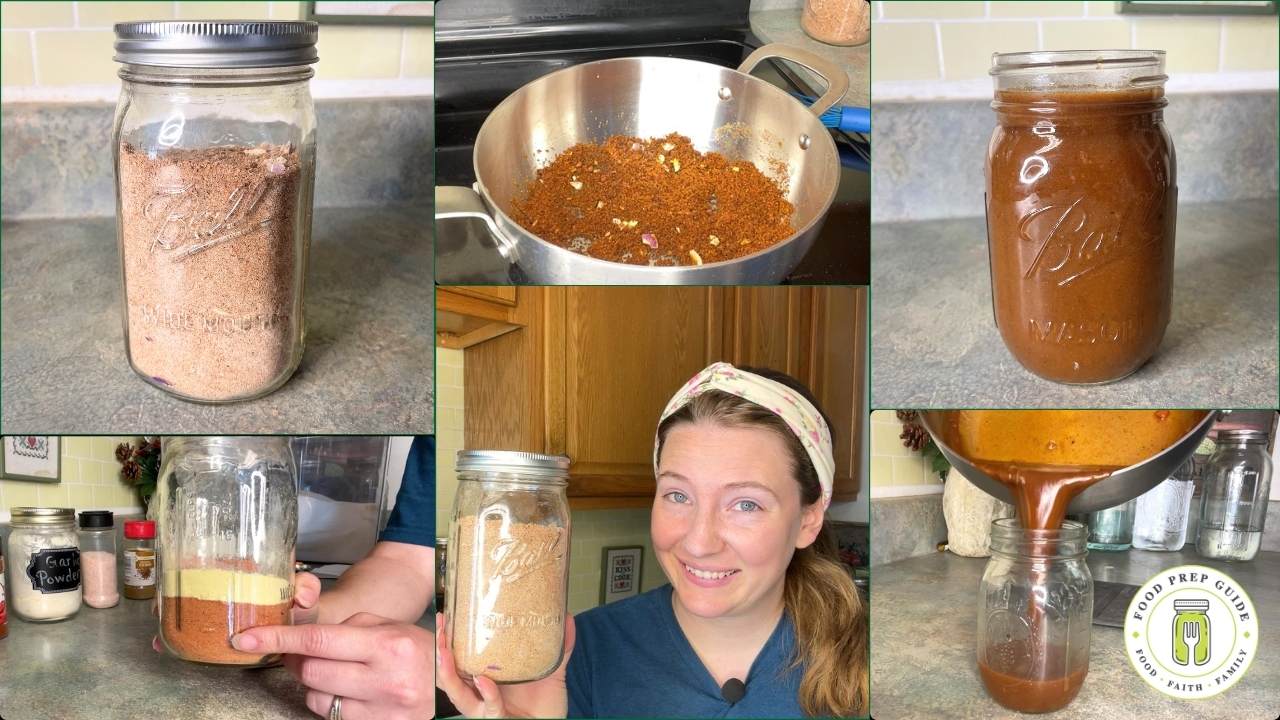
- Slowly melt the fat in a heavy-bottomed pot, slow cooker, or countertop roaster oven. Patience is key here; high heat can burn the fat, affecting the lard’s flavor, so cook low and slow. As soon as the fat liquifies, you can begin the next step.
- Strain the liquid lard through a cheesecloth or a fine-mesh strainer to remove any solid bits, ensuring your rendered lard is smooth and pure.
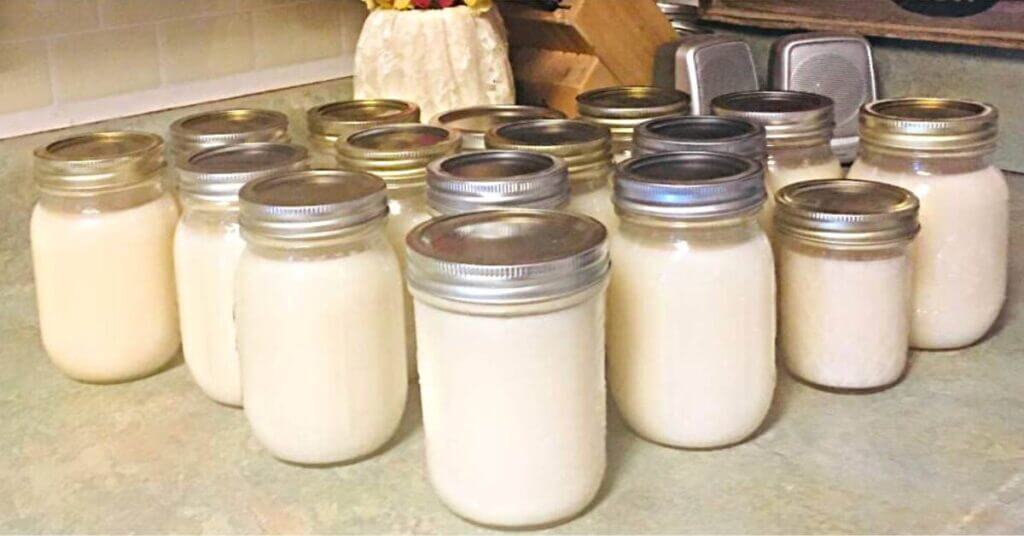
- Finally, pour the rendered lard into clean jars for storage. Allow it to cool before sealing the jars. (No need to can them.) More info on that below.
My #1 Tip for Making the Process Even Easier
If you’re busy and don’t want to babysit the stovetop, I highly recommend using a countertop roaster oven for the lard-rendering process.

Prices pulled from the Amazon Product Advertising API on:
Product prices and availability are accurate as of the date/time indicated and are subject to change. Any price and availability information displayed on [relevant Amazon Site(s), as applicable] at the time of purchase will apply to the purchase of this product.
I set it to 200°F, and just check on it every hour or so to stir and ensure the bottom isn’t burning.
Don’t Forget the Cracklings
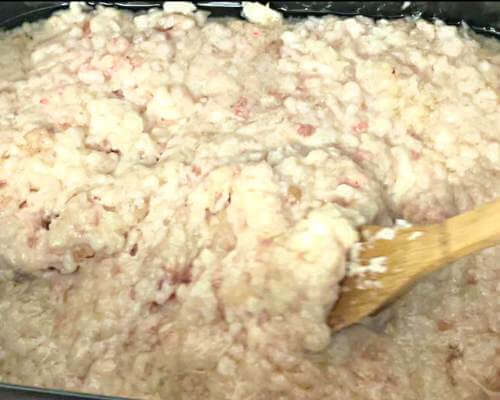
As you render lard at home, a delightful by-product awaits you: cracklings!
Picture pork rinds that are just a tad denser.
Obtaining them is a simple yet rewarding part of the rendering lard process.
As you strain the liquid gold of homemade lard, the solid bits remain behind and crisp up, transforming into what’s known as cracklings (or cracklins’ here in the south).
How to Store Lard
Once you’ve navigated through the rewarding journey of rendering lard, storing it correctly ensures that your efforts result in a long-lasting supply of this traditional cooking fat.
But I will say this … lard storage is a hot topic. Some insist on freezing it while others say it is shelf-stable for up to a year. The truth is your results will vary.
Here’s what I do:
- I store all my lard jars on my shelf at room temperature.
- I put the jar that I’m currently working through in the fridge (since it gets opened & exposed to air so often).
- If I still have jars of lard on my shelf a year from now, I will then transfer them into the freezer (because I personally don’t trust it to be shelf-stable for longer than a year.
FREE FOOD STORAGE PLAN!

Does gathering and storing a year’s worth of food for your family seem overwhelming and unachievable?
Make it easy with our step-by-step plan. Subscribe to our weekly newsletter & we’ll send it to you FREE!
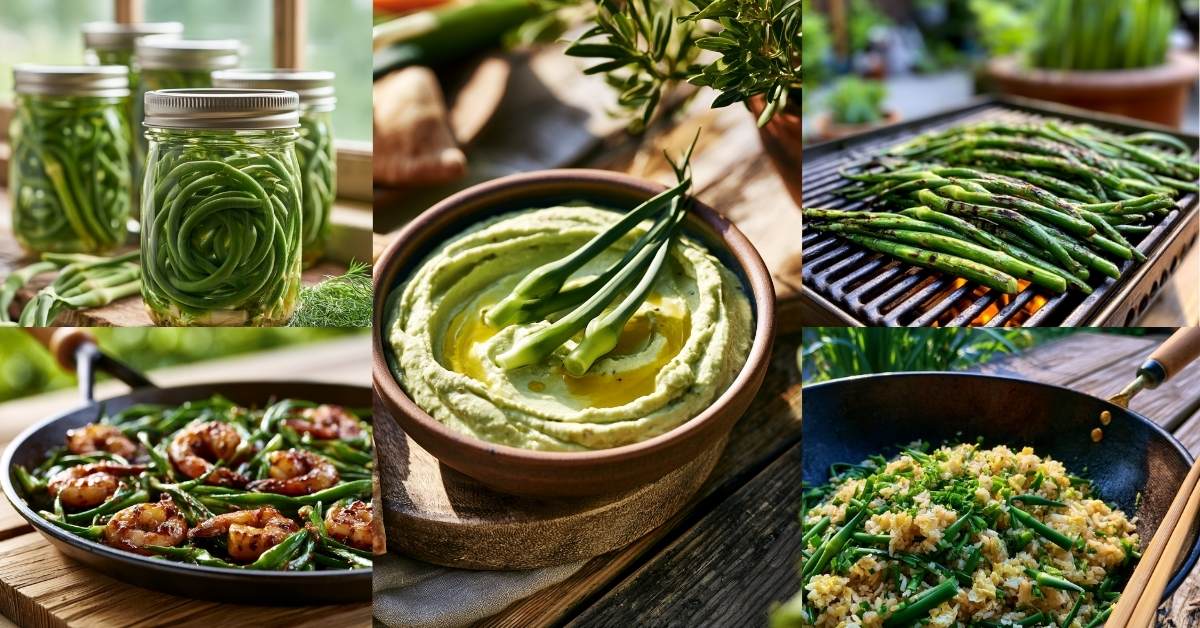
Ways to Use Lard
Once you’ve mastered the art of rendering lard, you’ll find that this traditional cooking fat opens up a whole new world of culinary possibilities.
Not only is lard celebrated for its high smoking point, making it an excellent choice for frying and sautéing, but its rich flavor can also enhance everything from savory dishes to sweet pastries.
Here are just a few ways you can incorporate this old-fashioned lard into your home cooking:
- Cooking with lard in place of other fats can elevate the flavor of your dishes, adding a depth that’s hard to achieve with oils.
- Lard recipes passed down through generations often highlight the unique qualities of lard, particularly in pie crusts and biscuits where it lends unparalleled flakiness.
- Pulled pork and homemade bacon are instantly more delicious when prepared with your own rendered lard.
Final Thoughts on Fresh, Old-Fashioned Lard
I can’t help but reflect on the deep satisfaction that comes from creating something so traditional and versatile from scratch.
Imagine pulling a batch of flaky pastries from the oven, their aroma filling the kitchen, knowing the secret ingredient is your home-rendered lard.
Think of the satisfaction as you share these creations with loved ones, introducing them to the unmatched taste that store-bought fats simply can’t replicate.
This is the beauty of diving into the art of making lard at home—it connects us to our food in a way that is both profoundly simple and deeply meaningful. It’s a nod to the past, to the traditional cooking fats that nourished generations.
So, if you’ve been sitting on the fence, wondering whether to take the plunge into rendering your own lard, let this be the nudge you need!


Do you cut off any bacon meat from the fat before rendering? I didn’t and there is a layer of, looks like bacon fat on the bottom of the jar below the lard. Will this ruin the lard and should I redo the jar taking out the bottom layer?
Yes, you need to separate the meat from the fat. It’s virtually impossible to get every tiny bit off, but you want to remove as much as possible.
It can potentially ruin it, yes. I would dump the jar in a pot, remove as much of the separated grease as possible, render it some more, then re-jar it.
Maybe this is a dumb question, can you render lard from beef fat?