

Usually, when I’m short on time and want to put away chicken for my family to eat later, I seal it up in a vacuum bag and toss it in the freezer.
After all, that’s a quick and easy way to preserve chicken.
But sometimes pre-cooking and canning shredded chicken is the better option.
Let me tell you why….
Why You Should Can Shredded Chicken
First of all, why do I go to the trouble of canning chicken at all when freezing is such an efficient method of preserving excess chicken meat?
- I use canning to store chicken meat when I have too much to freeze. (Freezer space is a limited and hot commodity.)
- It’s SO nice to just grab a jar of pre-cooked chicken off the shelf when my meal planning fairy is on vacation. No thawing required. (I don’t really have a meal planning fairy, but wouldn’t that be awesome?)
- I also love that canned chicken is shelf-stable—no electricity needed. (We lose power pretty often.)

Wondering why I can’t just freeze the cooked chicken? When I cook and then freeze chicken, the texture seems “off” to me. Since having cooked chicken ready to go can be a lifesaver on a busy night, my solution is to cook and shred the chicken, then can it.
Shredding it makes it simple to use in just about any dish. Plus, the canning process makes it so tender.
How to Can Cooked Chicken Using the Hot Pack Method
Since I really do appreciate having chicken pre-cooked and ready to go for meals, I typically use the canning process for cooked chicken. This is known as “hot packing.”
You can actually can chicken several ways, but canning cooked chicken—in shredded format—is probably my favorite. In addition to turning it into a convenience food for speedy meal prep, here’s my reasoning:
- I feel like cooked chicken wastes less of the meat than raw, since it separates easily from the bone.
- It also means I’m not wasting space on storing parts of the chicken we can’t eat.
- And, by cooking the chicken before I begin canning, I end up with fresh chicken stock that’s ready to use.
- I’ve also heard that pre-cooking canned chicken extends the shelf life, but ours doesn’t usually last long enough to test this theory!
To can cooked chicken using the hot pack method, I love my instant pot to get the chicken done and ready to go in the least amount of time.
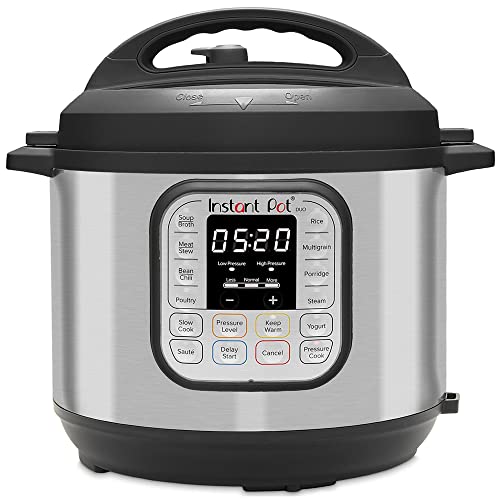
Prices pulled from the Amazon Product Advertising API on:
Product prices and availability are accurate as of the date/time indicated and are subject to change. Any price and availability information displayed on [relevant Amazon Site(s), as applicable] at the time of purchase will apply to the purchase of this product.
Mine is big enough to put the whole chicken in it, but if yours isn’t, you can just cut it up.
You can also cook your chicken a different way if you don’t have an instant pot.
- While the chicken cooks, ready the pressure canner by adding water and heating it, and get the jars clean and ready.
- Once it’s cooked, remove the chicken from the broth, but don’t throw out any of the liquid. You’ll need it soon for the canning process.
- When the cooked chicken is cool enough to work with, remove the skin if you wish and then pull the meat from the bones. If it matters to you, separate the white and dark meat.
- Then you can either shred it with two forks or use a hand mixer to do this.
- Pack the jars with the meat, leaving an inch of headspace.
- This is where the broth comes in. Pour it over the chicken pieces up to 1 inch from the top of the jar.
- To remove air pockets, put a plastic knife or similar tool down one side of the jar and wiggle it around. This is called “debubbling.”
- Add salt. This isn’t required, but I like to salt my chicken. I only use ½ tsp per pint, since I can always add more when I actually use the chicken down the road.
- Finally, wipe the jar clean, add the lids and bands, and process the chicken in a pressure canner using the instructions in the recipe card below.
NOTE: It is extremely important than you ONLY pressure can chicken.
It’s not safe to can meat in a water bath canner since it’s a low-acid food and water bath canning doesn’t get hot enough to kill the botulism toxin.
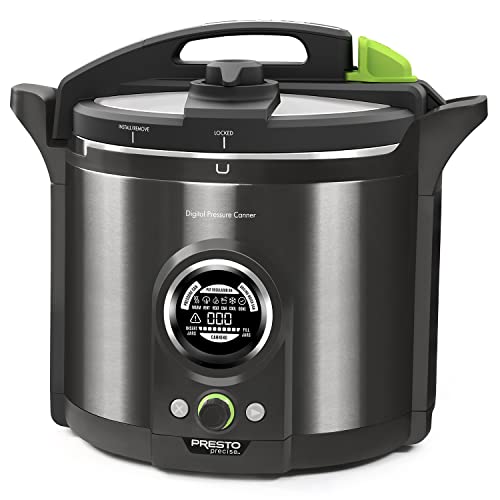
- Automated for simple home canning.
- No adjustments needed for pressure canning at high altitudes.
- Doubles as a boiling water canner for preserving fruits, jams, jellies, and salsa.
- Innovative sensor automatically detects and holds the exact temperature for the required time for safe home canning
- Digital interface guides user through each canning method
- LED display icons illuminate each step from start to completion.
- Includes recipes with standard processing times in accordance with USDA guidelines
- Preheats jars and keeps them hot until each jar is filled.
- Ten built-in safety features including cover locking system
- Includes instruction/recipe book, quickstart guide, and canning ra
Prices pulled from the Amazon Product Advertising API on:
Product prices and availability are accurate as of the date/time indicated and are subject to change. Any price and availability information displayed on [relevant Amazon Site(s), as applicable] at the time of purchase will apply to the purchase of this product.
Video Tutorial for Canning Shredded Chicken
Ways to Use Home Canned Shredded Chicken
As previously mentioned, I love having cooked and shredded canned chicken ready to use on nights when convenience is the difference between putting a real dinner on the table or trying to convince my husband that cold cereal makes a great meal!
Since pressure canning chicken leaves it fall-apart tender it works well in so many different recipes, unlike store-bought canned chicken.
If you’ve ever eaten commercial canned chicken, you’ll probably agree that it’s not great for much beyond chicken salad.
On the other hand, you can use your home-canned chicken in:
- Tacos and quesadillas
- Dips
- Wraps
- Roll-ups
- Casseroles
- Pot pie
- Pastas
- Soups
One of my favorite ways to use it is in this Chicken Chili Mac recipe!
If the only canned chicken you’ve ever eaten was from a store, don’t let that put you off from home canning your own shredded, cooked chicken.
You’ll be surprised how tasty and versatile this homemade convenience food can be!
Print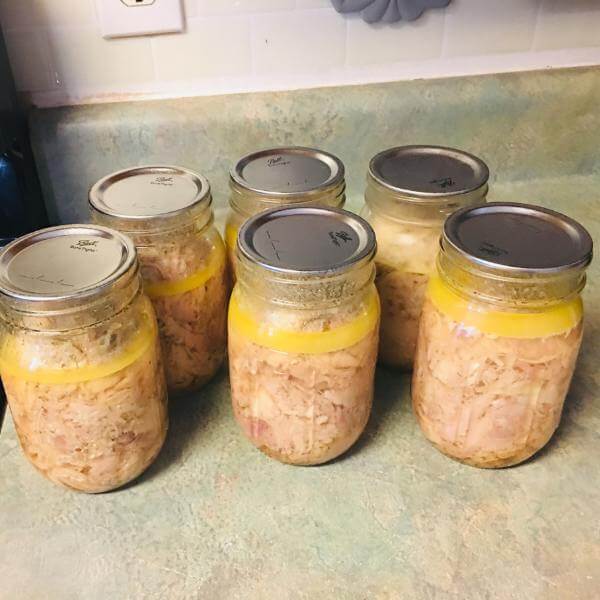
Canned Shredded Chicken
Canned shredded chicken is fall-apart tender and ready to use in a variety of meals!
- Total Time: 1 hour 40 minutes
- Yield: Approximately 6 pints 1x
Ingredients
- 2 cooked chickens, whole or in pieces (I usually cook mine in the instant pot)
- Forks or a mixer
- Broth or water
- Salt to taste (I use ½ tsp per pint)
- Pressure canner filled with 2 inches of water (If using the Presto Digital Canner, fill with 3 quarts of water as stated in the user manual.)
- Clean jars, lids, bands
- Clean towel to wipe the jars
Instructions
- Begin heating the water in the canner.
- Remove the chicken skin and the meat from the bones and shred the chicken using two forks or a mixer.
- Pack the jars with shredded meat, leaving 1 inch of headspace.
- Pour in broth or water, also to within 1 inch of the top of the jars.
- Add salt (and pepper, if desired).
- Using a plastic knife or bubble tool, slide it in between the jar and chicken. Then wiggle it to get rid of air pockets.
- Wipe off the jar rim before adding lids and bands to finger tightness.
- Process the jars in your pressure canner using instructions in the manual. Process pints for 75 minutes and quarts for 90 minutes. Be sure to adjust pressure to your altitude. (If you're using the Presto Digital Pressure Canner, this occurs automatically.)
- Once it’s finished, allow the canner to cool for a few hours, then open it.
- After 10 minutes, remove the jars using jar lifters and place on a towel to continue cooling for 24 hours.
- Check the seals on the jars.
- Wipe clean and store in a cool, dark place for 12-18 months.
- Use canned chicken in a recipe of your choosing or by itself – no need to cook it again.
Notes
NOTE: You absolutely MUST use a pressure canner when canning meat to avoid the botulism.
- Prep Time: 25 minutes
- Canning Time: 1 hour 15 minutes
- Cook Time: 0 hours
- Category: Canning


How do you know that the seals have all sealed correctly?
Thank you for this great video!!!
Hi Maria, we have a post on false seals & how to verify/identify a true seal – https://foodprepguide.com/what-is-a-false-seal-in-canning/
Near the end of that post, there is a section on “How to Check a Canning Seal.” Hope that helps! 🙂
Can you can shredded beef (like Italian Beef) in the same manner?
Yes, you can. Here’s instructions for beef. Ground, chopped, or shredded, it’s all processed for the same amount of time at the same amount of pressure.
Can you do this with a cooked rotisserie chicken from the store?
I just found you and want to learn all i can about doing this type of canning of all foods. I will definitely be saving your stuff.
Absolutely! 🙂 Welcome to Food Prep Guide. ❤️
Ty excited to get started
I am curious about the canning times listed…if raw chicken cold packed is processed for 90 minutes why would precooked chicken need to be processed for the same length of time?
It takes the same amount of heat and time to kill botulism spores in cooked food as it does uncooked food. 🙂
Would canning only chicken breast work just as well? I assume it would be the same process?
You can raw-pack chicken breasts. Here’s our tutorial – https://www.youtube.com/watch?v=jY7lvyoQv5k&t=281s
And here’s the NCHFP instructions – https://nchfp.uga.edu/how/can/preparing-and-canning-poultry-red-meats-and-seafoods/chicken-or-rabbit/