Have you ever looked at your backyard and wondered how you could produce food in it?
What if you could transform your backyard into a luscious vegetable garden—using just straw and potatoes?
What I saw when I harvested our spring potatoes blew my mind, and it changed the way I think about installing new garden beds.
When I first started my vegetable garden, I didn’t know there was a difference between dirt and soil.
It takes years to build soil that can sustain food growth … or so I thought.
I don’t want to jump the gun and get too excited too soon but …
I think I stumbled upon a method to transform raw ground into PRODUCTIVE vegetable garden in a year or less….
Choosing the Right Location
When starting a vegetable garden in your backyard, the first thing to address is location. You don’t want to invest time and energy into a plot that will never produce food because it was poorly placed.
Most vegetables thrive in at least 6 hours of unobstructed sunlight per day, with some even benefiting from up to eight hours of exposure.
Therefore, you’ll want to install your garden in an area that receives full sun.
That means choosing a spot that isn’t blocked by trees, buildings, or other obstacles that may create shade for your plants.
Another important factor to consider is the quality and drainage of your soil in a particular location.
If you’ve ever experienced standing water in your yard after a heavy rain, then you already know how different areas—even in the same backyard—can drain differently.
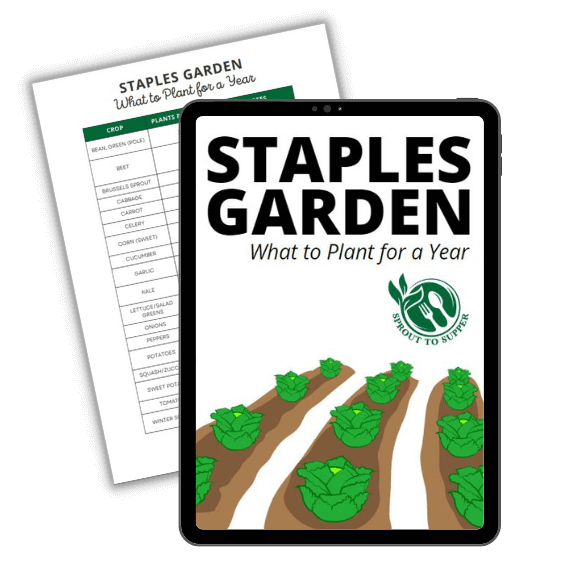
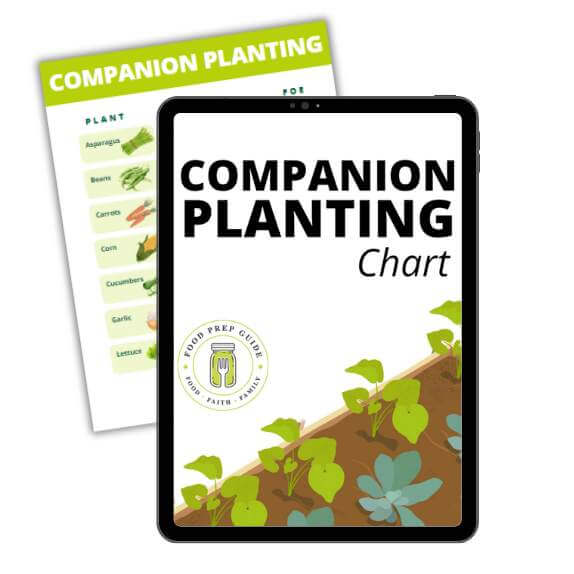
Dream of Filling Your Pantry with Homegrown Staples?
Plan your garden with our FREE PRINTABLE—Staples Garden: What to Plant to Feed Your Family for a Year!
Good soil quality and proper drainage are essential for healthy plant growth, which we’ll discuss in-depth in the next section.
By carefully selecting the right location for your backyard vegetable garden, you’ll create an environment where your plants can thrive, and you’ll enjoy the fruits—and vegetables—of your labor!
Preparing the Soil
Before starting your vegetable garden, it’s essential to prepare the soil correctly. Well-prepared soil will provide the necessary nutrients, water, and support for your vegetables to grow healthy and strong.
This is the stage where we transform dead dirt into living soil.
Now, at this point, I could go on and on about soil tests, pH levels, amendments, and so on.
But I want to save you TIME and BRAIN POWER as you seek to start a vegetable garden.
So instead of discussing soil theory, I’m going to give you my step-by-step method to transforming backyard dirt into luscious soil that can sustain long-term vegetable growth.
If you prefer video, you can learn about this method in the video below:
1. Till Once
If you subscribe to the Food Prep Guide YouTube Channel, you may be surprised to hear me recommend tilling.
In general, we practice a no-till method of gardening. Instead, we add layers upon layers of organic matter on top of our native soil to build up our garden beds.
But the problem is we live in the south with heavy clay soil—and heavy clay soil needs to be aerated.
Surprisingly enough, air is very important for soil health. Well, it’s hard to garden in the south without tilling at some point.
So when we’re installing a new vegetable garden, the first thing we do is till—then we never till again.
2. Amend the Soil
After tilling, we cover the area with bone meal and a few bags of high-quality bagged soil. You don’t need much—just a couple inches over the freshly tilled area.
In this method, the bagged soil is more of a booster to get this backyard-to-garden process rolling quicker.
We recommend the brands ProMix, FoxFarm, or OceanForest.
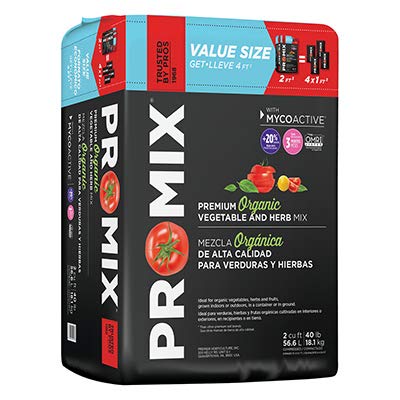
- Formulated with all natural ingredients
- Contains an organic fertilizer that feeds for up to 3 months
- Suitable for all vegetable and herb garden ne
Prices pulled from the Amazon Product Advertising API on:
Product prices and availability are accurate as of the date/time indicated and are subject to change. Any price and availability information displayed on [relevant Amazon Site(s), as applicable] at the time of purchase will apply to the purchase of this product.
Just ensure it’s NOT potting mix. You want soil that is rated for in-ground use. I believe FoxFarm calls their in-ground soil mix “soil conditioner.”
As for the bone meal, it encourages strong and healthy root production, which is important because the next step of this system involves planting a root crop.

Prices pulled from the Amazon Product Advertising API on:
Product prices and availability are accurate as of the date/time indicated and are subject to change. Any price and availability information displayed on [relevant Amazon Site(s), as applicable] at the time of purchase will apply to the purchase of this product.
3. Plant Potatoes
If you read that and thought, “I don’t want to grow potatoes.” Trust me. This is a VERY important part of the process.
Let me tell you why….
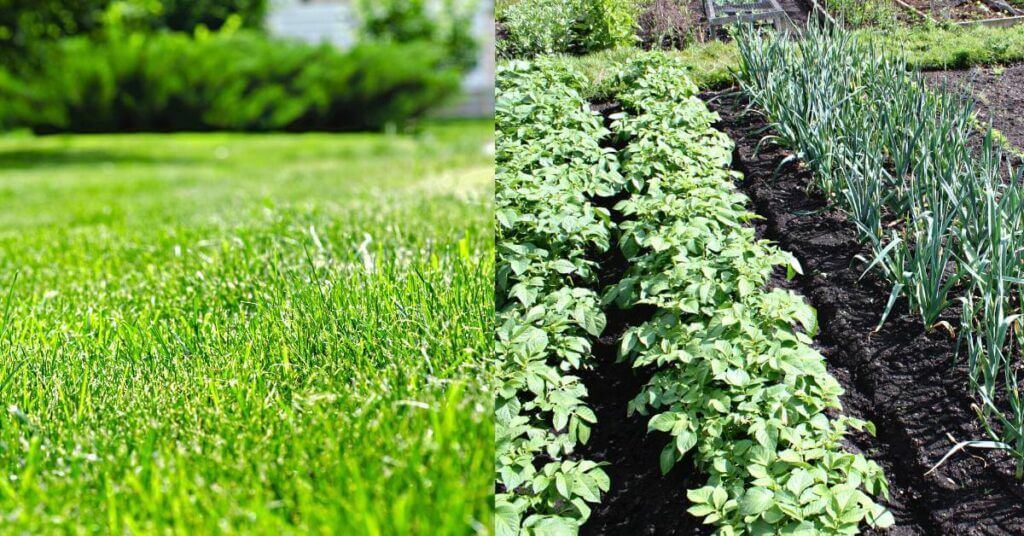
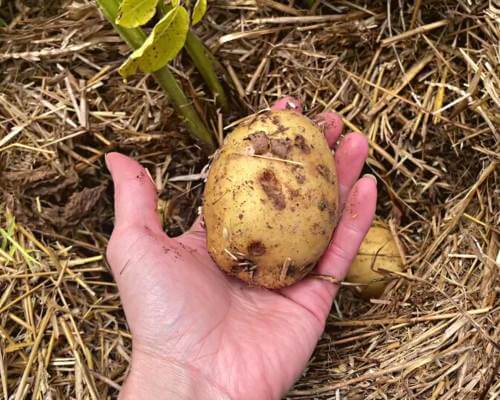
When I harvested the potatoes planted in a brand new bed—that was grass, weeds, and small trees just 9 weeks prior—I saw worms everywhere.
Every single potato plant was surrounded by a handful of earthworms.
Suddenly, it hit me what was happening.
Just in case you don’t know, when you plant a seed potato, the new potatoes grow out from it, but the seed potato itself rots.
As that seed potato rots, worms come to feed on it. During the process of eating and living in that area, they “do their business” and leave worm castings in the soil.
(“Castings” is just a nicer word for poop.)
Worm castings are incredibly beneficial to soil. Plus, if worms are coming in, then there is also beneficial bacteria and microbes being produced.
So, to plant potatoes using this method, you will place the potatoes right on top of the ground—on top of the tilled dirt, bone meal, and bagged soil.
The next step involves straw….
4. Cover the Entire Garden Bed with Straw
Cover the potatoes with at least 6 inches of straw.
IMPORTANT: Be sure to use straw that hasn’t been sprayed with pesticides.
That’s it! Now wait for your potatoes to grow.
As they start shooting up greenery, continue adding more straw so that only 6 inches of plant is showing above the soil.
Once you’ve done this a few times, you’ll start noticing the plants not growing in height as rapidly. At this point, you can stop adding straw.
Just as the potatoes are an important part of this process, so is the straw. Here’s why:
That straw will be sitting out in the elements and will slowly start the process of decomposing.
Our potatoes were ready to harvest in about 3 months. After just a few months, the dirt beneath the straw was already transforming into rich, dark soil teeming with life.
If you’re familiar with gardening in heavy clay soil, you know you can’t typically rake your fingers through the dirt. But, after just those 3 months of potato growth, I was able to dig down 6+ inches into loose, beautiful soil with my bare hands! (That’s unheard of in the south.)
The straw—as a deep layer of organic matter—played a key role in this soil transformation.
5. Cover with Wood Chips
After you harvest the potatoes, use a rake to rake the straw back into place so that it still covers the entire new garden area.
Next, cover the straw with a thick layer of wood chips. I would aim for a layer at least 4-6 inches deep.
You can source wood chips for free from landscaping companies, your local utility company (as they trim trees near power lines), and services like ChipDrop.
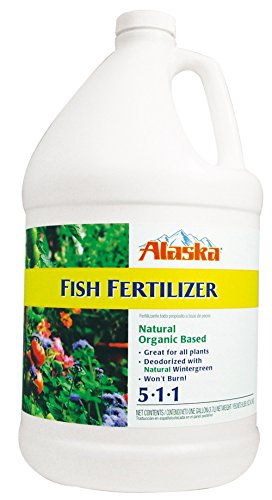
6. Spray the Wood Chips with Fish Fertilizer
Immediately after laying down the wood chips, spray the entire area with liquid fish fertilizer, sometimes called fish emulsion.
Prices pulled from the Amazon Product Advertising API on:
Product prices and availability are accurate as of the date/time indicated and are subject to change. Any price and availability information displayed on [relevant Amazon Site(s), as applicable] at the time of purchase will apply to the purchase of this product.
What this is going to do is activate the composting-in-place process that we already have going on with the straw (and the worms).
The fish emulsion will also help break down those wood chips much faster than if you just let nature do it itself.
I recommend repeating the fish fertilizer every 4 weeks throughout the fall and winter.
By spring, when it’s time to plant your vegetables, you should be able to just push those wood chips aside to reach the rich soil beneath—and that’s where your seed or seedling will go!
Selecting and Planting Your Vegetables
When starting your vegetable garden, it’s important to focus on growing vegetables that your family loves to eat.
This will help you get excited about the garden, which will help you stay motivated in tending to it.
You can start your backyard vegetable garden with seeds or transplants. Seeds are typically less expensive and offer a wider variety of plant varieties to choose from.
However, they require some extra care and attention before being transplanted into the garden. On the other hand, transplants, or young plants, can be directly planted into the garden and typically have a higher chance of survival.
Once the soil is ready as detailed above, follow the instructions on your seed packets or plant labels for proper spacing and planting depth.
Be sure to give your plants enough space for their mature size, which prevents overcrowding and promotes healthy growth.
As your vegetable garden begins to flourish, remember to practice good garden maintenance, such as watering, weeding, and pest control. This way, you’ll enjoy a bountiful harvest and have plenty of fresh produce to enjoy throughout the growing season.
Happy backyard gardening!