

Have you ever wanted to capture the essence of a perfectly ripe pear and enjoy it any time of the year?
You’re in the right place!
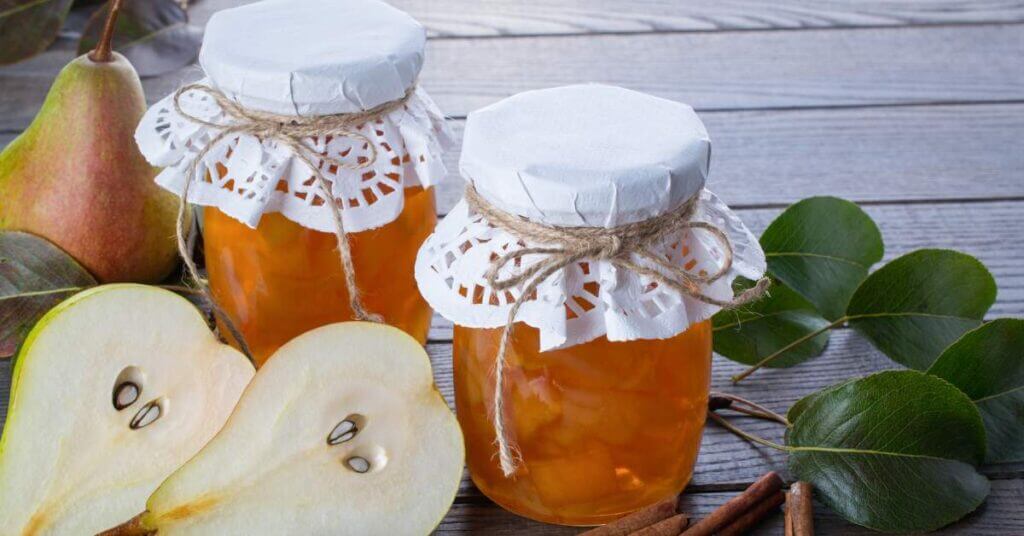
Making homemade pear preserves is a fantastic way to savor the sweetness of pears long after the season has passed.
We’ll walk you through the process step-by-step, ensuring you end up with delicious, chunky preserves that are bursting with flavor.
Let’s get started….
Is There a Difference Between Preserves and Jam?
When it comes to fruit spreads, the terms “preserves” and “jam” are often used interchangeably, but there are key differences between them.
Preserves typically contain larger pieces or whole chunks of fruit, which are suspended in a syrupy mixture.
This gives preserves a chunky texture and a robust fruit flavor.
Jam, on the other hand, is made with crushed or pureed fruit, resulting in a smoother consistency.
Both preserves and jam can be equally delicious, but the choice between them depends on whether you prefer a chunky or smooth texture in your spread.
Which Pears Are Best for Pear Preserves?
The type of pear you choose can significantly impact the flavor and texture of your pear preserves.
Bartlett pears are the most popular choice due to their sweet flavor and juicy texture. They break down well during cooking, creating a luscious syrup.
Bosc pears are another excellent option, offering a firmer texture and a slightly spiced flavor, which can add depth to your preserves.
Anjou pears are also suitable, providing a balance between sweetness and texture.
Whichever variety you choose, ensure the pears are ripe but still firm to the touch for the best results.
Ingredients and Equipment You’ll Need to Make Pear Preserves
Ingredients:
- 4 pounds of ripe pears
- 6 cups of granulated sugar
- 1/4 cup of lemon juice
- 1 teaspoon of ground cinnamon (optional)
- 1/2 teaspoon of ground nutmeg (optional)
- 1/2 cup of water

Prices pulled from the Amazon Product Advertising API on:
Product prices and availability are accurate as of the date/time indicated and are subject to change. Any price and availability information displayed on [relevant Amazon Site(s), as applicable] at the time of purchase will apply to the purchase of this product.
Equipment:
- Large pot or Dutch oven
- Wooden spoon
- Paring knife
- Cutting board
- Measuring cups and spoons
- Sterilized glass jars with lids
- Canning funnel
- Jar lifter
- Large pot for boiling water (for canning)
- Clean towels
How to Make Pear Preserves
Start by washing the pears thoroughly. Peel, core, and slice them into thin wedges.
In a large pot, combine the sliced pears, sugar, lemon juice, and water. If desired, add cinnamon and nutmeg for extra flavor.
Bring the mixture to a boil over medium-high heat, stirring occasionally to dissolve the sugar.
Once it reaches a boil, reduce the heat to medium-low and let it simmer. Stir frequently to prevent sticking and ensure even cooking.
Continue to cook until the pears are tender and the syrup has thickened, which usually takes about 45 minutes to an hour.
The preserves are ready when the pears are translucent and the syrup is thick enough to coat the back of a spoon.
Can with Confidence!
What if you could enjoy year-round, rock-bottom prices on produce? Canning is the key!
Learn how to can safely in our self-paced, online Canning 101 Master Class!
Step-by-Step Canning Instructions
- Prepare the Jars: Sterilize the glass jars and lids by boiling them in water for 10 minutes. Keep them hot until ready to use.
- Fill the Jars: Using a canning funnel, carefully ladle the hot pear preserves into the sterilized jars, leaving about 1/4 inch of headspace at the top. Wipe the rims of the jars with a clean, damp cloth to remove any residue.
- Seal the Jars: Place the lids on the jars and screw on the bands until fingertip tight. Use a jar lifter to place the jars into a large pot of boiling water, ensuring they are fully submerged.
- Process the Jars: Process the jars in a boiling water bath for 10 minutes to ensure a proper seal. Carefully remove the jars from the water and place them on a towel to cool. Listen for the “pop” sound indicating the jars have sealed properly.
- Check the Seals: After 24 hours, check the seals by pressing down on the center of each lid. If it does not flex up and down, the jar is sealed.
How to Keep Pear Preserves From Browning When Canning
To prevent your pear preserves from browning during the canning process, consider the following tips:
- Use Fresh Lemon Juice: Adding lemon juice not only enhances the flavor but also helps preserve the color of the pears due to its high acidity.
- Avoid Overcooking: Overcooking can cause the pears to lose their bright color. Keep a close eye on the cooking time and temperature.
- Proper Storage: Store your canned preserves in a cool, dark place to prevent exposure to light and heat, which can cause browning over time.
Now, every time you open a jar, you’ll be reminded of the care and effort you put into creating something truly special.
Whether you spread it on toast, stir it into yogurt, or gift it to friends and family, your pear preserves are sure to be a hit.
Enjoy the fruits of your labor and the delightful taste of pears all year round.
Need to preserve more pears but don’t feel like canning them all? Here’s how to dehydrate pears.
Print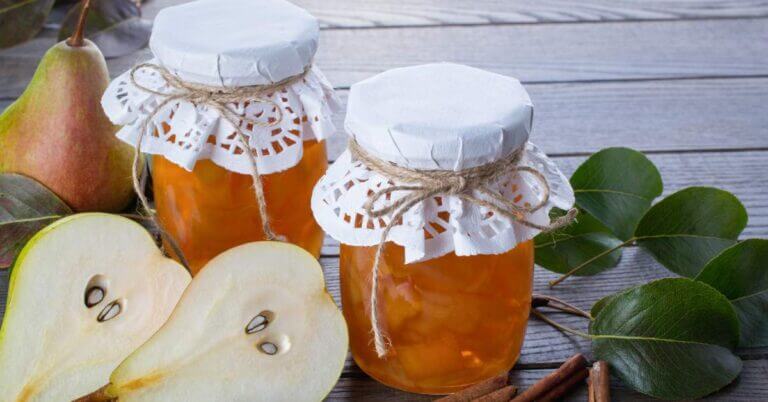
Homemade Pear Preserves
- Total Time: 1 hour 40 minutes
- Yield: 6 half pints 1x
Ingredients
- 4 pounds of ripe pears (Bartlett, Bosc, or Anjou)
- 6 cups of granulated sugar
- 1/4 cup of lemon juice
- 1 teaspoon of ground cinnamon (optional)
- 1/2 teaspoon of ground nutmeg (optional)
- 1/2 cup of water
Instructions
- Start by washing the pears thoroughly. Peel, core, and slice them into thin wedges.
In a large pot, combine the sliced pears, sugar, lemon juice, and water. If desired, add cinnamon and nutmeg for extra flavor. - Bring the mixture to a boil over medium-high heat, stirring occasionally to dissolve the sugar.
Once it reaches a boil, reduce the heat to medium-low and let it simmer. Stir frequently to prevent sticking and ensure even cooking. - Continue to cook until the pears are tender and the syrup has thickened, which usually takes about 45 minutes to an hour. The preserves are ready when the pears are translucent and the syrup is thick enough to coat the back of a spoon.
- Sterilize the glass jars and lids by boiling them in water for 10 minutes. Keep them hot until ready to use.
- Using a canning funnel, carefully ladle the hot pear preserves into the sterilized jars, leaving about 1/4 inch of headspace at the top.
- Wipe the rims of the jars with a clean, damp cloth to remove any residue.
- Place the lids on the jars and screw on the bands until fingertip tight. Use a jar lifter to place the jars into a large pot of boiling water, ensuring they are fully submerged.
- Process the jars in a boiling water bath for 10 minutes to ensure a proper seal.
- Carefully remove the jars from the water and place them on a towel to cool. Listen for the “pop” sound indicating the jars have sealed properly.
- After 24 hours, check the seals by pressing down on the center of each lid. If it does not flex up and down, the jar is sealed.
- Prep Time: 30
- Canning Time: 10
- Cook Time: 1 hour
great