

When you grow 100 pounds of onions in the hot humid South like we do, you have to preserve them fast or lose them all.
But canning caramelized onions? That’s where things get a little complicated.
I’m going to share exactly how I preserve 20 pounds of onions at once using a recipe that includes butter—yes, butter—and why I’m comfortable with it in my kitchen.
But first, we need to talk safety.
My Canning Philosophy (Read This First)
If you’re new here, you need to know something about me:
I’m a stickler for canning safety. I always say if in doubt, throw it out and if in doubt, don’t can it.
But that doesn’t mean I follow tested recipes blindly.
This recipe deviates from tested, proven safe canning methods because it contains butter. If you’re brand new to canning, this isn’t the recipe for you.
This is for experienced canners who understand safe practices and are comfortable making informed decisions in their own kitchens.
Here’s why I’m okay with it:
Extension offices in Illinois and Missouri recommend adding small amounts of butter to jam recipes to reduce foaming. That tells me butter alone isn’t the issue—it’s about proportions.
With 20 pounds of onions and just 2 sticks of butter, the fat content is minimal compared to the solids.
We’re not canning straight butter or heavy dairy. Plus, the onions release liquid, and we top off jars with water—so it’s not canned in pure fat.
Why Not “True” Caramelized Onions?
I learned this lesson the hard way. One day I made traditional caramelized onions and stored leftovers in a mason jar in my fridge.
When I went to use them later, they’d formed one sticky, hardened clump.
That density and stickiness convinced me it wouldn’t be safe to can them that way. The heat penetration and texture issues just aren’t worth the risk.
So this recipe gets as close as I’m comfortable with—using balsamic vinegar for browning and a touch of brown sugar for sweetness, while keeping it safe for pressure canning.
What You’ll Need
For 20 pounds of onions (scale down as needed):
- 20 lbs onions, sliced into strips
- 2 sticks salted butter
- 1 cup balsamic vinegar
- 1/2 cup brown sugar (or white sugar plus 1 tablespoon molasses)
The Process
Step 1: Prep Your Workspace
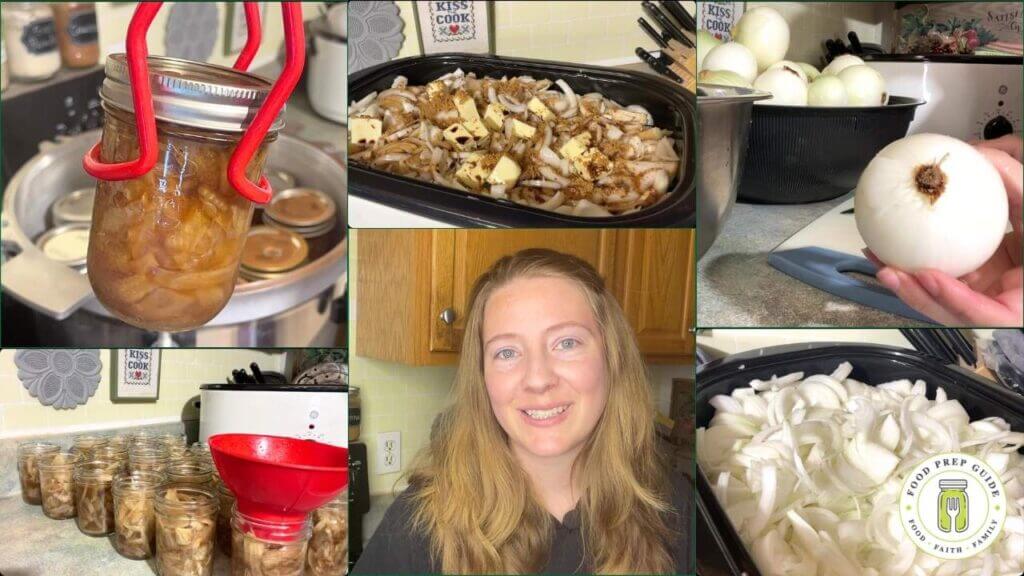
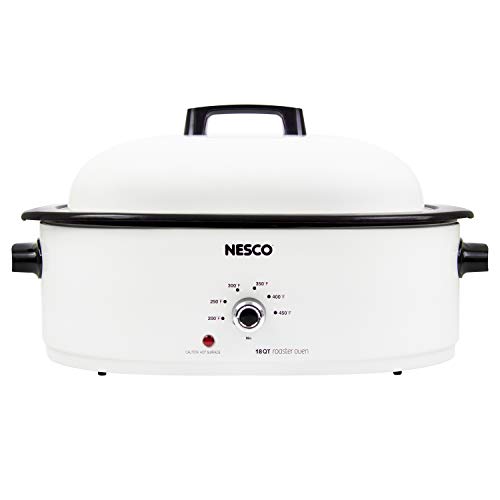
I use my big countertop roaster oven for batches this size—it’s perfect for large canning projects. Set up a bowl for scraps because we’re saving onion peels and tops for broth later.
Prices pulled from the Amazon Product Advertising API on:
Product prices and availability are accurate as of the date/time indicated and are subject to change. Any price and availability information displayed on [relevant Amazon Site(s), as applicable] at the time of purchase will apply to the purchase of this product.
Important: Only save the tops and outer peels, not the root ends. The dirt in root balls is hard to clean completely, and that’s where bacteria lives.
Step 2: Slice and Load
Cut onions into long, thin strips. Don’t worry about separating every piece perfectly—I use a ground beef masher once they’re in the roaster to break up chunks.

Prices pulled from the Amazon Product Advertising API on:
Product prices and availability are accurate as of the date/time indicated and are subject to change. Any price and availability information displayed on [relevant Amazon Site(s), as applicable] at the time of purchase will apply to the purchase of this product.
The cooking process naturally loosens everything anyway.
Step 3: Add Ingredients
Layer everything into your roaster:
- All the sliced onions first
- Plop the butter squares on top (don’t mix yet)
- Pour in the balsamic vinegar
- Sprinkle the brown sugar over everything
Give it a gentle stir—it’s hard to mix without onions flopping out, but they’ll cook down and blend naturally.
Step 4: Slow Cook
Set your roaster to 225°F and let time do the work. I stir every 2 hours throughout the day. If onions aren’t releasing moisture fast enough, add a splash of water to prevent burning.
You’ll know they’re done when they’re nice and brown with plenty of released juices. This usually takes most of the day.

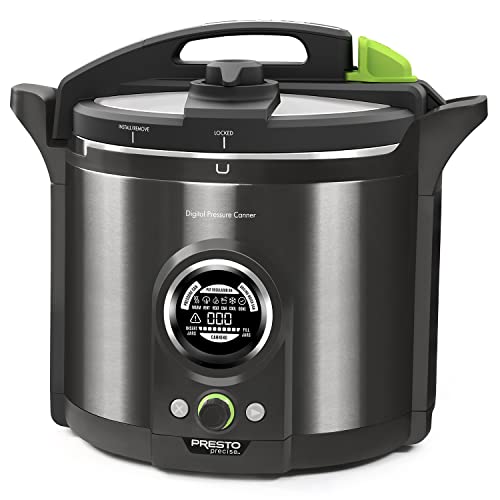
Pressure Canning Process
This must be pressure canned because onions are low-acid foods.
Setup
- Pressure canner with rack and 3 inches of water
- Half-pint jars (my preferred size—perfect for most recipes)
- Warm lids (not simmering, just warm enough to soften the rubber)
Filling Jars
I load onions first, then go back and ladle liquid on top. This gives more even distribution versus some jars being all solids and others all liquid.
Leave 1/2 to 1 inch headspace. Since there’s butter, I aim for closer to 1 inch, but it’s not super greasy like ground beef would be.
Prices pulled from the Amazon Product Advertising API on:
Product prices and availability are accurate as of the date/time indicated and are subject to change. Any price and availability information displayed on [relevant Amazon Site(s), as applicable] at the time of purchase will apply to the purchase of this product.
Processing
- Wipe rims and remove air bubbles
- Apply lids fingertip-tight
- Process at 10 pounds pressure (adjust for your elevation)
- Can in half-pints for 70 minutes (75 minutes for pints)
- Let pressure drop naturally, wait 5 minutes, then remove weight and lid
- Remove rings, test seals, wipe down jars, and stash on your shelf!
Three Products from One Harvest
This is part of our no-waste approach to preservation:
- Caramelized onions from the bulbs
- Onion broth from the peels
- Onion powder from the green tops
Here’s a video that walks through that entire process if you’re interested.
The Bottom Line
Could you freeze caramelized onions instead? Absolutely. But when you’re dealing with 100 pounds of onions and limited freezer space, pressure canning gives you shelf-stable convenience that lasts years, not months.
If you’re ready to learn how to can with confidence, check out our Canning Class!
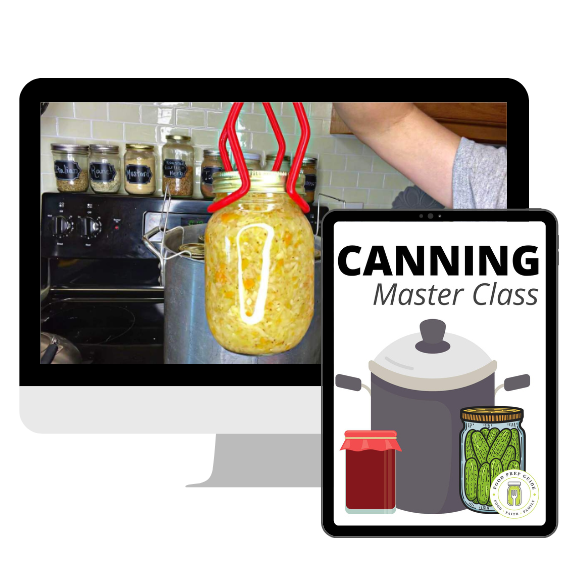
Can with Confidence!
What if you could enjoy year-round, rock-bottom prices on produce? Canning is the key!
Learn how to can safely in our self-paced, online Canning 101 Master Class!


Is the roaster covered?
Yes