

Waiting until you have enough strawberries for a full batch of jam can feel like a losing game.
You’re watching those precious berries ripen faster than you can eat them, knowing some will go bad before you hit that “enough for jam” threshold.
Meanwhile, you’re staring at a $20 jar of organic strawberry preserves at the store thinking there has to be a better way.
Well, friends, I’ve found that better way, and it’s quickly becoming my absolute favorite method for preserving strawberries.
This strawberry sauce recipe is changing how we put up our homegrown berries.
It’s not quite a jam (no pectin needed), and it’s definitely not a syrup (way less sugar).
It’s something beautifully in between that lets the actual strawberry flavor shine through without overwhelming sweetness.
You don’t need a specific weight of strawberries to make it work.
Whether you have 3 pounds or 6 pounds coming in from your garden, this recipe scales perfectly and gives you tons of wiggle room—something us canners rarely get to say!
Why This Recipe is a Game-Changer
This is the first year our homegrown strawberries are producing enough to really preserve, and let me tell you, this recipe has saved me from so much stress.
Instead of letting berries go bad while waiting to accumulate enough for traditional jam, I can preserve whatever amount I have right now.
We’re getting anywhere between 3 to 6 pounds every 1 to 2 weeks, and this flexible recipe handles it all.
Here’s what makes this strawberry sauce special:
It’s forgiving. Everything in this recipe is naturally acidic, so you have wiggle room with measurements—something that’s rare in the canning world.
It’s simple. Just 3-4 ingredients depending on what you have on hand.
It tastes like strawberries. Not sugar. Not artificial thickeners. Just pure strawberry goodness.

The Basic Recipe Ratios
Here’s your foundation: For every 5 pounds of strawberries, you’ll need:
- 1 cup sugar
- 1 cup pineapple juice
- 1-2 tablespoons lemon juice
I’m telling you, the pineapple juice is non-negotiable. Not only does it help with acidity for safe canning, but the flavor combination is absolutely magical.
For my 3-pound batch, I used:
- Heaping 1/2 cup sugar
- 1/2 to 3/4 cup pineapple juice
- Splash of lemon juice
A Tasty, Safe Shortcut
If you canned our pineapple zucchini recipe this summer, you’ve got a major shortcut waiting in your pantry.
That liquid we canned the zucchini in? It already has pineapple juice and lemon juice in the perfect proportions.
Just drain off a half cup (or full cup for 5 pounds of strawberries) and skip the separate lemon juice entirely. You’re adding slightly more sugar this way, but it’s still way less than traditional jam recipes.
Don’t have pineapple zucchini?
No problem! Regular store-bought pineapple juice and a splash of lemon juice work perfectly.
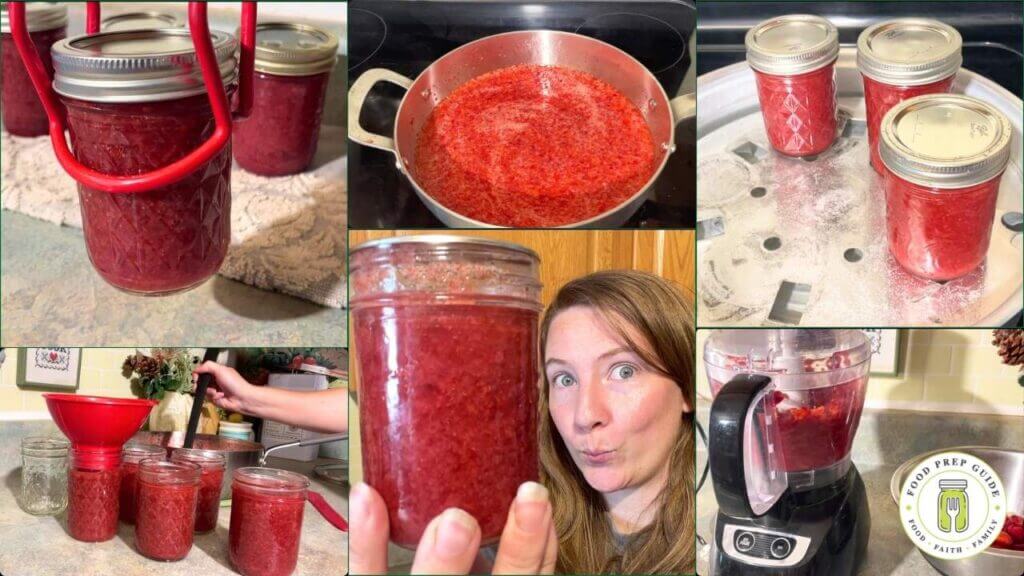
Step-by-Step Canning Process
Step 1: Crush and Mix Get your strawberries crushed up and mixed with sugar. I don’t worry about perfect crushing—some chunky bits actually add nice texture to the final sauce.
Step 2: Add Your Liquid Pour in your pineapple juice (whether from the jar or store-bought) and lemon juice if using fresh ingredients.
Step 3: Heat Slowly This mixture burns fairly easily, so start on low-medium heat and increase gradually. Stir frequently as you bring it to a boil. You’ll see some foaming—that’s normal and depends on your sugar content.
Step 4: Boil for 5 Minutes Once it’s at a rolling boil, let it go for exactly 5 minutes, stirring regularly. That’s it for cooking!
My Steam Canner Game-Changer
Y’all, if you don’t have a steam canner yet, it’s time to seriously consider one.

Prices pulled from the Amazon Product Advertising API on:
Product prices and availability are accurate as of the date/time indicated and are subject to change. Any price and availability information displayed on [relevant Amazon Site(s), as applicable] at the time of purchase will apply to the purchase of this product.
It uses so much less water than traditional water bath canning, heats up faster, and is lightweight enough that I actually enjoy using it. For these half-pint jars, it’s absolutely perfect.
Just fill the bottom section until water reaches those little slots, heat it up while you fill jars, and you’re ready to go.
Canning Tips for Perfect Results
Jar Size: I’ve been doing half-pints because we use this sauce for flavoring yogurt, drizzling on oatmeal and ice cream, and as pancake syrup. A little goes a long way.
Head Space: Stick with 1/2 inch head space whether you’re using half-pints or full pints.
Processing Time: 10 minutes in either steam canner or water bath (adjust for your elevation as always).
Can with Confidence!
What if you could enjoy year-round, rock-bottom prices on produce? Canning is the key!
Learn how to can safely in our self-paced, online Canning 101 Master Class!
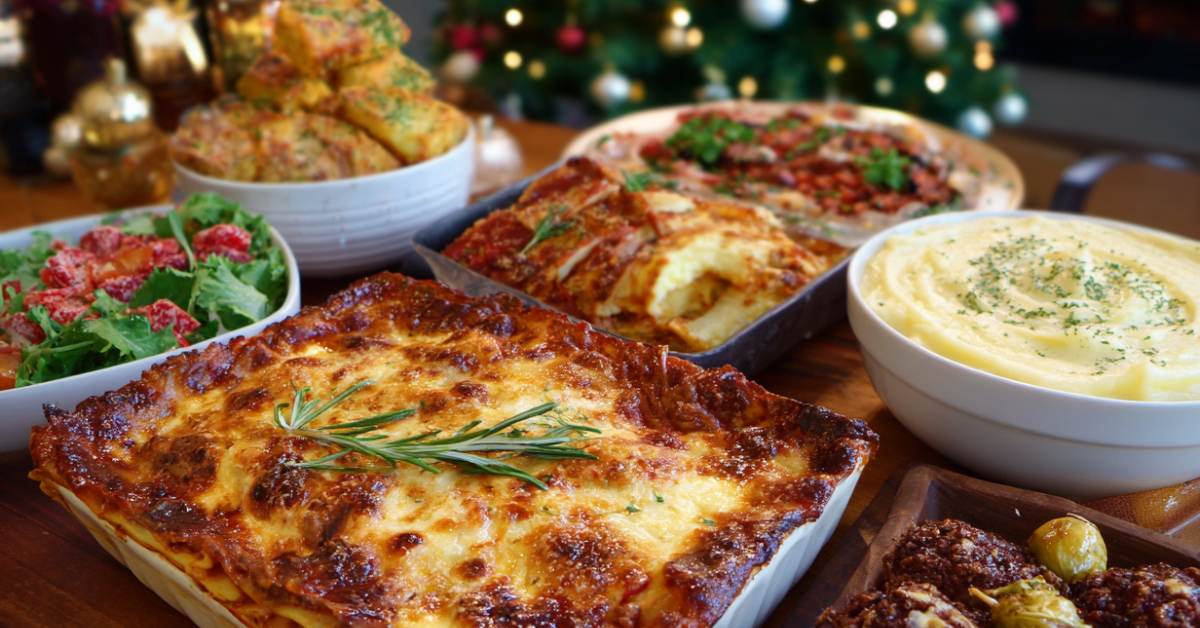
How We Use Our Strawberry Sauce
This isn’t just canned strawberries—it’s become our go-to flavoring for so many things:
- Stirred into plain yogurt for an instant healthy treat
- Drizzled over morning oatmeal
- Used as pancake and waffle syrup (game-changer!)
- Spooned over vanilla ice cream
- Mixed into smoothies for extra strawberry punch
The consistency is perfect for all these uses—not too thick, not too thin, and bursting with real strawberry flavor.
Why This Beats Store-Bought Every Time
When you consider that a small jar of quality strawberry preserves runs $6-8 at the store, and this recipe lets you preserve whatever amount you have without waste, the savings add up fast.
Plus, you know exactly what’s in it. No artificial colors, no high-fructose corn syrup, no preservatives you can’t pronounce. Just strawberries, a touch of sugar, and that magical pineapple juice.
Your Turn to Preserve
I hope this recipe helps you make the most of your strawberry harvest, whether it’s from your own garden or a great deal at the farmer’s market.
The flexible ratios mean you can start preserving strawberries without the stress of waiting for perfect amounts or worrying about exact measurements.
Sometimes the best preservation methods are the ones that actually get used!


This sounds delicious but I’m allergic to pineapple, so I’ll take a pass 😂 Well written recipe though!