


Today we’re walking through one of our absolute favorite broth recipes: homemade onion broth.
This golden, flavorful broth has been a go-to in our kitchen for years, but until now, the recipe was tucked inside a larger video on preserving onions five different ways.
But since this little gem of a broth deserves its own spotlight (and because so many of y’all kept asking!), we’re giving it the dedicated tutorial it deserves.
Let’s talk about why we love it, how we make it, and how to pressure can it safely for long-term pantry storage.
Why Make Onion Broth?
Simple. This broth is:
- Frugal (you’re using scraps!)
- Rich in flavor
- Shelf-stable when pressure canned
- Versatile for soups, stews, gravies, and sauces
Plus, it uses up parts of the onion most people toss. Making this recipe a total win for our fellow budget-conscious, no-waste home cooks!

A Quick Note on Safety
If you head to the National Center for Home Food Preservation website, you won’t find a specific tested recipe labeled “onion broth.” That doesn’t mean it’s unsafe—it just means it’s not a standard broth they’ve tested individually.
We always teach and encourage safety when canning. This method is built on the same principles as vegetable or bone broth and uses proper pressure canning times and techniques.
That said, if you’re new to canning, feel free to start with tested broth recipes until you’re more confident. Then come back and try this—because it’s worth it!
Onion Broth Ingredients
This is a flexible recipe, but here’s what we typically use:
- Onion scraps (peels, tops—but not roots)
- 2 whole onions (for richer flavor)
- Green onion tops (optional, but great if you have a garden stash)
- Salt to taste
- 1/2 tsp black pepper
- 1 Tbs turmeric powder
- Water (enough to fill your pot or roaster)
A note about scraps:
We save our onion peels and tops all season long in gallon freezer bags. When a bag is full, it’s broth time! Just make sure your onion scraps are very clean—especially if you’re using homegrown onions.
We skip the root ends entirely since they’re hard to clean and can trap dirt (and that’s where botulism spores live).
How to Make the Onion Broth
Step 1: Add scraps & seasonings to a large pot or roaster
We use a countertop roaster oven, but a big stockpot works too. Dump in your frozen scraps, add your whole onions (chopped), seasonings, and turmeric.
Step 2: Fill with water
Add water until it’s about 1 inch from the top of your pot.
Less water = more concentrated broth. More water = a milder flavor but higher volume.
It’s up to you.
Step 3: Simmer overnight
Set your roaster or oven to 250°F and let it slow-simmer overnight. We usually start it around 8 p.m. and let it go until 9 a.m. the next day. Your house is going to smell incredible.
Step 4: Strain the broth
Use a fine mesh strainer or slotted spoon to remove solids. No need to lift or pour the whole pot—just go slow and scoop. You’ll be left with a beautiful amber-gold broth that’s ready for canning.
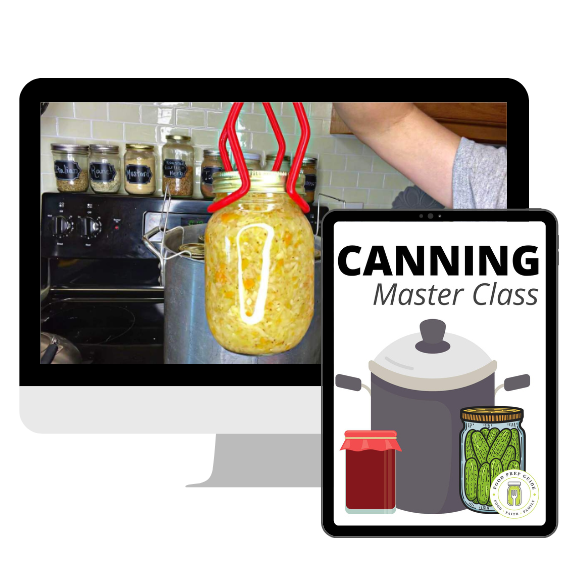
Can with Confidence!
What if you could enjoy year-round, rock-bottom prices on produce? Canning is the key!
Learn how to can safely in our self-paced, online Canning 101 Master Class!
Pressure Canning Instructions
Since onion broth is low acid, it must be pressure canned—no water bath canning here.
- Fill your pressure canner with 3 inches of water and place your canning rack inside.
- Warm your jars and turn your canner on low to help prevent thermal shock.
- Fill jars with hot broth leaving 1-inch headspace.
- De-bubble the jars by gently shaking them side to side or using a de-bubble tool.
- Wipe rims with a clean, damp cloth or paper towel to remove residue.
- Add clean lids and rings and tighten to fingertip tight.
- Place jars into canner.
Processing Time:
- Quarts: Pressure can for 25 minutes
- Adjust pounds of pressure based on your elevation
Watch for the Jiggle
Once a steady stream of steam vents for 10 minutes, add your weight and bring it up to pressure. You want that gentle jiggle a few times per minute—not a constant dance party. Adjust your heat until it’s just right.
Start your timer after you’ve hit the correct pressure and jiggle rhythm. Then let it process for 25 minutes.
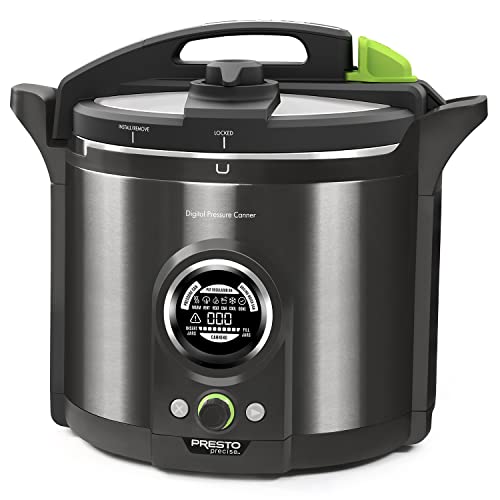
If you’re brand new to canning, this electric-style pressure canner makes canning as easy as pushing a button!
Prices pulled from the Amazon Product Advertising API on:
Product prices and availability are accurate as of the date/time indicated and are subject to change. Any price and availability information displayed on [relevant Amazon Site(s), as applicable] at the time of purchase will apply to the purchase of this product.
Cool Down & Finish
Once time is up:
- Turn off the heat, but do not move the canner.
- Let the canner come completely down to pressure on its own.
- Once the gauge shows zero pressure, I usually wait another 5-10 minutes before removing the lid.
- Carefully lift out jars, and admire your gorgeous golden onion broth!
Let jars sit for 12-24 hours before wiping, labeling, and stashing on your shelf.
Homemade onion broth is one of those humble little pantry items that packs a huge punch. It’s rich, frugal, flavorful, and beautiful—and once you try it, you’ll wonder why you didn’t start sooner!
Print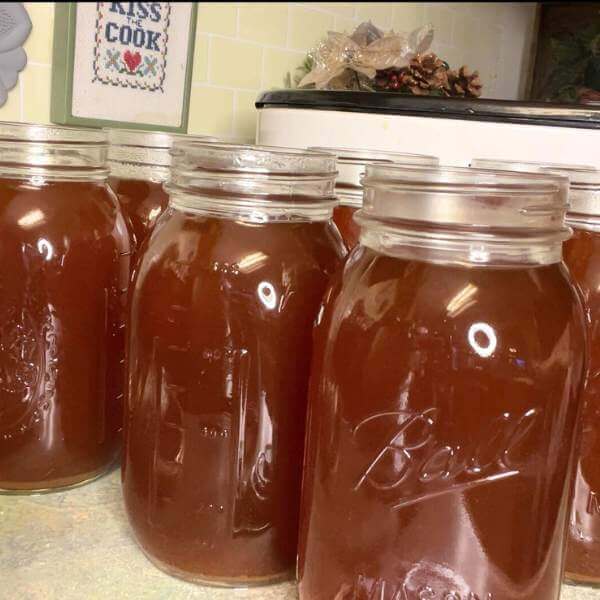
Onion Broth Recipe: A Pressure Canning Tutorial
This golden, flavorful broth uses onion scraps that would otherwise be thrown away, making it both economical and delicious. It’s perfect as a base for soups, stews, gravies, and sauces, while the pressure canning process makes it shelf-stable for long-term storage.
- Total Time: 12 hours 15 minutes
Ingredients
- Onion scraps (peels, tops—but not roots)
- 2 whole onions (for richer flavor)
- Green onion tops (optional)
- Salt to taste
- 1/2 tsp black pepper
- 1 Tbsp turmeric powder
- Water (enough to fill your pot or roaster)
Instructions
Making the Broth
- Add scraps & seasonings to a large pot or roaster
- Fill with water until about 1 inch from the top
- Simmer at 250°F overnight (approximately 12-13 hours)
- Strain the broth using a fine mesh strainer or slotted spoon
Pressure Canning (*You need to know how to can safely before attempting this recipe or any recipe you find online)
- Fill pressure canner with 3 inches of water and place canning rack inside
- Warm jars and turn canner on low
- Fill jars with hot broth leaving 1-inch headspace
- De-bubble jars by gently shaking them side to side
- Wipe jar rims with a clean, damp cloth
- Add clean lids and rings, tighten to fingertip tight
- Place jars into canner
Processing Time
- Quarts: 25 minutes (adjust pressure based on elevation)
- Wait for 10 minutes of steady steam before adding weight
- Start timer after reaching correct pressure
- After processing, let canner depressurize naturally
- Remove lid carefully after gauge shows zero pressure
- Let jars sit for 12-24 hours before labeling and storing
Notes
- Ensure onion scraps are very clean before using
- Skip the root ends as they can trap dirt and may contain botulism spores
- Less water creates more concentrated broth; more water creates milder flavor
- Prep Time: 15 minutes
- Cook Time: 12 hours


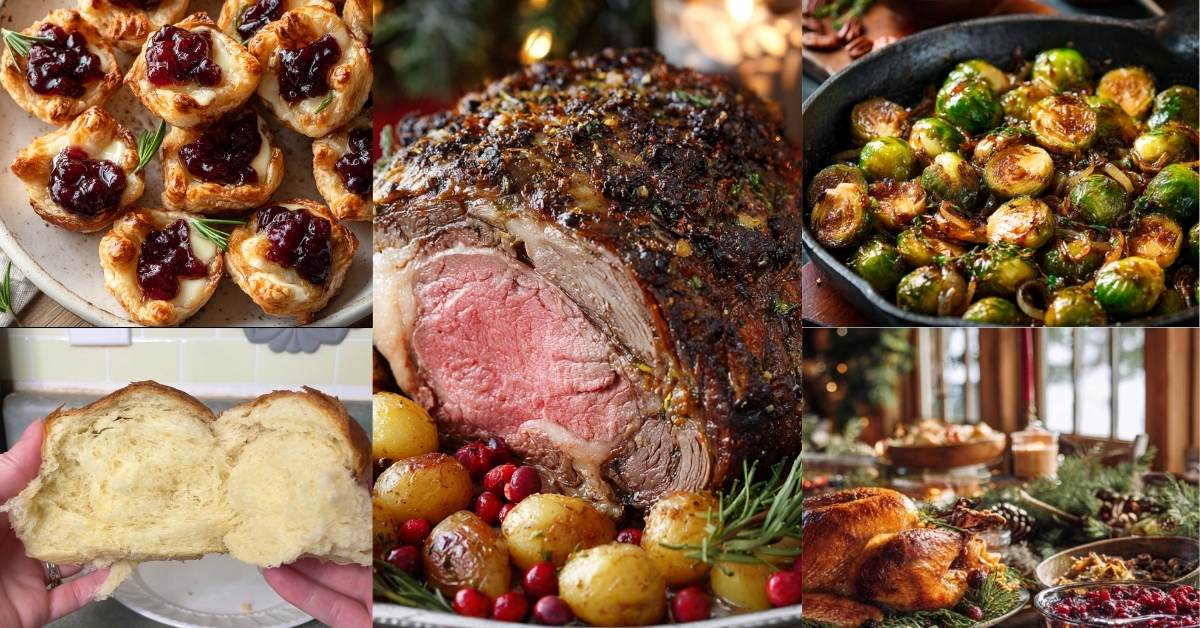


What are some meals you make with the canned onion broth?
We use it anytime a recipe calls for a meat-based broth – soup, chicken and rice, chili, one pan meals, etc.
How many quarts of broth does the recipe make?
It all depends on how many scraps you have, and you add water to submerge them, so it’ll likely turn out differently each time.