Raise your hand if you’ve ever grabbed a little tub of hummus at the store, flipped it over, and had no idea what half the ingredients were.
Same. And for something that’s basically mashed beans, that tiny container sure costs a lot.
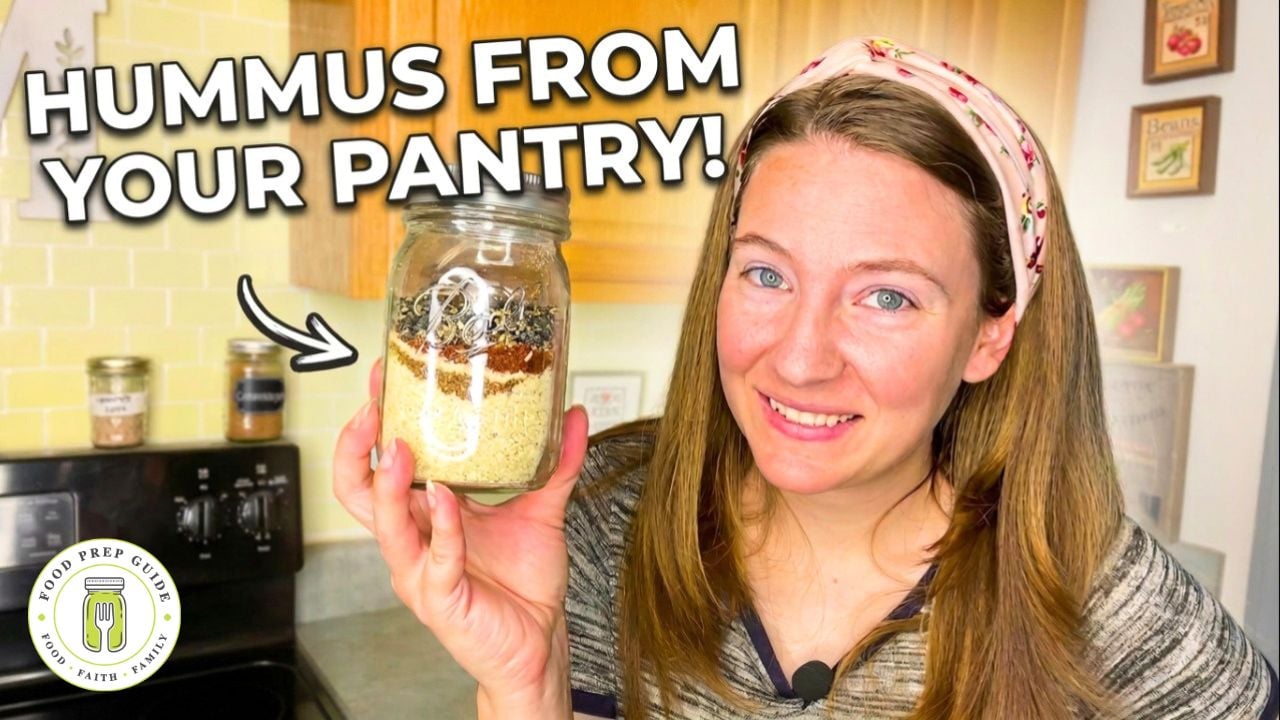
Here’s the good news: you can make your own hummus at home with clean ingredients you actually recognize—and you can have it ready to go in minutes. The secret is prepping a hummus mix in a jar ahead of time. You do the measuring once, store the dry mix on your shelf, and whenever the craving hits, you just add a few fresh liquid ingredients and blend.
It’s simple, it’s frugal, and you get to decide exactly what goes in it. Let me walk you through it.
Why Make a Hummus Mix Instead of Buying It
Store-bought hummus has a few problems. The containers are small, the price adds up fast, and it doesn’t last long once it’s open. Then there’s the ingredient list—preservatives and fillers you’d rather not feed your family.
When you make your own mix, you flip all of that on its head:
- You know every single ingredient, because you put it in the jar
- You save money by buying staples in bulk instead of paying for pre-made
- You can customize it to your family’s taste
- It stores neatly on your shelf until you’re ready to use it
This is the kind of small, intentional swap that keeps money in your pocket and control in your kitchen.
What You’ll Need (The Dry Mix)
Each jar makes one batch of hummus. Here’s everything that goes into a single jar:
- ¾ cup chickpea flour (the star of the show)
- 1 tablespoon ground cumin
- 1 teaspoon garlic powder
- 1 heaping teaspoon dried minced garlic
- 1 teaspoon salt (we love Redmond Real Salt around here)
- 1 teaspoon smoked paprika (regular works too, but smoked adds a lovely depth)
- ½ teaspoon black pepper
A quick note on the garlic: this is a garlic-forward hummus, so we use both garlic powder and dried minced garlic on purpose. If you’re not a big garlic person, dial it back. If you’re like me and think garlic makes everything better, leave it as is.
Layer everything into a jar, pop the lid on, and it’s ready to store until you want fresh hummus.
Want to Make Your Own Chickpea Flour?
Chickpea flour is easy to find, but you can absolutely make your own if you want to be extra frugal. Just dehydrate cooked garbanzo beans until they’re fully dry, then grind them into flour.
I actually stumbled into a great bulk deal on chickpea flour a couple years back, and this whole recipe grew out of wanting to put it to good use. That’s usually how it goes in my kitchen—find a deal, then figure out how to make the most of it.
How to Turn Your Mix Into Fresh Hummus
When you’re ready to eat, here’s the process. It’s quick, but there’s one step at the end that requires a little patience (more on that in a second).
- Bring 2¼ cups of water to a simmer in a medium saucepan.
- Whisk in your jar of hummus mix and bring it back up to a simmer.
- Simmer for 5 to 7 minutes, whisking occasionally. Keep a lid handy—this mixture likes to pop and bubble, and you don’t want to clean that off your stovetop.
- Pour it into a food processor and add:
- ¼ cup tahini (shake that jar really well before you pour—tahini loves to separate)
- 3 tablespoons olive oil
- 3 tablespoons lemon juice (a fresh-squeezed lemon works great)
- Pulse until everything is well combined. You’re not grinding anything here, just mixing it smooth.
Now here’s the part that trips people up: it’s going to look way too thin. Like you did something wrong. Don’t panic and don’t add more flour.
Just cover it and pop it in the fridge for 3 to 4 hours. As it chills, it thickens right up into that creamy, scoopable hummus you’re after. Trust the process.
A Few Tips From My Kitchen
Stick with olive oil. Hummus is a Mediterranean dish, and olive oil is the traditional choice. I’ve never used anything else for this recipe and don’t plan to.
Make a big batch of mixes at once. Since you’re already measuring, set up an assembly line and fill several jars in one sitting. Future you will thank present you when dinner’s coming together fast.
These make thoughtful gifts. A jar of homemade hummus mix with a cute tag is a simple, budget-friendly gift for a neighbor, a new mama, or a hostess. Homemade always feels more personal than something off a shelf.
Make It Your Own
Once you’ve made this a time or two, start playing with it. Add roasted red pepper when you blend. Toss in extra lemon for a brighter batch. Swap the smoked paprika for a pinch of cayenne if your crew likes heat. That’s the beauty of doing it yourself—you’re never stuck with someone else’s recipe.
This little jar is a great example of what we’re always after around here: real food, made simply, without breaking the budget or feeding your family a list of ingredients you can’t read.
If you love this idea, our Mix and Jars cookbook is full of the same concept—shelf-stable mixes that turn into clean, homemade convenience foods in minutes. This hummus mix is just one of dozens of recipes inside. You can find it over in our shop.
Now go fill a few jars—and let me know how your first batch turns out!