
Raise your hand if you’ve tossed one of those boxed pasta sides into your cart on a busy weeknight. You know the ones—garlic parmesan, cheesy this, buttery that. They’re quick, the kids actually eat them, and dinner’s on the table in ten minutes flat.
But have you ever flipped the box over and read the ingredients? Half of them are hard to pronounce, and a good chunk are bio-engineered.
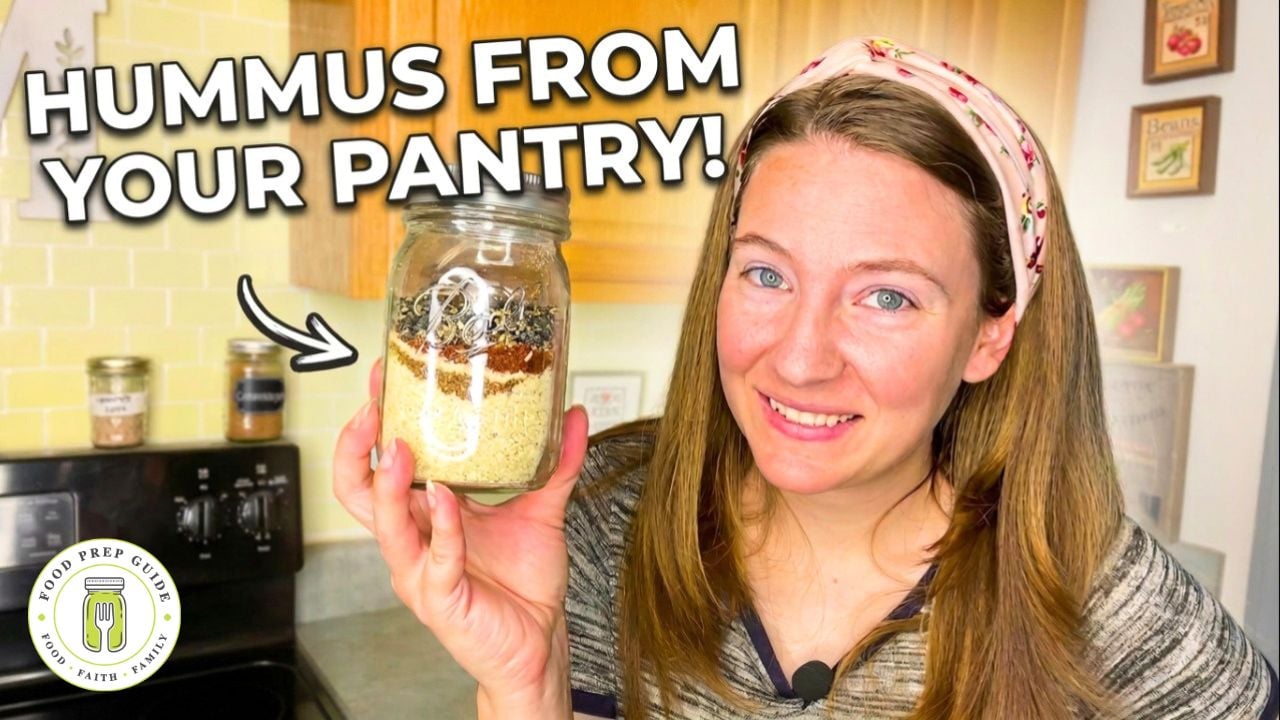
Here’s the good news: you can make that same garlic parmesan pasta side right at home—with ingredients you recognize, because you put them in there yourself. And when you prep it ahead in jars, you have a whole shelf of quick dinners ready to go for years.
This is one of our favorite mix-in-a-jar recipes, and today I’m walking you through the whole thing—from measuring your noodles the easy way to getting that creamy, restaurant-worthy finish.
Let’s get to it.
Why Make Your Own Pasta Side in a Jar
I love a good copycat recipe, and this one checks every box for our family:
You know exactly what’s in it. No mystery ingredients, no bio-engineered fillers—just real food you chose on purpose.
It’s frugal. A few pantry staples make several jars for a fraction of what you’d pay for the boxed version, especially once you’re buying those little boxes on repeat.
It’s shelf-stable for years. Vacuum seal your jars and they’ll wait patiently in your pantry until you need a fast dinner.
It’s perfect for meal prep. I make four to five jars at a time so future-me always has something ready. If you’re Type A like me and love a stocked, organized pantry, this one’s going to make you happy.
Step 1: The Easy Way to Measure Your Noodles
Measuring pasta precisely is a pain unless you drag out your kitchen scale—and I’ll be real with you, I rarely pull mine out. I tend to be a little lazy in that department.
So here’s the trick I’ve come to love: use 16-ounce boxes of half-length angel hair pasta.
The half-length pieces are just the right size to fit inside a pint jar, and one box divided into four equal parts gives you exactly enough noodles per jar—no scale required. It comes out to roughly 1½ cups of angel hair per jar if you’d rather measure that way, but honestly, dividing the box into four is the simplest method I’ve found.
One 16-ounce box = four pint jars. Done.
Step 2: Build Your Garlic Parmesan Seasoning Blend
Now for the flavor. This is a heavy-garlic blend, just the way we like it. Here’s what goes in each jar on top of your noodles:
- 2 Tablespoons dried minced garlic
- 1 Tablespoon chicken bouillon powder
- 1 Tablespoon dried parsley (double it to 2 if you love parsley—the boxed version tends to go heavy here)
- ½ teaspoon pepper
- ¼ teaspoon salt (we love Redmond Real Salt)
A quick note on that garlic: I use freeze-dried minced garlic from our harvest. I loved having it in this minced, freeze-dried form so much that I stopped curing, hanging, and braiding my garlic altogether. Now I pull it straight from the ground, mince it up, run it through the freeze dryer, and I have minced garlic on hand year-round. It’s one less thing to fuss over, and my brain appreciates that.
For the bouillon, use whatever chicken broth powder you have. Any brand works just fine.
Step 3: Seal the Jars for the Long Haul
Once your noodles and seasonings are in, you’ll notice the pasta sticks up above the rim just a little. Don’t worry about it. When you screw down your lid and ring, you’ll hear a tiny crunching sound—that’s just the very tips breaking off—and the jar seals up perfectly fine.
I vacuum seal mine, and once sealed, these jars keep on the shelf for years. That’s a real dinner in your back pocket for the next busy season of life.
Step 4: How to Cook It (About 15 Minutes)
When you’re ready to eat, this comes together fast:
- Melt 2 Tablespoons butter in a small to medium saucepan.
- Dump in the contents of your jar. Toast the spices and coat the noodles in the butter for 1 to 2 minutes.
- Add 3 cups water and stir, getting the noodles submerged back under the water line.
- Turn the heat to high and bring it to a boil. Once boiling, set a timer for 5 minutes and let it boil, stirring occasionally.
- Remove the lid, lower the heat to a simmer, and let it go a few more minutes (anywhere from 3 to 7—it depends on your noodles) until most of the water is absorbed and the pasta is tender. If you divided a half-length box into four jars like I do, the simmer takes about 4 minutes.
- Stir in ½ cup heavy cream and 1 cup grated or shredded parmesan. Fresh shredded is my favorite, but grated works in a pinch.
- Remove from heat and let it sit for at least 5 minutes. That rest time is where the magic happens—the cream thickens and coats every noodle beautifully.
Turn It Into a Full Meal
This is a fantastic side all on its own, and our whole family loves it. But if you want to make it a complete dinner, stir in a can of chicken at the end. Now you’ve got a creamy garlic parmesan chicken pasta from a shelf-stable jar—no meal-planning stress required.
Fill Your Pantry, One Jar at a Time
There’s real peace of mind in opening your pantry and seeing quick, healthy dinners you made with your own two hands. It’s frugal, it’s simple, and it’s one more way to steward your family’s resources well.
This recipe—along with a whole collection of one-pot meals, side dishes, desserts, and more—is inside our Mix and Jars Volume 2 cookbook. Volume 1 focused on pantry staples; Volume 2 is all about actual meals in jars. If you’re ready to stock your shelves with real-food convenience, grab your copy in our shop.
Which jar meal are you making first? Let me know—I’d love to hear how it turns out for your family.