If your kids are anything like mine, store-bought granola bars disappear faster than you can restock them — and at $5–$6 a box, that adds up fast.
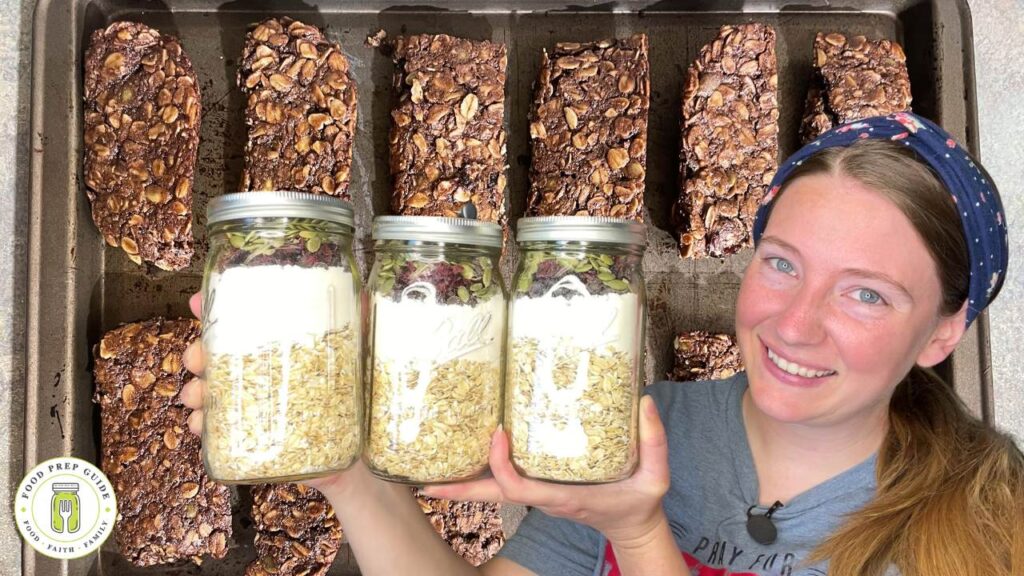
Here’s the thing: you can make a batch of chewy, homemade granola bars for a fraction of that cost using simple pantry staples. And when you prep the dry ingredients in a jar ahead of time, you are literally one pot and 20 minutes away from a fresh batch whenever you need one.
This is one of my absolute favorite “mixing jars” recipes, and I think it might become yours too. Let’s get into it.
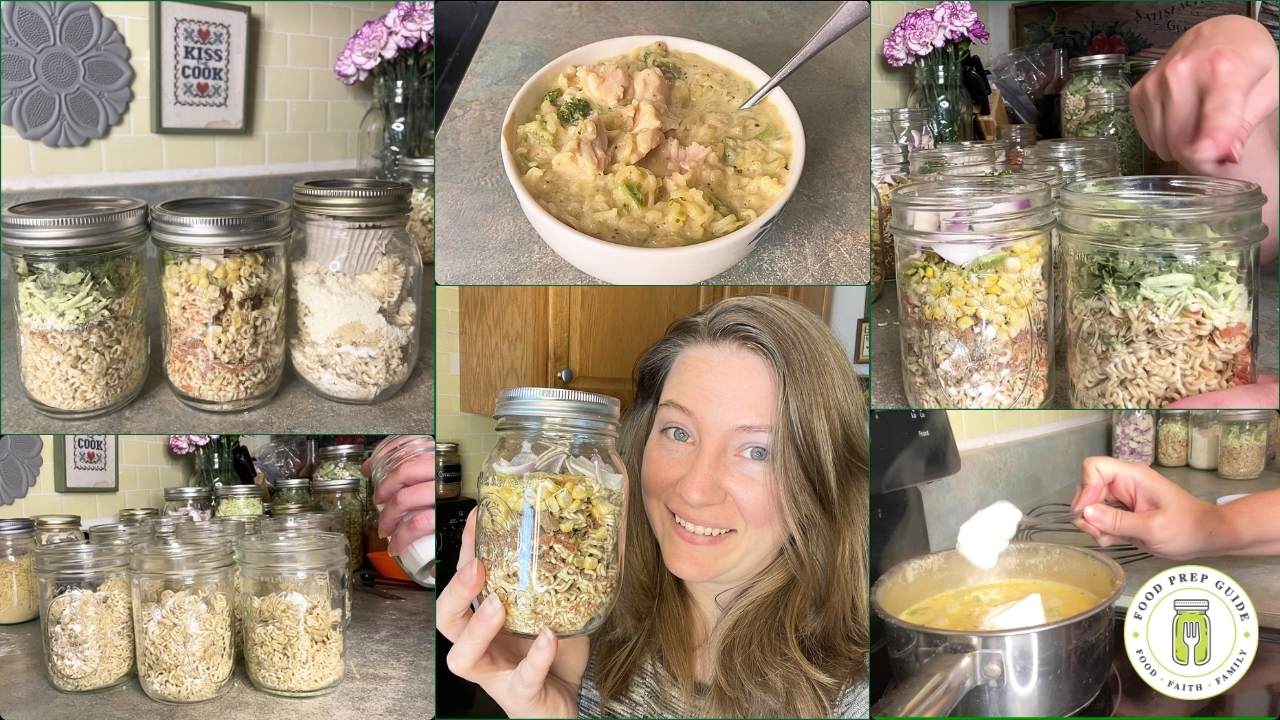
What Is a Mixing Jar?
If you’re new here, a mixing jar is a quart mason jar filled with the dry ingredients for a recipe — pre-measured, labeled, and shelf-stable. You pull it off the shelf, add a few wet ingredients, and you’re done. No measuring, no digging through the pantry, no mess.
It’s a practical, frugal system that saves time and brain power on busy days. And for granola bars? It works perfectly.
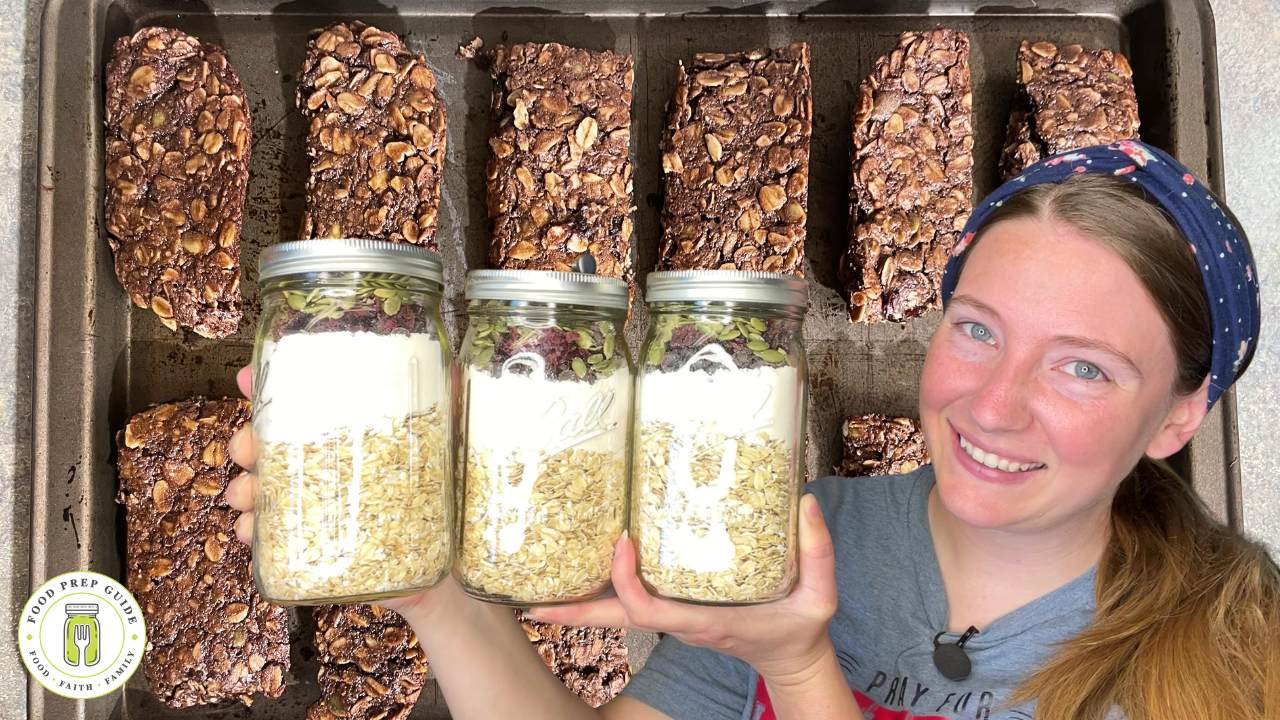
What Goes in the Jar (Per Quart Jar)
The base:
- 2¼ cups oats
- ¾ cup flour
- ½ tsp baking soda
The mix-ins (1 cup total):
- ½ cup chocolate chips
- ¼ cup dried cranberries
- ¼ cup pumpkin seeds
That’s our family’s favorite combination — cranberry, pumpkin seed, and chocolate chip. But this is where you get to have fun. Swap the cranberries for raisins, use sunflower seeds instead of pumpkin seeds, or go all chocolate chips if that’s your crowd. One cup of mix-ins total, split however you like.
A quick note on shelf life: every single ingredient in this jar is shelf stable. I store each of these individually for a year or more. The one reason I don’t vacuum seal mine is the dried cranberries — they hold just a tiny bit of moisture, and I’d rather not risk any issues in a sealed environment. That said, I also know I’ll use these within six months, and that’s my general rule of thumb. If I’ll use it within six months, I don’t bother vacuum sealing. You do what works best in your kitchen.
When You’re Ready to Bake
Preheat your oven to 325°F and grab an 11×7 pan (for thicker bars) or a 9×13 pan (for thinner ones). Butter it generously — and I mean generously. These bars will stick something fierce if you skip that step.
You’ll need three additional ingredients:
- 1 stick (½ cup) butter
- ½ cup honey
- 1 tsp vanilla extract
Melt the butter in a saucepan over low heat. Once it’s melted, add the honey and vanilla. Stir it well and let everything cook together on low for about five minutes. This step matters — if you just use softened butter without heating, the bars come out crumbly and fall apart. The heat helps everything bind together properly once it cools.
After five minutes, take the mixture off the heat and stir in the contents of your jar. You’ll notice the chocolate chips melt right in — that’s on purpose. They turn the whole bar into a chocolatey, chewy situation that holds everything together almost like glue when it cools.
Pour the mixture into your buttered pan and flatten it down firmly and evenly.
Bake for 18–22 minutes, watching for browning along the edges. Here’s the most important tip: don’t overbake. When you pull them out, they’re going to look underdone and feel squishy. That is normal. Resist the urge to put them back in the oven. The edges should look golden brown and slightly crisper than the center.
Cooling and Cutting
Let the bars cool for at least 20 minutes before you try to cut them. Once you cut them, lay each bar on a baking sheet so air can circulate around all the sides. This helps them firm up and not fall apart as easily.
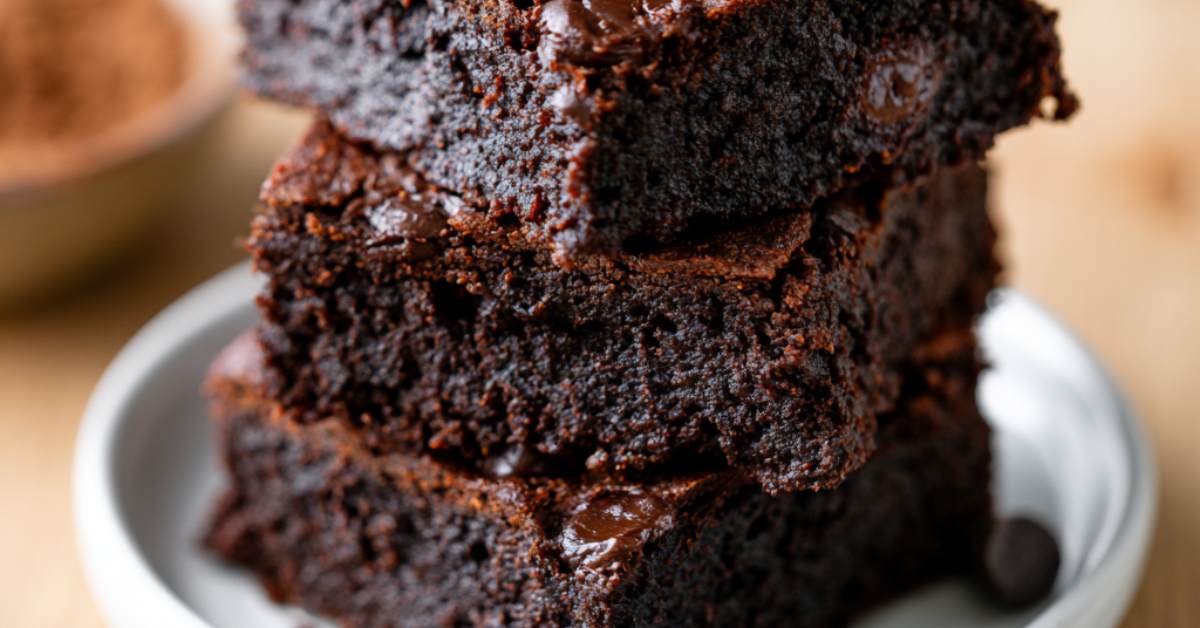
Want chewy bars? Once they’re fully cool, they’re done. Store them and enjoy.
Want crunchy bars? After cutting, lay them out on a baking sheet without touching and toast them under your oven’s broil-low setting for about five minutes. Watch them carefully — they can go from golden to burned quickly. Let them cool completely before storing.
The chewy version is our family favorite, but the crispy version is for the Nature Valley fans in your life.
Why This Recipe Makes Sense for Your Pantry
Aside from being genuinely delicious, these bars check a lot of boxes:
- Frugal. A batch costs a fraction of store-bought granola bars.
- Shelf stable. The prepped jars can sit on your shelf for months.
- Customizable. Mix-ins can be swapped based on what you have or what’s on sale.
- Fast. Once the jar is prepped, you’re 20 minutes from fresh granola bars.
- Kid-approved. My kids have never let a batch last two weeks.
Prep several jars at once and you’ll have an easy, practical snack solution ready to go whenever you need it. That’s what I love about the mixing jar system — it’s intentional prep that pays off every single time.
Want more mixing jar recipes and practical pantry ideas? Grab our book, Food Prep Guide, or check out our shop for more resources to help you feed your family well on a budget.
Get the Mix in Jars Cookbook!
Want to save money and eat clean—but still enjoy convenience? Cook from scratch in half the time with homemade pantry mixes that are cleaner, cheaper, and just as convenient as store-bought.