Quick lunches are one of those things that sound simple in theory but fall apart fast in real life.
You’re busy, the kids need something, and suddenly it’s noon and you’re staring into the pantry hoping something magically appears. Sound familiar?
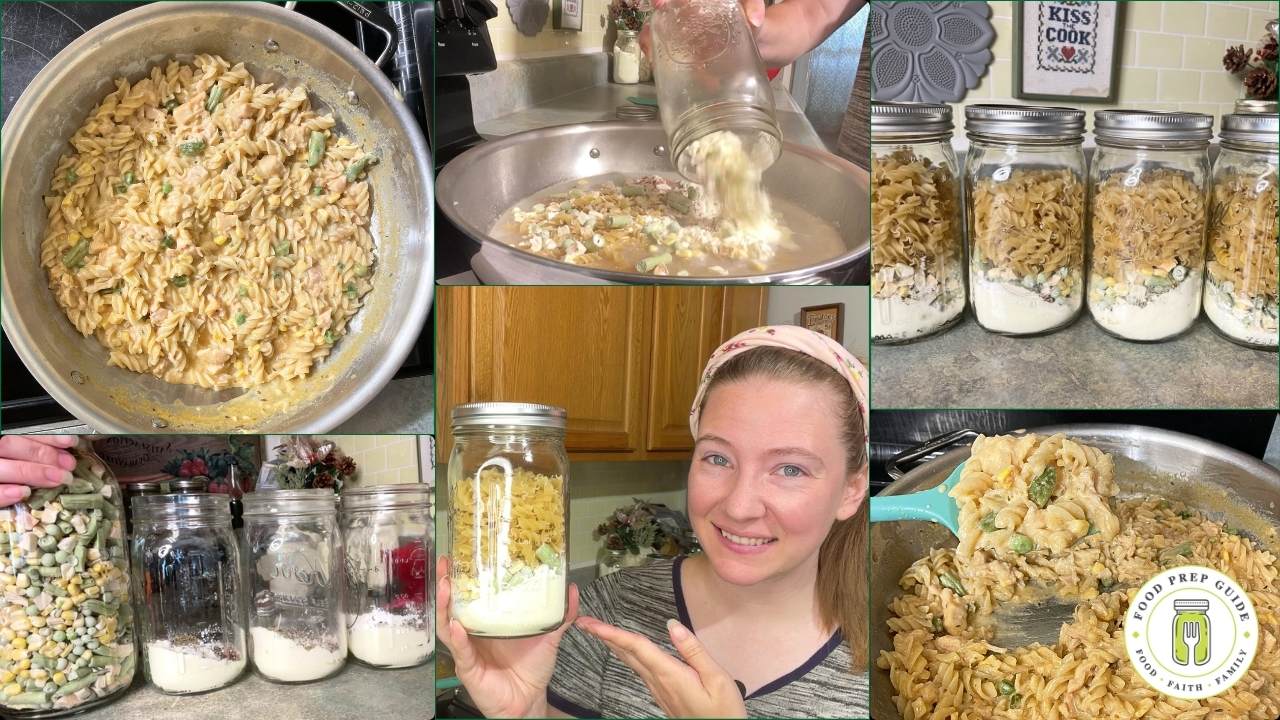
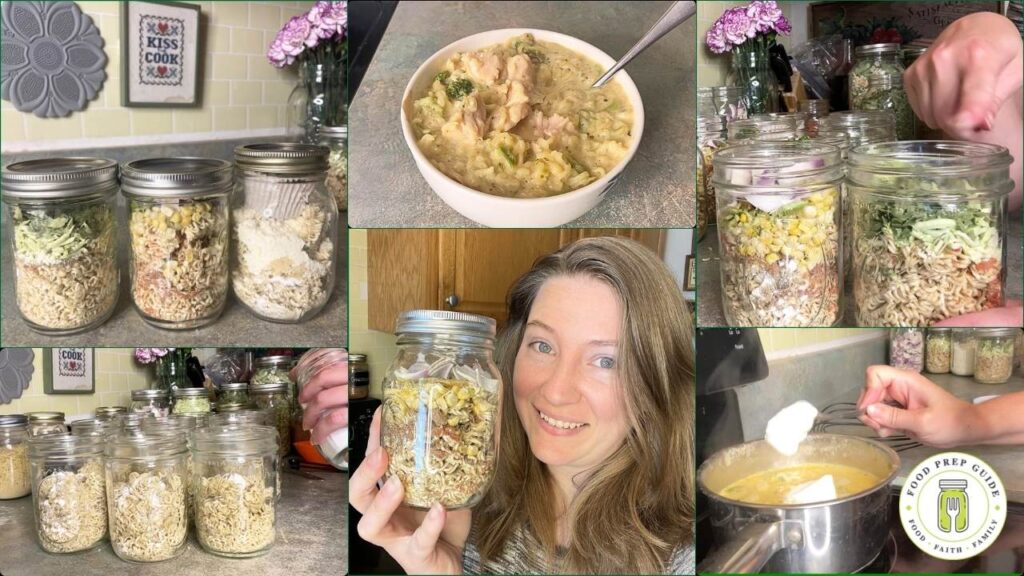
That’s exactly why I love these ramen noodle jars. Nine jars, three different flavors, all prepped in one sitting—and lunch is handled for the week. Or honestly, longer than that if you store them right.
These aren’t your sad college dorm ramen bowls either. We’re talking Italian style, broccoli and cheese, and southwest taco. Real flavors. Real food. And they start with ingredients you can keep in your pantry for months.
Let’s get into it.
The Base Recipe (Same for Every Flavor)
Every jar starts with the same three-ingredient base. Once you get this down, customizing the flavors is simple.
You’ll need per jar:
- 1 brick of ramen noodles (crushed)
- 1 tablespoon arrowroot powder (or cornstarch)
- 1 tablespoon chicken bouillon seasoning
A quick note on the noodles: I buy a 12-pack and just skip the flavor packets entirely. Crush the bricks right into the jars—it takes a little more effort than you’d think, but it’s totally doable.
The arrowroot powder is what keeps the broth from being watery. It gives the finished soup that slightly thicker consistency that makes it feel like an actual meal. Cornstarch works just as well if that’s what you have on hand.
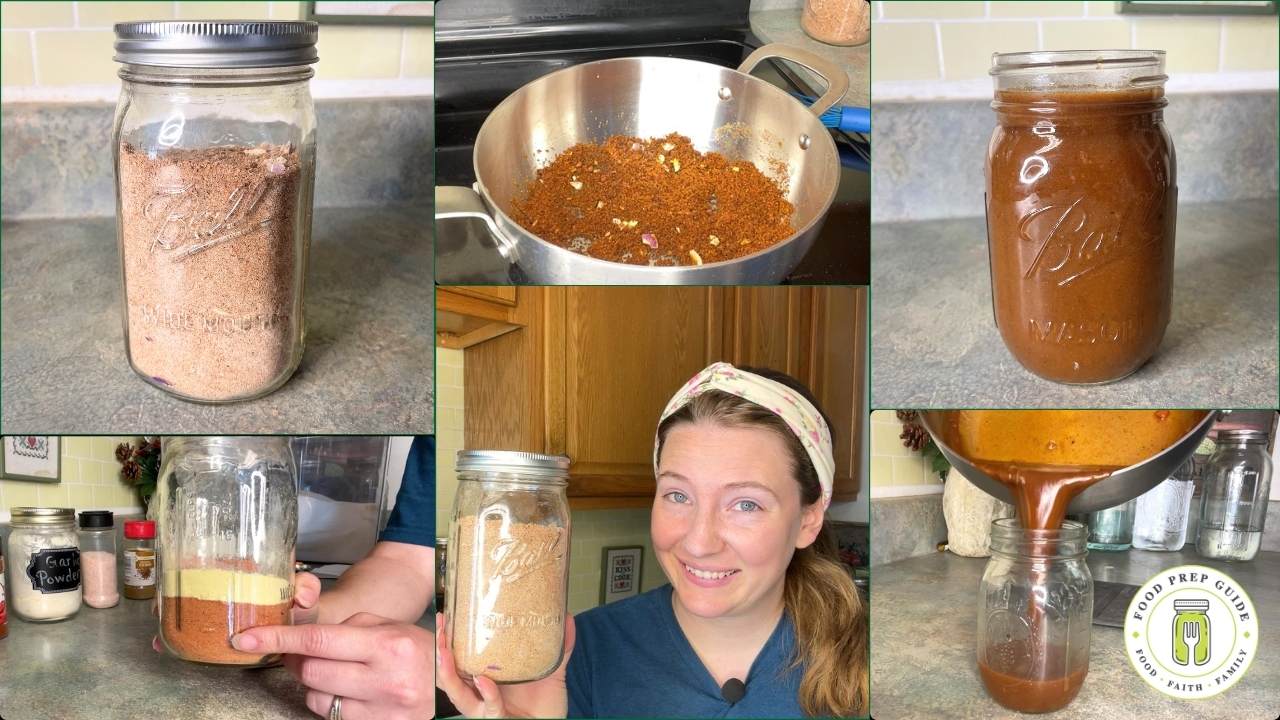
For the chicken bouillon, I use a homemade seasoning blend that includes nutritional yeast and other spices—no actual chicken in it, but it adds a rich, savory base that works with all three flavor profiles. Store-bought bouillon works fine too.
SKIP THE BOX—MAKE YOUR OWN CONVENIENCE MEALS IN MINUTES!
Your secret? Pre-made mixes ready when you are.
A Note on Freeze-Dried vs. Dehydrated Vegetables
Before we get into the individual flavors, this is worth knowing: if you’re using dehydrated vegetables instead of freeze-dried, use half the amount called for.
So if the recipe says 1/4 cup freeze-dried zucchini, you’d use 1/8 cup dehydrated zucchini. Dehydrated vegetables are denser and more concentrated, so the ratio is different.
Also, dehydrated vegetables—especially things like broccoli—take longer to rehydrate than freeze-dried. We’ll talk about how to handle that in the cooking instructions below.
Flavor 1: Italian Style Ramen
This one is savory, hearty, and surprisingly satisfying. Think minestrone vibes in a quick-prep jar.
Add to your base:
- 1 teaspoon tomato powder
- 1/2 teaspoon Italian seasoning (or just oregano if that’s what you have)
- 1/2 teaspoon dried minced garlic
- 1/4 cup freeze-dried or dehydrated zucchini (use 1/8 cup if dehydrated)
- 1/4 cup freeze-dried kale (spinach works great as a substitute)
I use shredded zucchini in mine because that’s how I put it up this year. It works perfectly in this recipe, and honestly I love having shredded zucchini on hand for fritters and casseroles anyway—this is just a bonus use for it.
If you don’t have kale, spinach is the closest substitute in both texture and flavor. Any greens will work in a pinch.
Flavor 2: Broccoli and Cheese Ramen
This one is my personal favorite. It sounds a little unusual, but trust me—it’s creamy, cheesy, and genuinely delicious.
Add to your base:
- 1/2 teaspoon garlic powder
- 1/2 teaspoon mustard powder
- 1/4 teaspoon smoked paprika
- 1/4 cup cheese powder (white or yellow cheddar both work)
- 3 tablespoons dehydrated or freeze-dried broccoli (stored separately—keep reading)
Important: The broccoli gets stored separately from the rest of the jar using a muffin liner tucked into the top. This is because dehydrated broccoli—especially the stems—takes longer to rehydrate than everything else in the jar. The liner keeps it separated so you can add it to the water first before you dump in the rest of the jar.
A note on the mustard powder: I add it to anything cheesy and I genuinely cannot explain why it works so well, but it does. Don’t skip it.
For the cheese powder, I love Hoosier Hill Farm’s white cheddar. Judy’s is another good brand—minimal fillers, just real ingredients.
To cook the broccoli and cheese ramen:
- Bring 2 cups of water to a boil
- Dump in just the broccoli (from the muffin liner) and bring back to a boil
- Reduce to medium-low heat
- Add the rest of the jar contents and whisk together
- Add a pinch of black pepper if you like
- Cover and simmer for 5 minutes
- Stir in 2 tablespoons of sour cream
- Optional but highly recommended: add half a can of canned chicken for protein
The sour cream is what makes this one special. It adds that creamy, rich quality that makes it taste like actual broccoli cheddar soup rather than just cheesy noodles.
Flavor 3: Southwest Taco Ramen
Bold, a little smoky, and loaded with veggies. This one is especially satisfying if you’re craving something with a little more punch.
Add to your base:
- 1 tablespoon taco seasoning (or 2 teaspoons if you prefer a milder flavor)
- 2 teaspoons tomato powder
- 1/2 teaspoon garlic powder
- 1/4 teaspoon smoked paprika
- 1/4 cup freeze-dried corn
- 2 tablespoons freeze-dried or dehydrated diced bell peppers
- 2 tablespoons freeze-dried or dehydrated diced onion
I use red freeze-dried onions because that’s what I have right now. We finally used up the last of our yellow onions from the garden—which felt like a little victory, honestly. If you like heat, swap the bell peppers for a spicy pepper blend.
How to Cook the Italian and Southwest Taco Jars
If using all freeze-dried vegetables:
- Bring 2 cups of water to a boil
- Pour the contents of the jar into a bowl
- Pour boiling water over the top
- Let it steep for 5 minutes
- Stir and enjoy
If using dehydrated vegetables:
- Bring 2 cups of water to a boil in a small saucepan
- Pour the jar contents directly into the water
- Simmer on medium-low for about 7 minutes, stirring occasionally
The difference is just about rehydration time. Freeze-dried vegetables rehydrate quickly with just boiling water. Dehydrated vegetables need a little more time and heat to soften up properly.
Why These Jars Are Worth Making
Nine jars might sound like a lot until you realize you’ve just handled lunch for the better part of two weeks—with zero daily prep time.
The base ingredients are pantry staples you probably already have or can stock up on affordably. The noodles are cheap, the spices stretch a long way, and the freeze-dried or dehydrated vegetables mean nothing goes to waste!
Looking for more pantry-friendly meal ideas? Visit our shop or grab our FREE 1-Year Food Storage Plan to get started.