If you’ve ever found yourself with more fresh corn than you can eat, freezing it is a perfect solution.
This guide will show you how to freeze corn on the cob, so you can enjoy that sweet summer flavor all year round.
Let’s get right to it!
Why Freeze Corn on the Cob?
Freezing corn on the cob helps preserve its flavor, nutrients, and texture, allowing you to enjoy it long after the growing season has ended.
It’s also convenient for meal planning and can be a quick addition to various dishes.
Frozen corn can be easily used in soups, stews, salads, and as a side dish.
What You’ll Need
- Fresh corn on the cob
- Large pot for blanching
- Large bowl of ice water
- Sharp knife (optional)
- Freezer bags or vacuum-seal bags
- Permanent marker for labeling

Prices pulled from the Amazon Product Advertising API on:
Product prices and availability are accurate as of the date/time indicated and are subject to change. Any price and availability information displayed on [relevant Amazon Site(s), as applicable] at the time of purchase will apply to the purchase of this product.
Steps to Freeze Corn on the Cob
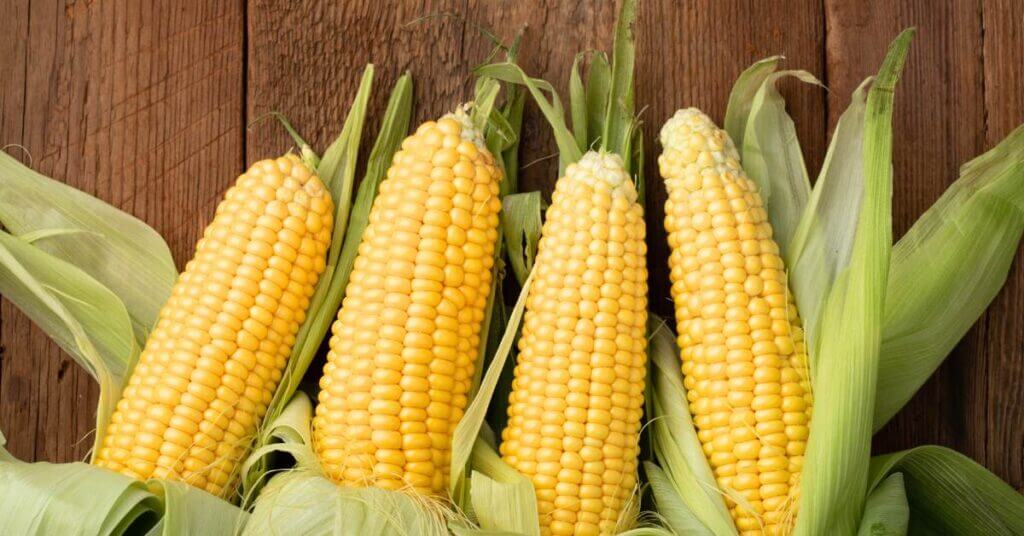
- Select Fresh Corn: Choose ears of corn that are fresh and free from blemishes. The husks should be green and moist, and the kernels should be plump and milky when pierced.
- Husk the Corn: Remove the husks and silk from the corn. If you prefer, you can leave a small portion of the husk to make handling easier during the blanching process.
- Blanch the Corn: Blanching helps preserve the color, flavor, and texture of the corn. Fill a large pot with water and bring it to a boil. Submerge the ears of corn in the boiling water and blanch them for about 4 minutes.
- Cool the Corn: Immediately transfer the blanched corn to a large bowl of ice water to stop the cooking process. Let the corn cool in the ice water for about 4-5 minutes.
- Drain and Dry: Remove the corn from the ice water and let it drain thoroughly. Pat the ears dry with a clean kitchen towel or paper towels to remove excess moisture.
- Package the Corn: Once the corn is dry, it’s time to package it for freezing. You have two options. If using whole ears, simply place them in freezer bags or vacuum-seal bags. Squeeze out as much air as possible before sealing. If you prefer to freeze just the kernels, use a sharp knife to cut the kernels off the cob. Spread the kernels in a single layer on a baking sheet and freeze for a few hours. Once the kernels are frozen, transfer them to freezer bags or vacuum-seal bags and label with the date.
- Freeze: Place the sealed bags of corn in the freezer. For the best quality, use the corn within 8-12 months.
Can you freeze corn on the cob without blanching it first?
Yes, but blanching will give you the highest quality end product.
If you want to skip the blanching step, there are a few important things to keep in mind:
- Remove the husks and silk from the corn. Rinse the ears under cold water to remove any remaining silk.
- Pat the corn dry with a clean kitchen towel or paper towels to remove any excess moisture.
- Spread the ears out in a single layer in the freezer initially. Once frozen, you can stack them to save space.
- For extra protection against freezer burn, wrap each ear of corn tightly in plastic wrap or aluminum foil.
FREE FOOD STORAGE PLAN!

Does gathering and storing a year’s worth of food for your family seem overwhelming and unachievable?
Make it easy with our step-by-step plan. Subscribe to our weekly newsletter & we’ll send it to you FREE!
[fluentform id=”5″]
Is it better to freeze corn on the cob in the husk?
Freezing corn on the cob in the husk can be a convenient method and offers some benefits, but it also has its drawbacks.
Here’s a look at the pros and cons to help you decide if it’s the best option for you:
PROS
- The husk acts as a natural barrier, helping to protect the corn from freezer burn and preserving its moisture.
- Freezing corn in the husk is simple and quick. You don’t need to remove the husks or silk before freezing, which saves time.
- Some people believe that freezing corn with the husk on can help retain its natural sweetness and flavor better.
CONS
- Corn in the husk takes up more space in the freezer than husked corn, which can be a concern if you have limited freezer space.
- When you’re ready to use the corn, you’ll need to thaw and remove the husks and silk, which can be more challenging than doing so before freezing.
- While the husk does provide some protection, it might not be as effective as plastic wrap or vacuum-sealed bags in preventing moisture loss over an extended period.
How do I reheat frozen corn on the cob?
Reheating frozen corn on the cob is simple and can be done using various methods depending on your preference and available equipment.
1. Boiling
- Bring Water to a Boil: Fill a large pot with water and bring it to a boil.
- Add Corn: Add the frozen corn on the cob to the boiling water.
- Cook: Let the corn boil for about 5-7 minutes, or until heated through.
- Drain and Serve: Remove the corn from the water, drain, and serve immediately with butter, salt, and any other desired seasonings.
2. Microwaving
- Place in Microwave-Safe Dish: Place the frozen corn on the cob in a microwave-safe dish.
- Add Water: Add about 1/4 cup of water to the dish to create steam.
- Cover: Cover the dish with a microwave-safe lid or plastic wrap, leaving a small vent for steam to escape.
- Microwave: Microwave on high for 3-5 minutes, depending on the number of ears and your microwave’s power. Check if the corn is heated through and add more time if necessary.
3. Steaming
- Prepare Steamer: Set up a steamer basket over a pot of boiling water.
- Add Corn: Place the frozen corn on the cob in the steamer basket.
- Steam: Cover and steam for about 5-7 minutes, or until the corn is heated through.
4. Grilling
- Preheat Grill: Preheat your grill to medium-high heat.
- Wrap Corn: Wrap the frozen corn on the cob in aluminum foil. For added flavor, you can add a pat of butter and some seasoning before wrapping.
- Grill: Place the wrapped corn on the grill and cook for about 15-20 minutes, turning occasionally, until heated through.
By following these simple steps, you can ensure that your corn retains its flavor, texture, and nutritional value.
Whether you freeze whole ears or just the kernels, you’ll have a convenient and delicious ingredient ready to use in a variety of dishes.