Today, I’m knee-deep in some serious meat prep—about 20 pounds’ worth to be exact—and while my hands are busy, I thought we’d chat about how I cut our meat bill in half.
If you’re feeling the pinch at the grocery store (and let’s be honest, who isn’t these days?), this one’s for you.
The Meat Trick Most Folks Don’t Know About

Buying meat at your local grocery store is almost always the most expensive route.
Even those “buy one, get one” deals don’t hold a candle to what you can save with a little creative sourcing.
Here’s what I did:
1. Bacon Ends from a Meat Truck Sale
I scored a 10-pound box of bacon ends for just $15. That’s right—$1.50 per pound. Compare that to the usual $5–$6 for a single pound of name-brand bacon at the store.
Now these are the leftover bits from when the butcher slices bacon. Some pieces are fatty, some lean, but they’re still bacon.
We use them in everything from:
- Breakfast skillets
- Omelets
- Stir-fries
- Soups
- Fried cabbage and beans
It’s not fancy, but it’s real food—and it’s a huge cost saver.
2. Buy in Bulk (Even if You Don’t Have a Big Family)
If you’ve never considered buying a whole pig or a quarter cow directly from a local farmer, let me tell you—it’s a game changer.
You don’t need a massive family or a deep freezer the size of Texas. Just go in with neighbors or friends and split the cost.
In doing so, you’ll:
- Get better quality meat
- Lock in pricing before inflation creeps up again
- Stock your freezer for 6 months to a year
Bonus? You’re supporting local farmers and skipping the industrial food system altogether!
GET THE BOOK!
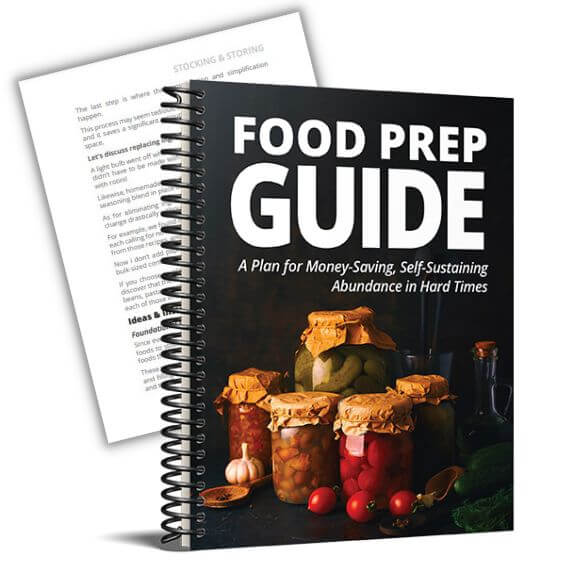
Food Prep Guide: A Plan for Money-Saving, Self-Sustaining Abundance in Hard Times is a book of strategies & tutorials that help you build a long-term pantry that sustains your family on a budget—even in the midst of rising food costs.
Frugal Tip: Make Your Own Vacuum Sealer Bags
Those name-brand vacuum sealer bags are convenient but so overpriced. Instead, we use plastic rolls from a brand called Happy Seal. They’re cheaper and just as sturdy.

Prices pulled from the Amazon Product Advertising API on:
Product prices and availability are accurate as of the date/time indicated and are subject to change. Any price and availability information displayed on [relevant Amazon Site(s), as applicable] at the time of purchase will apply to the purchase of this product.
All you have to do is:
- Cut the roll to your preferred bag size
- Seal one end
- Fill it up
- Seal the other side
We make two different sizes:
- Medium bags for casseroles, stews, and dinner dishes
- Small skinny bags for side dishes like beans and fried cabbage
Custom sizes means less waste, which translates into more savings.
Batch Prep = Sanity Saver
We all know how exhausting dinner time can be after work. That’s why I go ahead and:
- Chop the meat
- Pre-portion it into bags
- Lay them flat so they freeze (and thaw) faster
It may take a few hours up front, but it saves me time, energy, and stress every single week. All I have to do is grab a bag from the freezer and toss it in the skillet.
I even write out our weekly meal plan and stick it to the freezer door.
Each morning when I’m making breakfast, I check the plan, pull what I need, and start any rehydrating or thawing so supper prep is a breeze later on.
We’re not fancy around here—but we are intentional. By making just a few strategic changes, we cut our meat bill in half without sacrificing quality or nutrition. I hope our little chat gave you some ideas for your own kitchen!