If your family is anything like mine, getting a hot, filling dinner on the table after a long day can feel like climbing a mountain—especially when you’re trying to do it without blowing your grocery budget.
That’s exactly why I love meals in jars.
This recipe that I’m calling “Chicken Bacon Bean Skillet” is packed with protein, comes together in under an hour, and you can prep most of it ahead of time in a jar so that future-you has almost nothing to do.
Let me walk you through the whole thing, start to finish.
What You’ll Need
For the Jar:
- 1½ cups dehydrated beans (white beans like navy or northern work best)
- ½ cup bacon bits (shelf-stable)
- 2 tablespoons tomato powder
- 1 tablespoon chicken broth powder
- ½ tablespoon dehydrated bell peppers (or 1 tablespoon freeze-dried)
- 2 teaspoons smoked paprika
- ½ teaspoon salt
- ¼ teaspoon black pepper
To Cook:
- 1 medium onion, diced
- 1–2 tablespoons avocado oil
- 2 tablespoons butter
- 4 cups water
- 1 can chicken, well drained (or 1 pint home-canned chicken)
- Shredded cheese for topping
- 1 tablespoon freeze-dried or fresh parsley
A Word About the Beans
These are not the dry beans you buy in a bag at the store. They’re dehydrated beans, meaning you cook them first, then dehydrate them. The result is “instant beans.”
White beans are my strong recommendation for this recipe—northern beans, navy beans, or cannellini all work great. They have a mild, creamy flavor that absorbs seasonings beautifully.
To dehydrate beans at home: set your dehydrator between 125–130°F and run it for about 9 hours (I usually start them before bed).
You’ll know they’re done when you can crumble them in your hand.
A Word About the Bacon Bits
I know this comes up, so let me address it directly.
These shelf-stable bacon bits are not the same as raw bacon. They’re cured, dried, and have less than 5% moisture — which is exactly why they can sit on a store shelf for 10 months without refrigeration.
The general rule for vacuum sealing dried goods is to avoid anything with more than 10% moisture like sticky dried cranberries. These bacon bits are well under that.
As always, only do what you’re comfortable with in your own kitchen.
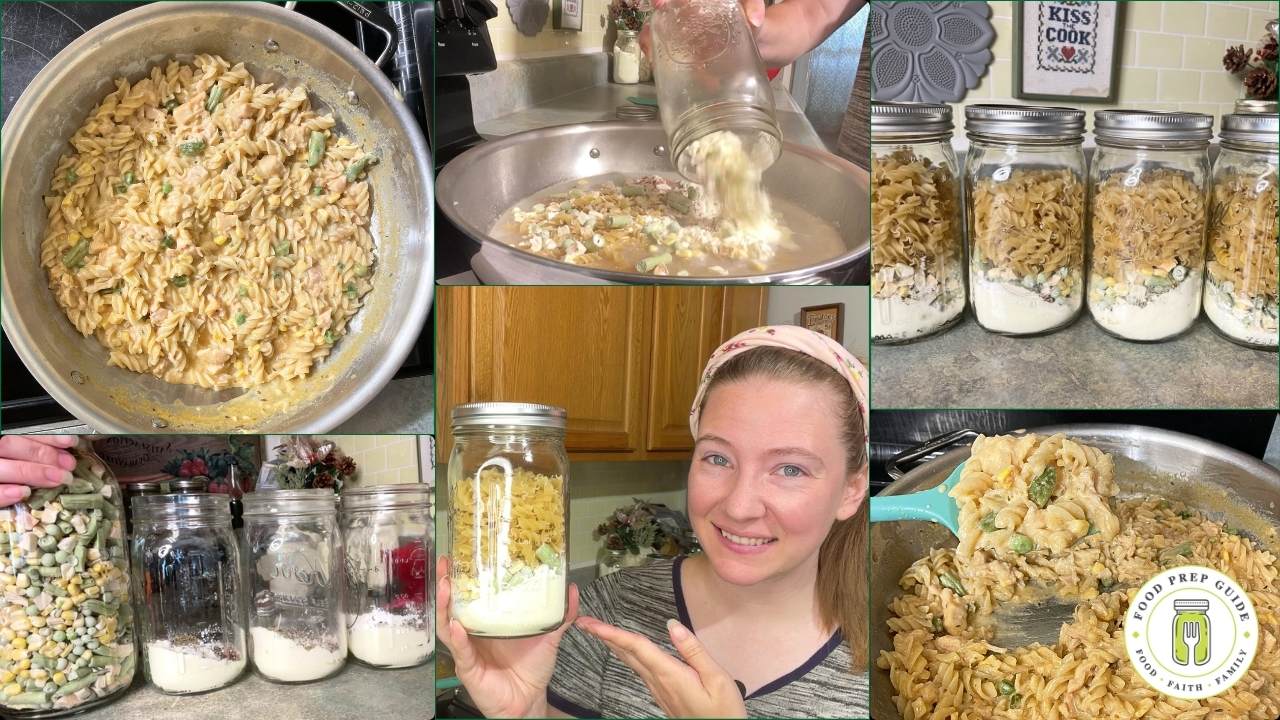
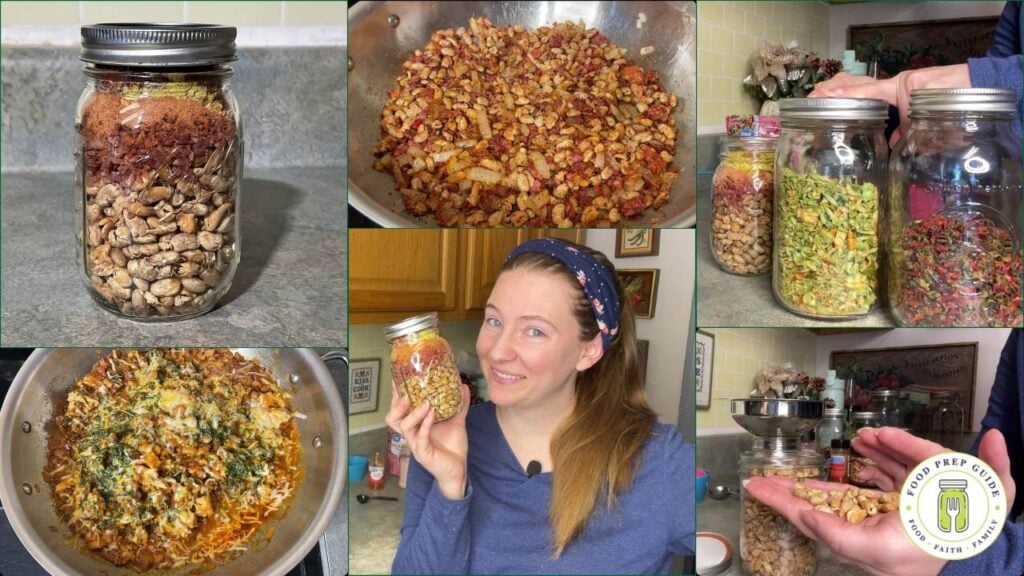
How to Assemble the Jar
Layer your ingredients in this order:
- 1½ cups dehydrated beans
- ½ cup bacon bits
- Shake the jar to settle everything down before adding the seasonings
- 2 tablespoons tomato powder
- 1 tablespoon chicken broth powder
- ½ tablespoon dehydrated peppers (or 1 tablespoon freeze-dried)
- 2 teaspoons smoked paprika
- ½ teaspoon salt
- ¼ teaspoon black pepper
Seal and vacuum seal if storing. Prep four to five jars at a time.
Doing just one jar doesn’t really save you much effort, and that’s the whole point of doing this.
How to Cook It
Step 1: Brown the Onion
Heat 1–2 tablespoons of avocado oil in a skillet over medium-high heat. Add one medium diced onion and brown to your liking. Because beans can be bland and tend to absorb the flavors around them, you want that onion to get some good color before anything else goes in.
Step 2: Add the Jar
Dump in the entire jar of dry ingredients. Stir to coat everything in the oil and toast the spices for about a minute.
Step 3: Add Butter and Water
Add 2 tablespoons of butter and let it melt into the bottom of the pan. Then add 4 cups of water and stir well.
Step 4: Simmer
Bring to a boil, then reduce to a simmer. Cover and let it cook for 20 minutes.
Step 5: Add the Chicken
After 20 minutes, add your well-drained canned chicken. Stir it in, remove the lid, and let everything simmer for another 10–15 minutes until most of the liquid is absorbed and the mixture has thickened up nicely.
We add the chicken at the end because canned chicken is already cooked — you don’t want to overcook it into rubber.
Step 6: Top and Finish
Turn off the heat, add a sprinkle of shredded cheese on top, and finish with about a tablespoon of crumbled parsley (fresh is wonderful if you have it). Put the lid back on and let it sit for a few minutes for the cheese to melt.
That’s it. Dinner is served.
A Note on the Chicken
I specifically used canned chicken here because I know not everyone has a freeze dryer, and freeze-dried ingredients can get pricey. Our family actually uses home-canned rabbit meat from the rabbits we raise, but I wanted this recipe to be as accessible as possible.
That said, if you do have freeze-dried chicken, you can absolutely add about 1 cup directly to your jar and increase the total water to 5 cups when cooking.
Why This Recipe Works for Busy Families
- It’s high protein — beans, chicken, and bacon in every bite
- It’s budget-friendly — beans and canned chicken are some of the most affordable proteins out there
- It’s shelf stable — you can have four of these jars ready to go at any time
- It’s flexible — dairy-free? Skip the cheese. No freeze dryer? Use canned chicken. Don’t raise rabbits? (Most people don’t. 😄) That’s what the store is for.
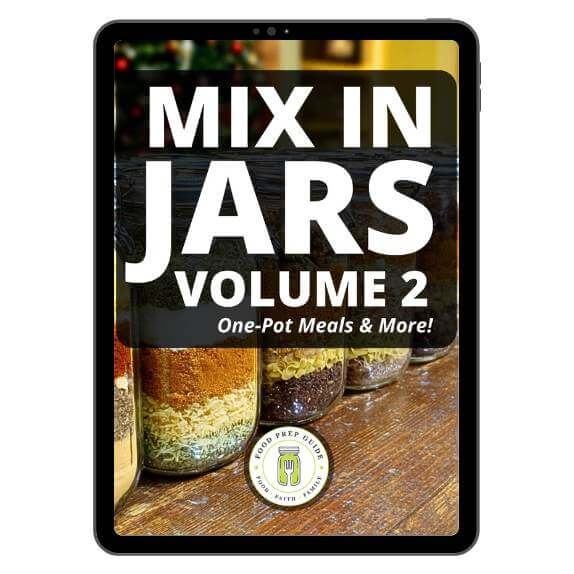
Want more meal-in-a-jar recipes like this one? Our Mix in Jars: Volume 2 Cookbook will feature a whole chapter dedicated to dehydrated, heat-and-eat meals that are safe for long-term storage. Enter the giveaway below (or, if you’re reading this at a much later date, it may already be available)!