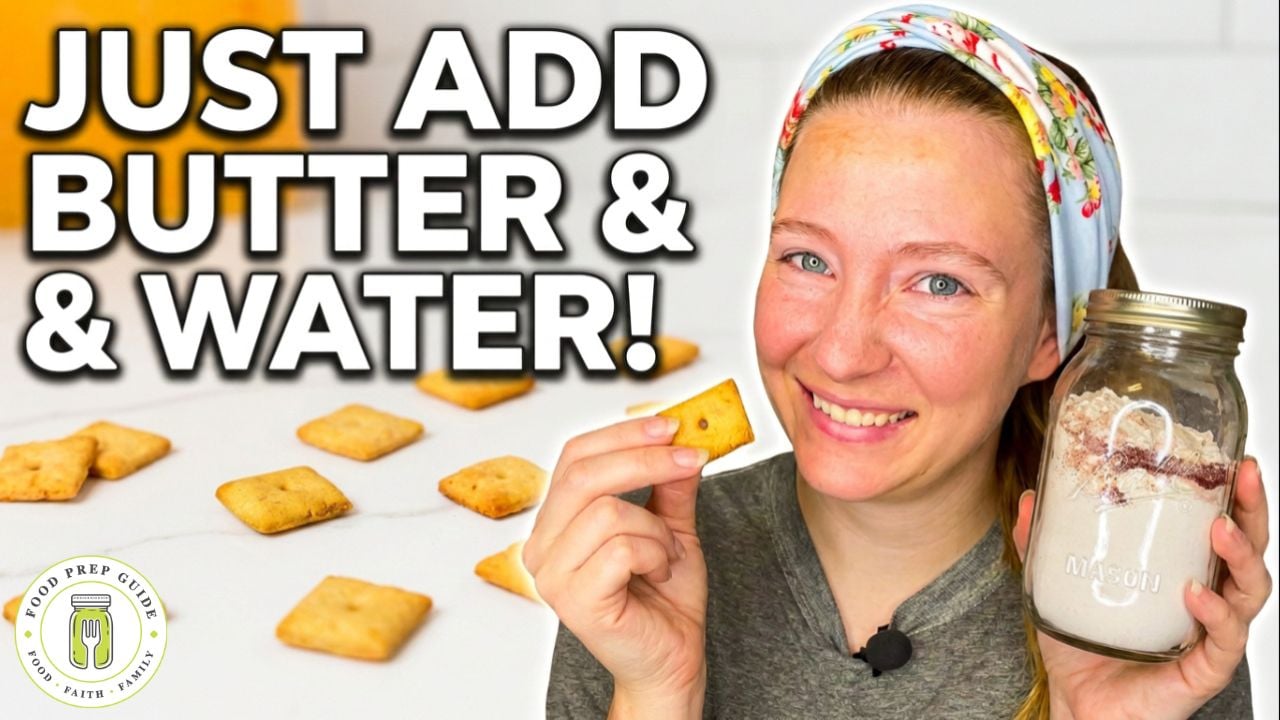


Raise your hand if your kids could live on those little boxed cheese crackers. Mine sure could.
I love that they’re an easy snack, but I don’t love the mystery ingredient list—or watching a whole box disappear in about ten minutes flat. So I set out to make a copycat version at home, where I get to decide exactly what goes in.
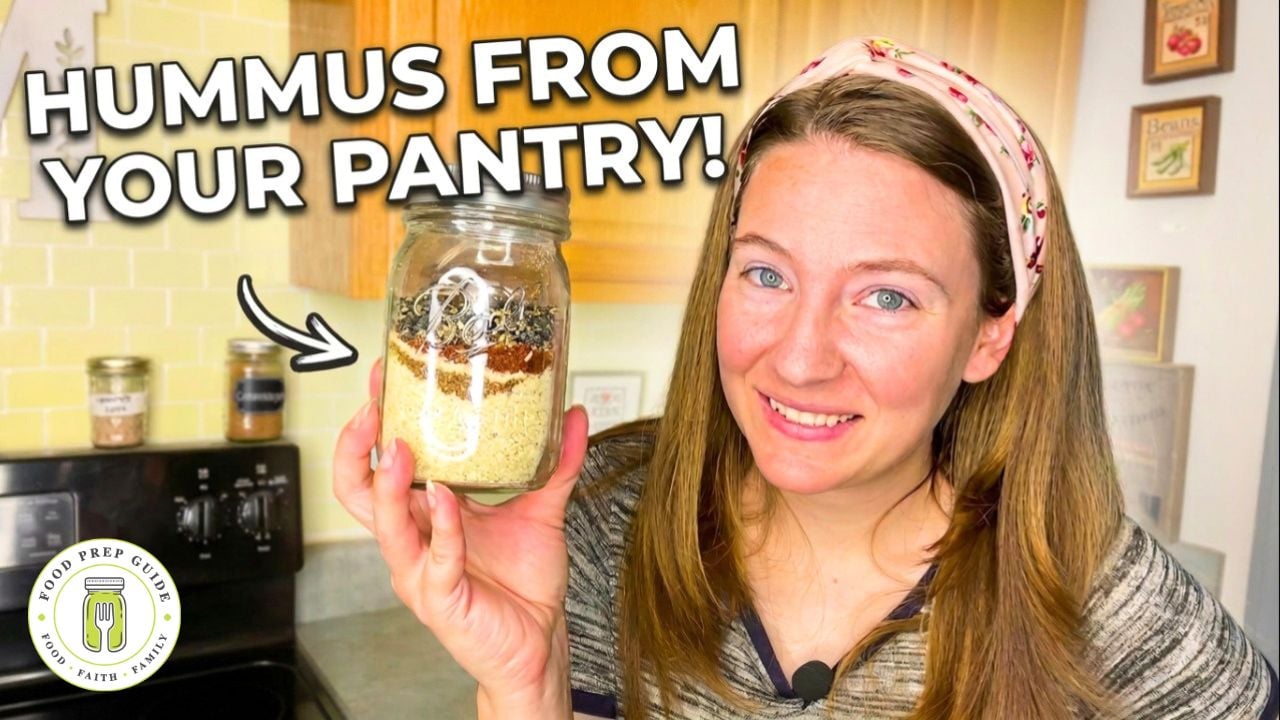
And because I like to prep ahead whenever I can, we’re making these mix-in-a-jar style. You measure the dry ingredients once, store the jar on your shelf, and when the snack attack hits, you just add butter and water. Simple, frugal, and ready when you are.
This is a copycat of a popular boxed brand I won’t name for trademark reasons—but you’ll know exactly which little square cracker I mean.
Why Make Cheese Crackers in a Jar?
A few reasons this has become one of my favorite pantry tricks:
- You control the ingredients. No dyes or fillers you can’t pronounce—just real food you put in yourself.
- You save money. A homemade batch costs a fraction of the boxed stuff, especially once you’re buying staples in bulk.
- You save time later. The mix does the measuring ahead of time, so cracker-making comes together fast on a busy day.
That last one is the Type A in me talking. I would rather do the fiddly part once and coast later.
The Cheddar Cheese Cracker Mix
Here’s what goes in your jar. Every single ingredient is shelf stable, so this is a mix you can make now and use months down the road.
- 2 cups all-purpose flour
- 1 cup cheddar cheese powder (white or yellow)
- 1 teaspoon salt
- 1/2 teaspoon garlic powder
- 1/2 teaspoon smoked paprika
- 1/4 teaspoon mustard powder (ground mustard)
Add everything to a quart jar, give it a shake, and you’re done. That’s your base.
Quick note on flour: any time I mention flour, I mean all-purpose. That’s the only kind we keep in our house. You’re welcome to try bread flour if that’s what you have, but all-purpose is what this recipe is built on.
A Word on Cheese Powder
The cheese powder is where the flavor comes from, so let’s talk about it for a second.
I used white cheddar powder in this batch. If you want that deeper orange color that looks more like the store version, reach for yellow cheddar powder instead.
Here’s a tip worth knowing: my go-to brand for cheese powders is Hoosier Hill Farm. Their premium yellow cheddar doesn’t contain artificial colors, though their regular one does. If avoiding dyes matters to your family, that premium option is a simple swap that still gives you the color you want.
About the Seasonings
The seasonings are simple, but they carry the whole cracker:
- Salt—we love Redmond Real Salt around here.
- Garlic powder for a little savory depth.
- Smoked paprika, which adds a subtle smoky note I really like. Regular paprika works fine if that’s what’s in your cabinet.
- Mustard powder, just a quarter teaspoon, for that tangy cheese-cracker bite.
How to Store Your Mix
Because everything in the jar is shelf stable, you have options.
If you vacuum seal it, this mix keeps for years—which makes it a great one to stock up on. Even without vacuum sealing, it holds just fine on your shelf for about 6 months.
This is exactly the kind of prudent, prep-ahead project I love. One afternoon of measuring, and future-you has snacks ready to go.
Turning Your Mix Into Crackers
When you’re ready to bake, here’s all you add:
- 1/2 cup cold butter, cubed
- 1/2 cup cold water, divided
Step 1: Cut in the cold butter. It’s important that your butter is cold and hard for this recipe. Cut it into cubes so it doesn’t bog down your food processor, then add it right on top of your mix. A food processor makes this so much easier—same as when you’re working butter into a pie crust. Pulse a few times until the mixture looks like coarse sand.
Step 2: Add the water slowly. This is the trickiest part, so go slow. Take your half cup of water and divide it into quarters. Trickle it in a little at a time, watching what the dough does. The goal is for the dough to clump into a ball on its own inside the processor. The moment you see that ball start to form, stop pouring—sometimes you won’t need all the water. If it’s looking dry, pause, scrape down the sides with a spatula, and keep trickling.
Step 3: Roll it out. Preheat your oven to 350°F. Gather your dough into a ball with your hands, press it into a disc, and sandwich it between two pieces of parchment paper. This keeps your rolling pin from tearing up the dough. Roll it out as evenly as you can—more on why that matters in a minute.
Step 4: Cut and poke. Use a pizza cutter (a knife works too) to cut straight lines one way, then turn and cut the other way to make little squares. Then take a chopstick—or anything with a small point—and poke a hole in each cracker. This keeps them from puffing up in the middle while they bake.
Step 5: Bake. Lift the crackers onto a parchment-lined baking sheet. Bake for 12 to 15 minutes. You know your oven best, so keep an eye on them and adjust as you go.
Learn From My Burnt Batch
I’ll be real with you—some of my crackers came out burnt, and I want you to skip the mistake I made.
Two things went wrong. First, I baked mine for 13 minutes when I probably should have pulled them at 11 or 12. Second, and this is the big one, I rolled my dough unevenly. The center was thicker and the edges were thinner, so the thin ones scorched while the middle finished.
So take your time getting that dough to an even thickness. It’s harder than it sounds (I’m still working on it myself), but it’s the difference between a perfect batch and a few sad, crispy casualties.
Ready to Fill More Jars?
If you love the mix-in-a-jar idea as much as I do, this recipe and a whole lot more live inside our Mix & Jars cookbooks. Volume 1 focuses on pantry staples, and Volume 2 is all about meals—one-pot dinners, side dishes, and shortcuts for those busy weeknights when you just need supper on the table fast.
You can find both over in our shop: https://foodprepguide.com/shop/
My kiddos love these crackers, and I hope yours do too. Happy baking, friends!