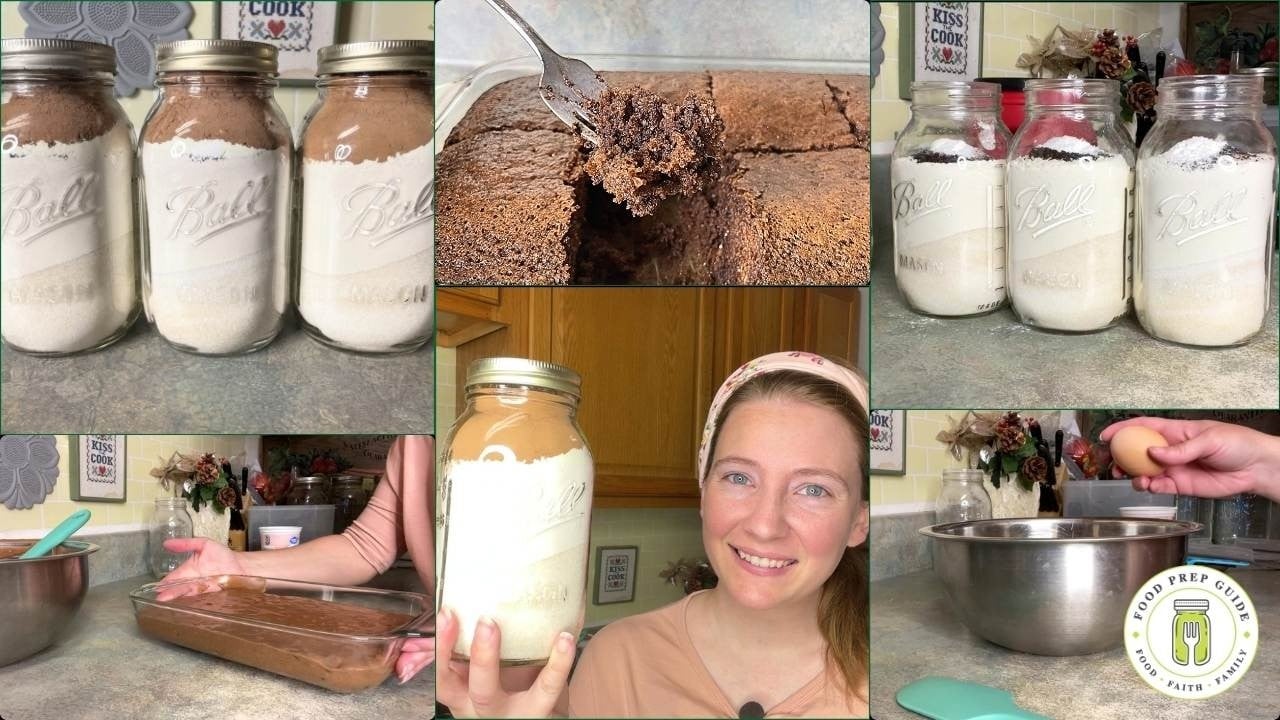
I’ve been on a brownie quest for years.
I’m talking about dozens of disappointing batches, recipes that promised fudgy perfection but delivered cake-like sadness, and enough cocoa powder experiments to supply a small bakery.
But this recipe? This is the one that made me stop searching.
If you’re team fudgy-chewy-dense brownie (not cakey), then grab your biggest pot because we’re about to make magic happen.
And yes, I said pot—this entire recipe happens in one pot, which means less cleanup and more time enjoying warm brownies with your family.
Why This Recipe Actually Works (Science + Love)
After years of trial and error, I learned that perfect brownies aren’t just about ingredients—they’re about technique.
The difference between mediocre and mind-blowing comes down to three things:
- Cold eggs (seriously, this changes everything)
- How long you beat the mixture (longer than you think!)
- The right ratios (which took me forever to figure out)
When I first started baking, I treated brownies like any other recipe. Mix, pour, bake.
Wrong approach.
These beauties need a little extra attention at specific stages, but I promise it’s worth it.
What You’ll Need
- 10 tablespoons butter (1 stick + 2 tablespoons)
- 1¼ cups cane sugar
- ¾ cup + 2 tablespoons cocoa powder
- ¼ teaspoon salt (we use Redmond’s Real Salt)
- 1 teaspoon vanilla extract
- 2 large cold eggs (this is crucial!)
- ¾ cup flour
- ¼ cup dark chocolate chips (or whatever you prefer)
- 8×8 dish (makes 9 perfect squares)

Prices pulled from the Amazon Product Advertising API on:
Product prices and availability are accurate as of the date/time indicated and are subject to change. Any price and availability information displayed on [relevant Amazon Site(s), as applicable] at the time of purchase will apply to the purchase of this product.
The Secret Method
Step 1: Melt Your Butter
Start by melting 10 tablespoons of butter in a medium pot. If you’re a planner like me, you can skip this step by letting butter soften on the counter ahead of time.
But honestly? I love the one-pot approach—all our mixing happens right in this same pot.
Step 2: Add the Dry Ingredients
Stir in your sugar, cocoa powder, and salt. No special technique here—just mix until smooth.
This base mixture is what gives us that rich chocolate flavor without being overly sweet.
Step 3: The Vanilla and Egg Magic
Add your vanilla extract (I never measure this—just a good dollop), then crack in those cold eggs.
Here’s where it gets important:
Beat this mixture hard for 1-2 minutes straight.
I know it seems long, but this extended beating creates that gorgeous shiny, crinkly top that makes bakery-style brownies. If you shortcut this step, you’ll miss out on that signature brownie crust.
Step 4: The Flour Stage
Add ¾ cup flour and here’s the second crucial beating moment.
Really work this flour in—another vigorous, 1-2-minute mixing session. This combination of proper beating at two specific stages is what creates that perfect fudgy texture.
It’s wild how you can get three different brownie textures from this exact same recipe just by changing:
- Cold vs. room temperature eggs
- How long you beat the mixture
- Whether or not you really work in the flour
Step 5: Pan and Top
Pour into your greased 8×8 pan and sprinkle with chocolate chips.
I probably use about ¼ cup, but I just eyeball it based on how generous I’m feeling that day.
Step 6: Bake to Perfection
30 minutes at 340°F, or until a toothpick comes out clean.
You’ll know they’re ready when the tops look shiny (thanks to all that beating!) and the center feels set but still slightly soft.
The Brookie Bonus Round
Want to get fancy?
Once you’ve spread the brownie batter in your pan, make a batch of your favorite cookie dough and layer it right on top.
Brookies = brownie + cookie = pure genius for feeding a crowd or treating your family to something extra special.
After years of disappointing brownie experiments, finding this recipe felt like striking gold.
The combination of simple ingredients, foolproof technique, and that perfect fudgy texture makes these our family’s go-to dessert.
Whether you’re celebrating a birthday, need something for a potluck, or just want to surprise your family on a random Tuesday, these brownies deliver every single time!
Print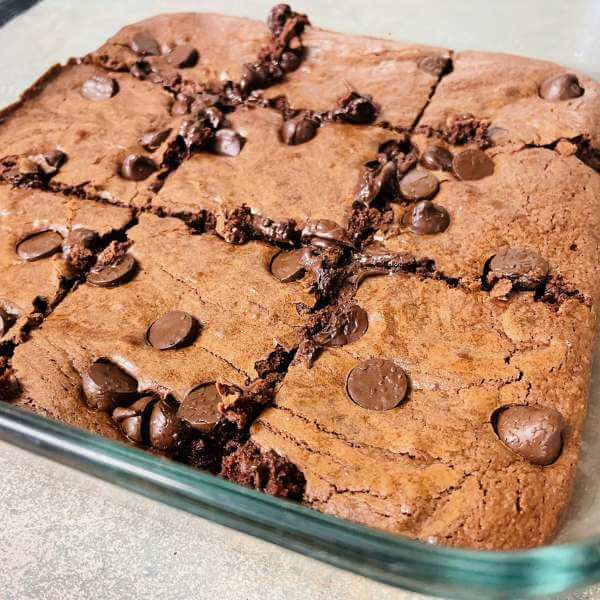
Best-Ever Fudgy Brownies
These are the brownies that ended my years-long search for the perfect recipe! Dense, chewy, and intensely chocolatey with that coveted shiny, crinkly top that makes them look bakery-perfect. The secret lies in using cold eggs and beating the mixture longer than you think you should—trust the process!
- Total Time: 40 minutes
- Yield: 9 brownies 1x
Ingredients
- 10 tablespoons butter (1 stick + 2 tablespoons)
- 1¼ cups cane sugar
- ¾ cup + 2 tablespoons cocoa powder
- ¼ teaspoon salt (we use Redmond’s Real Salt)
- 1 teaspoon vanilla extract
- 2 large cold eggs (this is crucial!)
- ¾ cup flour
- ¼ cup dark chocolate chips (or whatever you prefer)
- 8×8 dish (makes 9 perfect squares)
Instructions
- Preheat oven to 340°F.
- Melt 10 tablespoons of butter in a medium pot.
- Add 1¼ cups sugar, ¾ cup + 2 tablespoons cocoa powder, and ¼ teaspoon salt to the pot.
- Stir until smooth.
- Add 1 teaspoon vanilla extract.
- Add 2 large cold eggs.
- Beat mixture vigorously for 1-2 minutes straight (this creates the shiny crinkly top).
- Add ¾ cup flour.
- Beat vigorously again (this creates the fudgy texture).
- Pour batter into greased 8×8 pan.
- Top with ¼ cup chocolate chips.
- Bake for 30 minutes or until toothpick comes out clean.
- Cool and cut into 9 squares.
- Prep Time: 10 minutes
- Cook Time: 30 minutes