

This post has been a long time coming—and I’m so excited to finally share it.
If you’ve ever wanted to dive into sourdough but felt overwhelmed by all the feeding schedules, discard waste, and kitchen clutter… I hear you.
That was me, too.
Two years ago, I made the decision to swap our store-bought bread for homemade sourdough. I was all in—starter, discard, daily feeding, all of it.
And let me tell you, it didn’t take long to realize: this was not going to work for my life.
I work in big batches. I don’t bake every day—or even every week. Some months, I don’t bake at all. But that doesn’t mean I want to start over every time I crave a warm, crusty loaf.
So, I found a better way. A no-feed, no-discard sourdough method that lets me bake when I want—without the guilt or waste.
Today, I’m going to show you exactly how I maintain my starter between bakes… even if it’s been three months (yes, really!).
Why I Ditched the Traditional Method
The traditional sourdough routine goes something like this:
- Feed your starter every day (or every other day)
- Discard a portion with every feeding
- Repeat indefinitely
And all I could think was… why?
The discard can be used in recipes, sure, but the constant upkeep and waste just didn’t make sense for my life.
So I started researching lower-maintenance methods and came across a technique that lets your starter “hibernate” in the fridge until you need it again.
After testing it over the last two years, I’m happy to report—it works like a charm.
The No-Feed, No-Discard Method (a.k.a. the Busy Mama’s Sourdough Starter)
Here’s how it works:
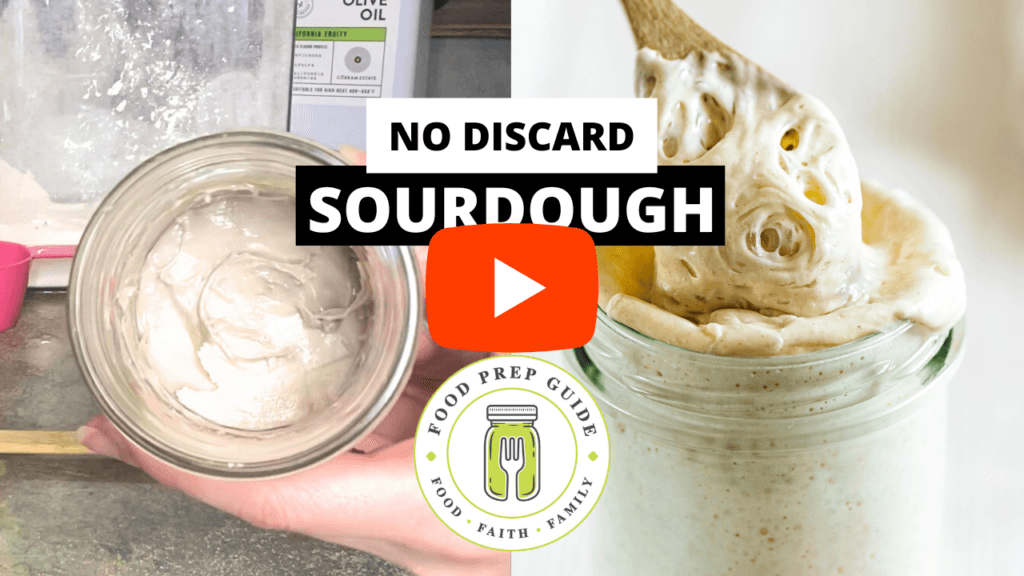
Step 1: Store Your Starter THICK
When you’re done baking, instead of leaving your starter runny and alive on the counter, we’re going to put it to sleep.
👉 Stir in enough flour until your starter is super thick—think sticky peanut butter. No need to measure. Just stir until it holds its shape when turned upside down.
Then, sprinkle about 1 tablespoon of flour on top. This acts as a barrier between your starter and the air, helping prevent mold during storage.
Pop the lid on loosely and store it in the fridge. It’ll keep for weeks—even months—without dying or needing attention.

Prices pulled from the Amazon Product Advertising API on:
Product prices and availability are accurate as of the date/time indicated and are subject to change. Any price and availability information displayed on [relevant Amazon Site(s), as applicable] at the time of purchase will apply to the purchase of this product.
Step 2: Ready to Bake? Reactivate It
Let’s say it’s been 2 months (or 3, in my case), and you want to bake a sandwich loaf. Here’s how you bring your starter back to life:
- Scoop off the flour layer on top (optional, but I do it).
- Add water and stir until it’s back to a pancake batter consistency.
- Transfer to a quart-size jar.
- Feed it in a 1:1 ratio—equal parts flour and water. I typically feed it just enough for the recipe I’m making. So for example:
- If your recipe calls for 65g starter, feed with 32g water + 32g flour.
- Let it double in a warm spot (I use the top of my freezer or the oven with the light on).
Once it’s doubled, it’s ready to use!

Prices pulled from the Amazon Product Advertising API on:
Product prices and availability are accurate as of the date/time indicated and are subject to change. Any price and availability information displayed on [relevant Amazon Site(s), as applicable] at the time of purchase will apply to the purchase of this product.
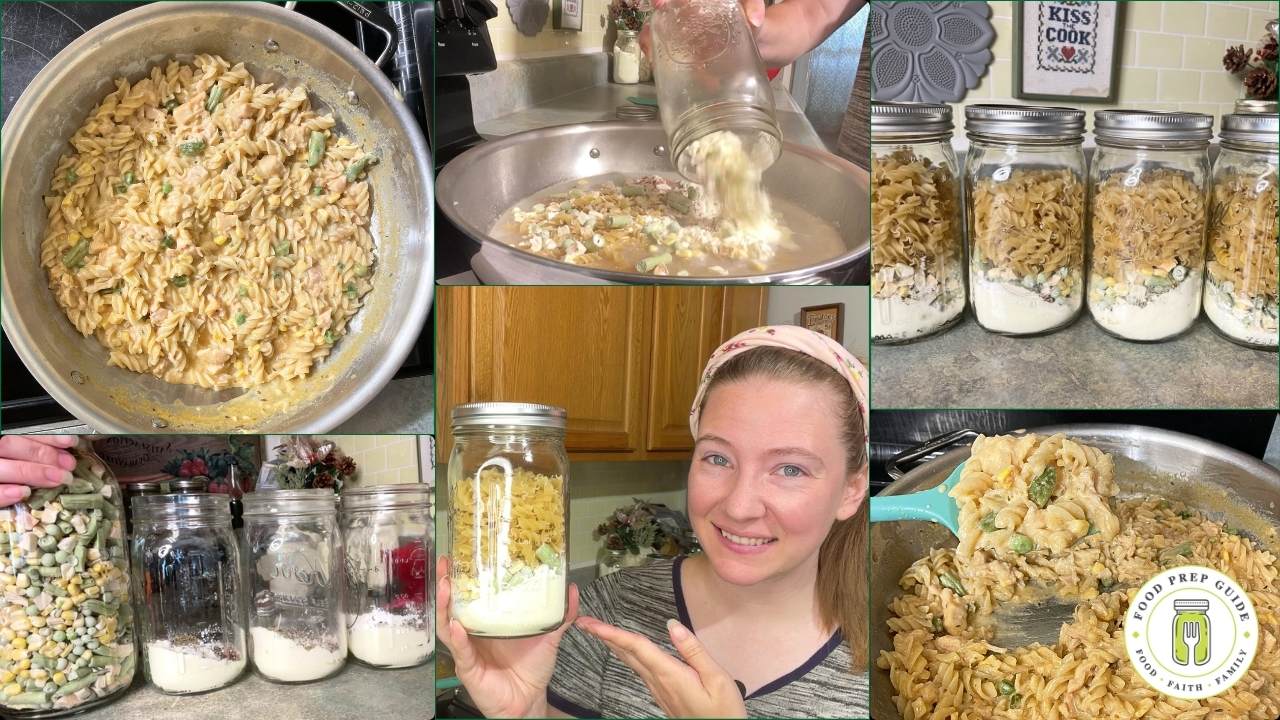
Step 3: What to Do With the Leftovers
After you scoop out what you need for baking, you’ll have some starter left. This becomes the base for your next batch.
You have two options:
- Keep a small amount and put it back to sleep (see Step 1).
- Use the extra for cookies, pancakes, waffles, or pizza crust.
FAQs About This Method
Doesn’t it grow mold?
Only if you skip the protective flour layer or leave starter on the sides of the jar. I always clean the jar edges and sprinkle flour on top before refrigerating. It keeps beautifully.
How long will it last?
I’ve gone 3 months between bakes with no issues. Honestly, it could probably go longer than that. Just make sure it’s stored thick and protected.
Do I need to measure everything?
Not at first! Only when you’re reactivating your starter for a recipe do you need to measure to get the ratios right. Even then, it’s okay to eyeball it if you don’t have a kitchen scale.
What if it smells weird?
A healthy starter can smell tangy, yeasty, or slightly sour—that’s normal. Trust your nose, and if in doubt, start fresh. If you see pink colors or fuzziness, toss it.
Sourdough doesn’t have to be high maintenance. With this simple method, you can enjoy the benefits of homemade, gut-friendly bread without babysitting a jar every day.
We’re all about frugal, practical solutions that fit into real life—and this one checks all the boxes. Minimal waste. Minimal time. And it gives you the freedom to bake when it works for your schedule!


Hello, possible to have this in a print format please & thank you
I love sour dough bread, I have failed miserably on more than one occasion “time consuming and expensive and wasteful ,” I guess I don’t give up easily because your clever recipe has peaked my interest enough for me to run to the kitchen and start all over again. That stuff they sell in the grocery store is not good! I’ll keep in touch Carol
Thank you Carol for this information. I love sourdough but hate all the timing and waste to get to where you finely make bread. One question though, where do you start? Or better yet, how do you make your initial starter?
I would also like to know the same thing, how do you make your initial starter?
I didn’t make mine from scratch. I started with Baker Creek’s dehydrated starter: https://www.rareseeds.com/old-world-sourdough-starter
How do you decide how much starter to add?
The average is 100g of starter, but I follow different recipes online and add what they say to add.
I am going to try this..I did sourdough once before and I would put it in the fridge and one day it molded on me..never could figure out why or what I did..you are the only person I have seen that explained why..thank you I have been scared to try it again because I don’t get to bake often except weekends usually and sometimes I’m just so busy I don’t..I can’t wait to try this
Is there a Sourdough Bread recipe you typically use to make with this Sourdough??
I really haven’t landed on one that I absolutely love. I google and try new one each time lol.