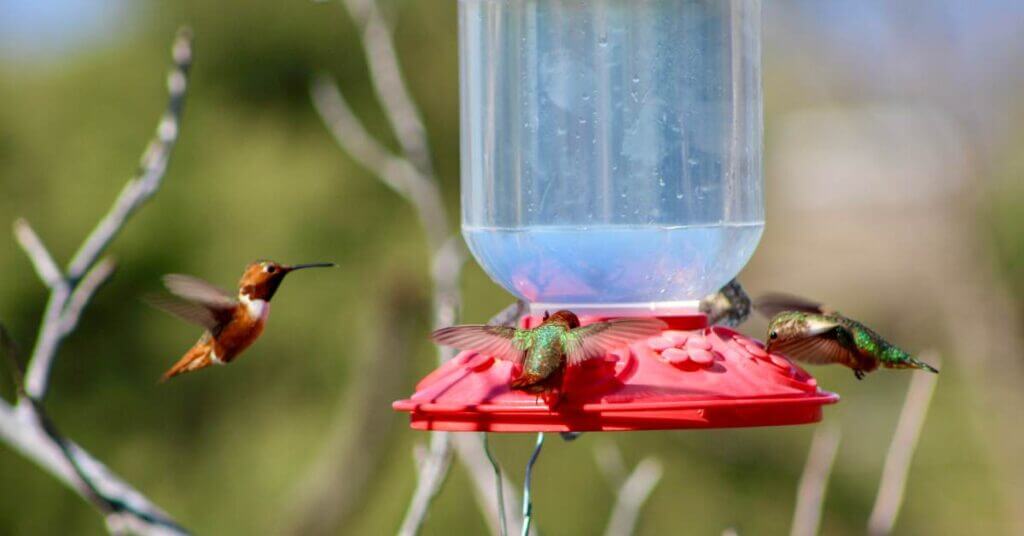
Attracting hummingbirds to your garden is a delightful way to enjoy these tiny, energetic creatures up close.
Providing a reliable source of food is crucial for their well-being, especially during migration and breeding seasons.
Commercial nectars can be convenient, but making your own at home is simple, cost-effective, and ensures that the nectar is free from harmful additives.
Today, we want to share how to prepare a safe and nutritious homemade hummingbird nectar with just two basic ingredients!
Ingredients and Materials
- Granulated white sugar: This is the preferred sugar for hummingbird nectar. Avoid using honey, brown sugar, or artificial sweeteners, as they can be harmful to the birds.
- Water: Clean, fresh water is essential.
- Measuring cup: For precise measurements of sugar and water.
- Saucepan: To boil the water and dissolve the sugar.
- Stirring spoon: To mix the sugar and water.
- Heat-resistant container: For cooling the nectar before use.
- Hummingbird feeder: To dispense the nectar to the birds.

Prices pulled from the Amazon Product Advertising API on:
Product prices and availability are accurate as of the date/time indicated and are subject to change. Any price and availability information displayed on [relevant Amazon Site(s), as applicable] at the time of purchase will apply to the purchase of this product.
Step-by-Step Instructions
Step 1: Measure the Ingredients
The ideal ratio for hummingbird nectar is 1 part sugar to 4 parts water.
This concentration closely mimics the natural nectar found in flowers, providing the energy hummingbirds need without being too concentrated.
For example, use 1 cup of granulated white sugar and 4 cups of water.
Step 2: Boil the Water
Boiling the water helps to ensure that the nectar is clean and free of any contaminants. It also aids in dissolving the sugar completely.
Pour the measured water into the saucepan and bring it to a rolling boil on the stove.
Step 3: Add Sugar
Once the water is boiling, it’s time to add the sugar. Stirring continuously ensures that the sugar dissolves completely, creating a clear solution.
Gradually add the sugar to the boiling water, stirring constantly until all the sugar granules have dissolved.
Step 4: Cool the Nectar
Before filling the feeder, the nectar must be cooled to room temperature to prevent harming the birds.
After the sugar is fully dissolved, remove the saucepan from the heat and pour the nectar into a heat-resistant container. Allow it to cool completely.
Step 5: Fill the Feeder
With the nectar cooled, it’s time to fill the hummingbird feeder. Avoid overfilling to minimize spills and waste.
Carefully pour the cooled nectar into the feeder, ensuring it is securely sealed to prevent leaks.

How to Maintain Your Hummingbird Feeder
Keeping the feeder clean is essential to prevent mold and bacterial growth, which can be harmful to hummingbirds.
Clean the feeder every few days, especially during hot weather.
Use a solution of hot water and vinegar to clean the feeder thoroughly.
Avoid using soap, as residue can be harmful to the birds.
Regularly check the nectar levels in your feeder to ensure a consistent supply for the hummingbirds.
Dream of Filling Your Pantry with Homegrown Staples?
Plan your garden with our FREE PRINTABLE—Staples Garden: What to Plant to Feed Your Family for a Year!
Only fill the feeder with enough nectar for a few days to avoid waste and spoilage.
If needed, you can store unused nectar in the refrigerator for up to one week.
Making homemade hummingbird nectar is a simple, rewarding way to attract and support these fascinating birds.
I hope you enjoy the beauty and activity of these amazing creatures as much as we do!