Ingredients
Scale
- 2 cups water
- 5 tablespoons butter, cut into chunks
- 3 teaspoons salt
- 6 cups all-purpose flour (or bread flour)
- 5 tablespoons sugar (or 1/4 cup honey)
- 2 1/2 teaspoons yeast
Instructions
Method 1: Bread Machine (Start to Finish)
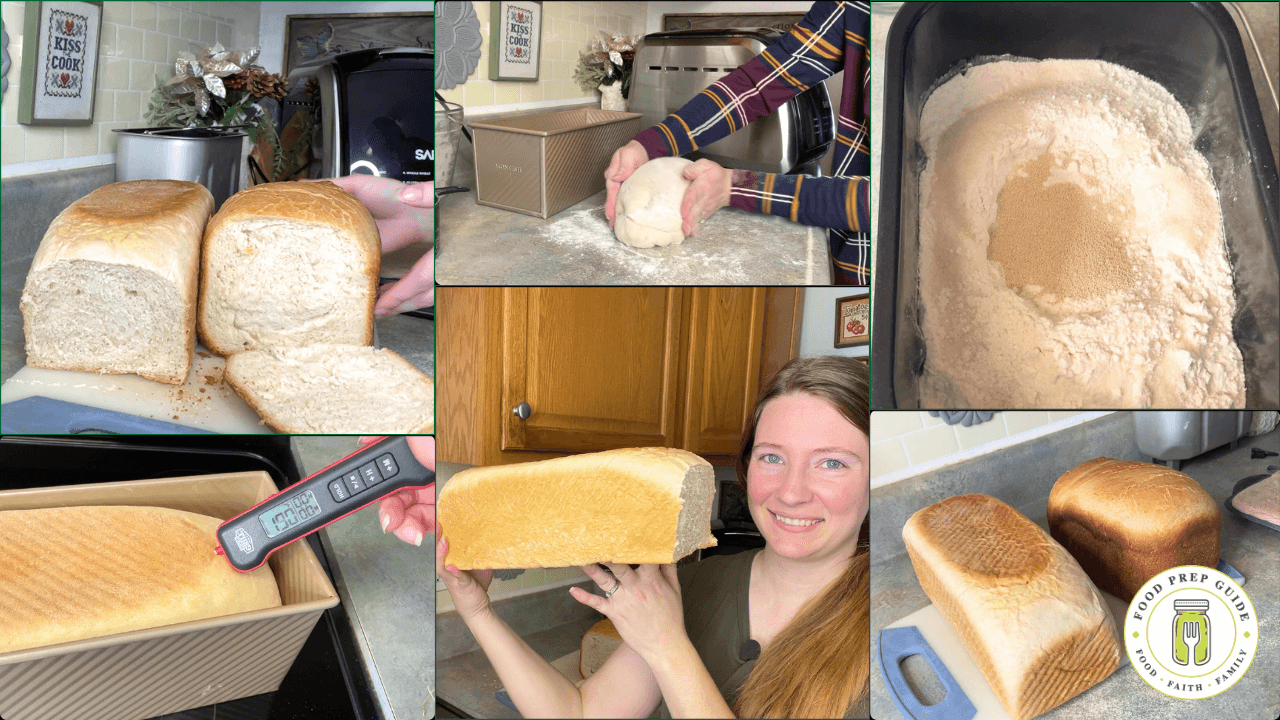
- Add ingredients to bread machine pan in this order: water, butter, salt, flour, sugar, and yeast (make a small well in the flour for the yeast).
- Select the basic bread setting (setting #1).
- Choose crust color preference (medium or dark recommended).
- Select the 3 lb (or 1500g) loaf size.
- Press start and allow approximately 3 hours 15 minutes for complete cycle.
- When done, remove bread from pan and allow to cool.
Method 2: Bread Machine Dough + Oven Baking
- Add ingredients to bread machine pan in the same order as above.
- Select the dough cycle (setting #6).
- When cycle completes (approximately 1 hour 15 minutes), remove dough onto a lightly floured surface.
- Shape dough into a rectangle to fit a greased Pullman loaf pan.
- Place in pan and let rise in a warm place (oven with light on works well) for about 1 hour or until nearly doubled in size.
- Optional: Place Pullman pan lid on for a perfectly rectangular loaf.
- Preheat oven to 350°F.
- Bake for approximately 30-40 minutes, or until internal temperature reaches 190°F.
- Remove from oven, take off lid if using, and allow to cool.
Notes
For softer crust, rub the outside of the warm loaf with butter after baking.
